Having A Closer Look at the Basic Operations Within AM.CO.ZA InkRIP Software (Part 6)

inkrip basic operations
Now that we have covered some of the most important basic operations, what will be next?
Before we move on, I always recommend that one first have a little test run of what we have learned.
This video is part of a Mini-Series.
Next video covers Tips.
Previous video covered Adjustments.
Video Transcript
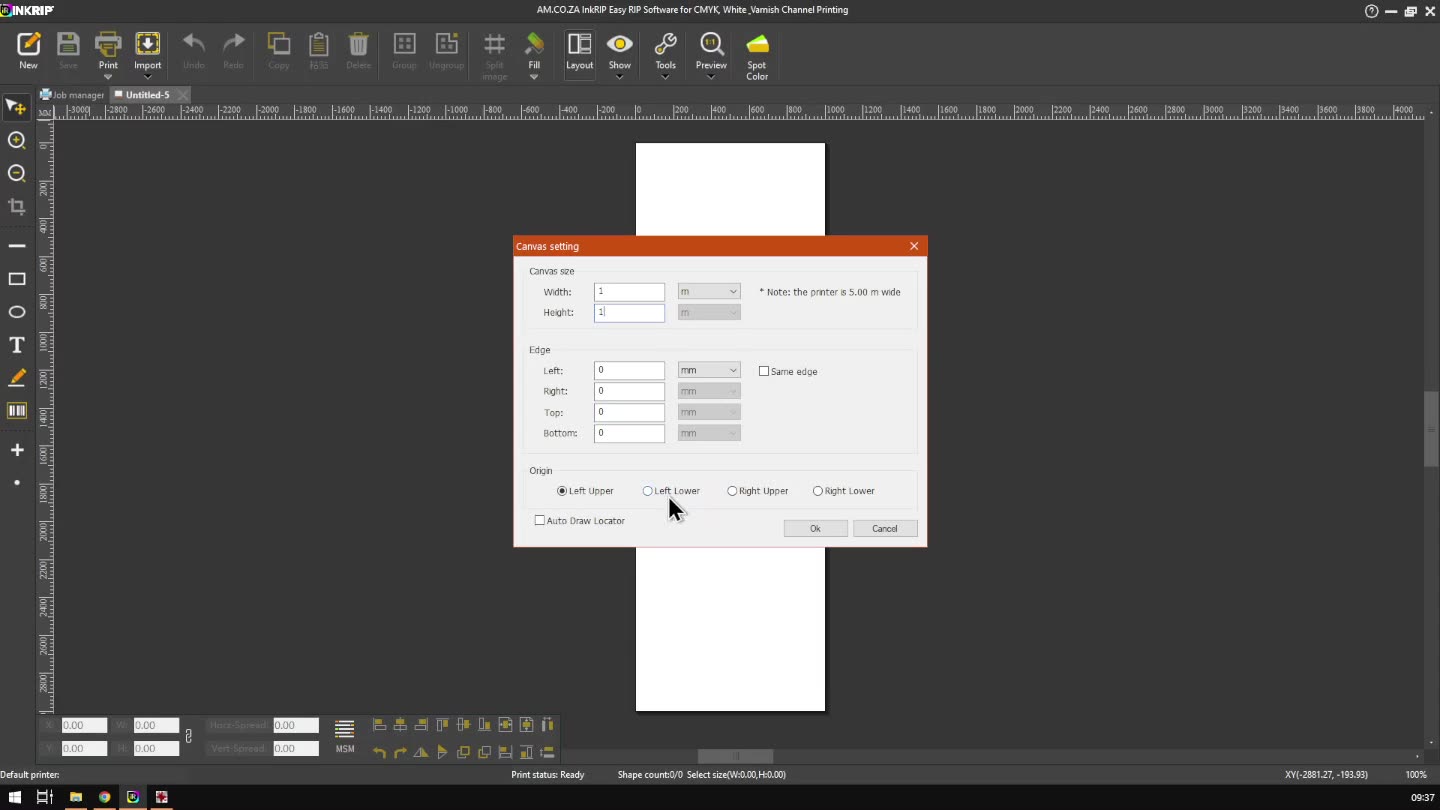
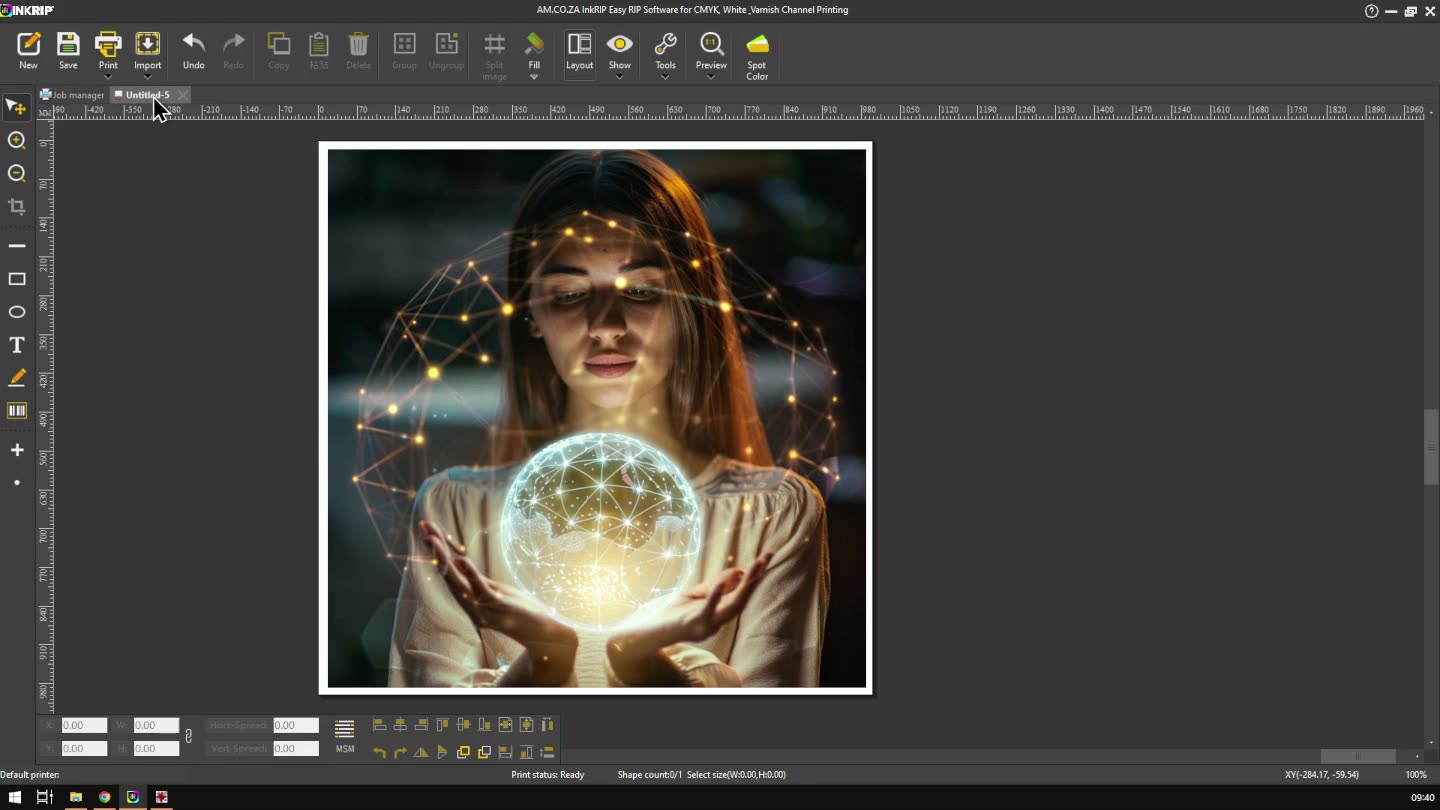
Alright you guys, in today's video, we're gonna be looking at some basic operations within Encrypt, but before that, let's have a quick intro first. So, today's video can be found on softwaretraining.co.za. We make short and easy to watch problem solving videos and we also have daily updates. Now, I've went into the programme here. So, like I mentioned in the intro, today, we're gonna be looking at some basic operations. So, what that comes down to is we're gonna look at what is the basic steps to take on most jobs. So, we're not gonna deep dive into settings and all of that, we're just gonna look from start to finish, how to go about things. Now, the first thing on our list is processing an image. So this will be the image you're gonna be printing. So you might wanna open it in something like Photoshop or Game perhaps as a free alternative, and then make sure you set all the settings right, your DPI and all of that. And then um save it and also a format that is, that complements printing. There's a lot of different formats that people use, but um yeah, so you can just, that will be our first step. We're not gonna cover that cause it's not so much programme related, but yeah, it's the first thing I wanna do sometimes if you buy an image of some stock site, it might already be set up correctly, but just make sure you know what's the dimensions and all of that. Then next thing you want to start the programme. I've started here, so I've got my default canvas. If you don't have a canvas open, you can simply just click new. That will make a canvas for you. Then we just wanna first make sure all our settings are set up. So, what I'm gonna do is I'm gonna go to the top right, uh, top left, to the incry icon on here, click on that, you'll see we have a few different settings here. We've got canvas settings and printer settings. That's the two we're gonna be looking at. For hover, you can also see the shortcut, control shift P for print, and control shift M for the canvassings. We're first gonna go to the printer, we open that, and then we're gonna make sure our printer is installed. And if you don't wanna install the printers, also we'll do it. And then make sure that it's all set up. Next up, we're gonna go to the canvas settings. So depending on our actual material we're gonna be using, so if you're using a roll and you know it's 1 metre by whatever, obviously it's a roll, you're not gonna put in the right length the um entire length. You're just gonna put enough for the print you're gonna be doing. Or perhaps you've got a separate sheet that you're gonna be printing on, then you wanna put the size of that sheet in the settings. So I'm gonna go to the menu on top. It's a canvas settings. And over here, we, you can see we've got a few settings we can set up. So yeah, I'm just gonna make mine 1 by 1 metre. And then um you can also look, we've got some more for the edging, the origin, all of that. So we'll be setting that according to Um, the actual printer and the material we're gonna be using. I'm just gonna leave all our money here on default, just set the height. Say, OK, and now you can see we've got a nice little square cutting mat or I'm sorry, uh, canvas here. So then, after that, we wanna import that image we've processed. So, we're gonna go to our import button, click that, and then navigate to the correct image, select it. And then at the bottom right here, you can see all the formats it supports. So, obviously, some of these have pros and cons, but like I said, for printing in general, Uh, we've got like the tip, that's always a good one. But mapping can sometimes get away with high quality, but it doesn't have uh alpha or transparency layers and then a few different ones. You can even do uh Adobe Illustrator files. So, I'm gonna select the image we've got, click open. Then I'm gonna leave mine on an original size. Now, this image has not been processed in Photoshop and so forth. So what I'll do is I'll just scale it bigger, but you wouldn't wanna do this on a normal job cause what will happen is, if you have a low quality image and you scale like this, everything's gonna be pixelated when you print it. So, it's not gonna look good unless you're putting on like a bullboard or something. You wanna make sure you get good quality images. And then once we are done with that, we can um yeah, we can simply Or should I say, yeah, yeah, you wanna make sure your adjustments are right, so also if you wanna have some white spacing around, so it doesn't um. Print over the edges and so forth. First, do that before you go to actual printing. And then once you are happy with that, you can simply click print. Make sure all these settings are correct. Currently, I'm using one to send this file. If you're doing a network like we covered in the previous videos, you can set all of that up. I've already done this, so I'm not gonna go into this again. This is just the basic process. So we've got here, I'm gonna click print. And then it's gonna ask me where do I wanna uh save this file to. I'm just gonna overwrite the test one we did. And now you can check when our job manager. So the key thing here is we've got the process, or should I say the progress, and uh this is how far we are with the printing, and then also important, we've got the stop button which terminates it. So, if you've made a mistake, you wanna redo it, you just simply click that, it will terminate the job for you. Um, it happens often, so. Also, another thing to keep in mind, the time it takes will depend on the size of the image. Um, so the bigger and higher quality is, the longer it's gonna take, so just keep that in mind. And another thing is, depending on your memory, if your computer has a lot of memories, it will go quicker. If you've got a little memory, it's gonna go a bit slower because it has to cache things to your actual hard drive. So, uh, Yeah, those two things will determine the actual speed of the process. But yeah, otherwise, that is it on the basic process, pretty simple, straightforward. So just a quick recap, you wanna prep your image in something like Photoshop or GIMP. Then you want to set up your printer and canvas. Import your file, adjust it. Then print and then under your job manager, you can see the progress. Of your current job. Well, yeah, otherwise, in the meanwhile though, if we head here to softwaretraining.co.za. You guys will notice we've got a variety of different softwares we do cover and you can also isolate your search on the top right. If you do not, however, find the training videos you're looking for, just simply go here, request a training video, fill in them in a form and then we'll do our best to make that for you. But otherwise, thanks guys for watching and cheers.