Using a Specialized Spectrophotometer Device Within the AM.CO.ZA InkRIP Software (Part 2)

inkrip spectrophotometer devices
When it comes to getting accurate colors when printing, we need a non-bias way of looking at color.
The reason we need a Specialized Spectrophotometer Device for this, is because we all view colors slightly differently, so getting an accurate ICC Profile by eye, is nearly impossible.
This video is part of a Mini-Series.
The next video covers A Clean Nozzle.
The previous video covered About ICC Profiles.
Video Transcript
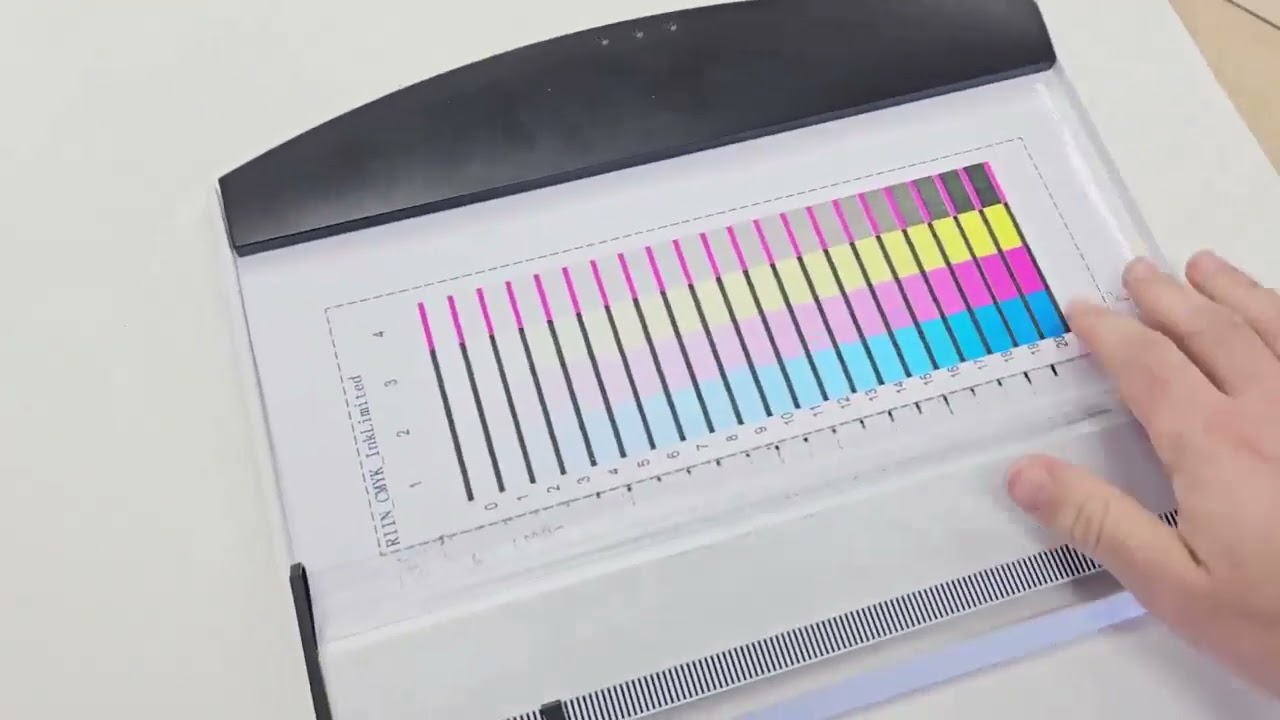
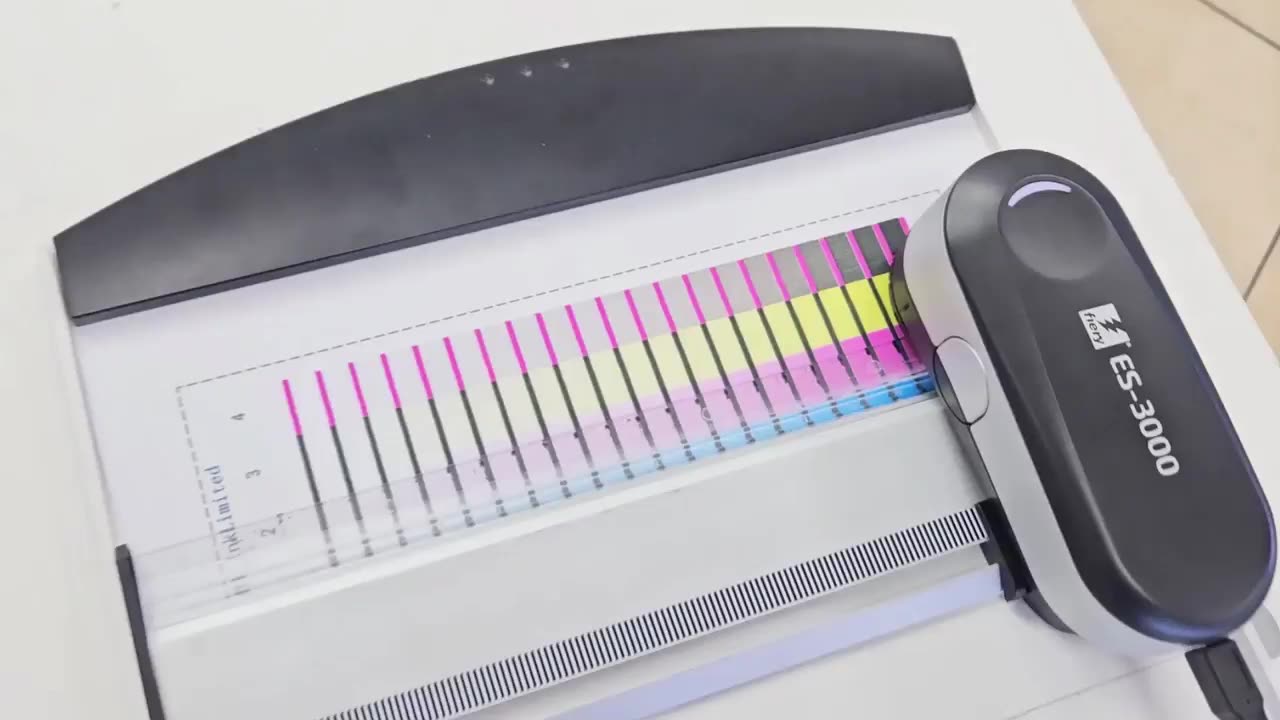
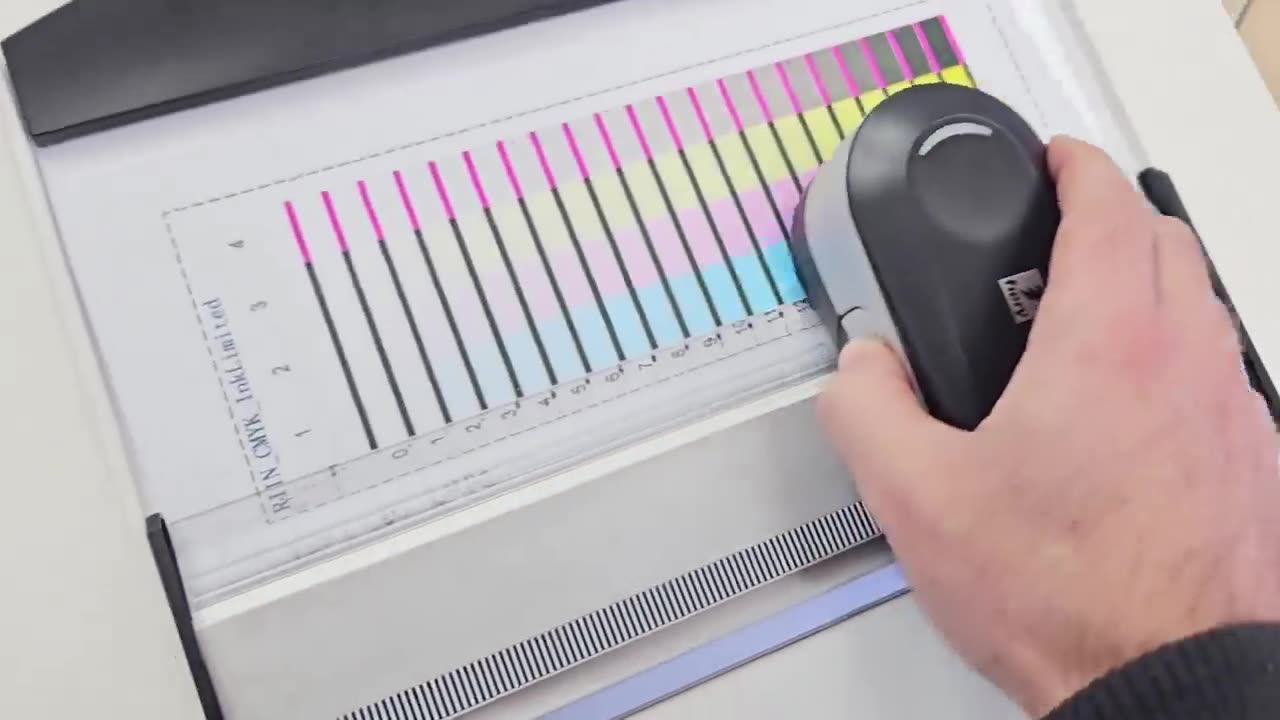
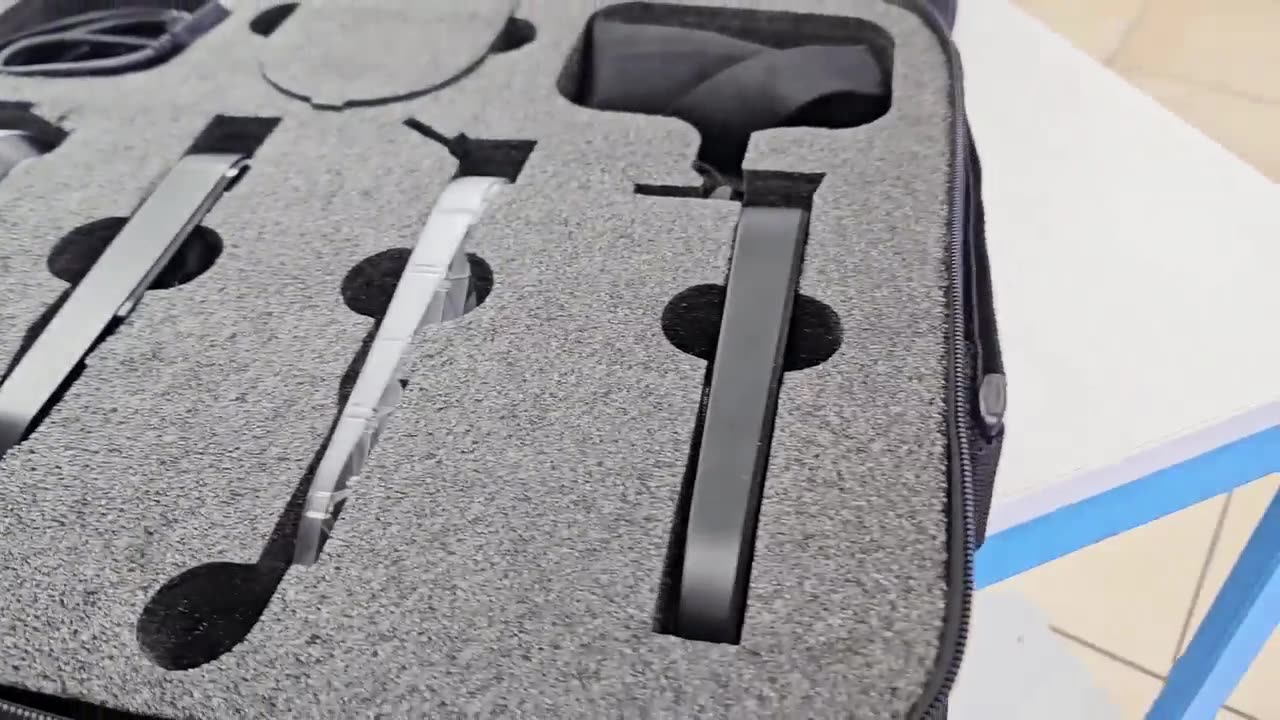
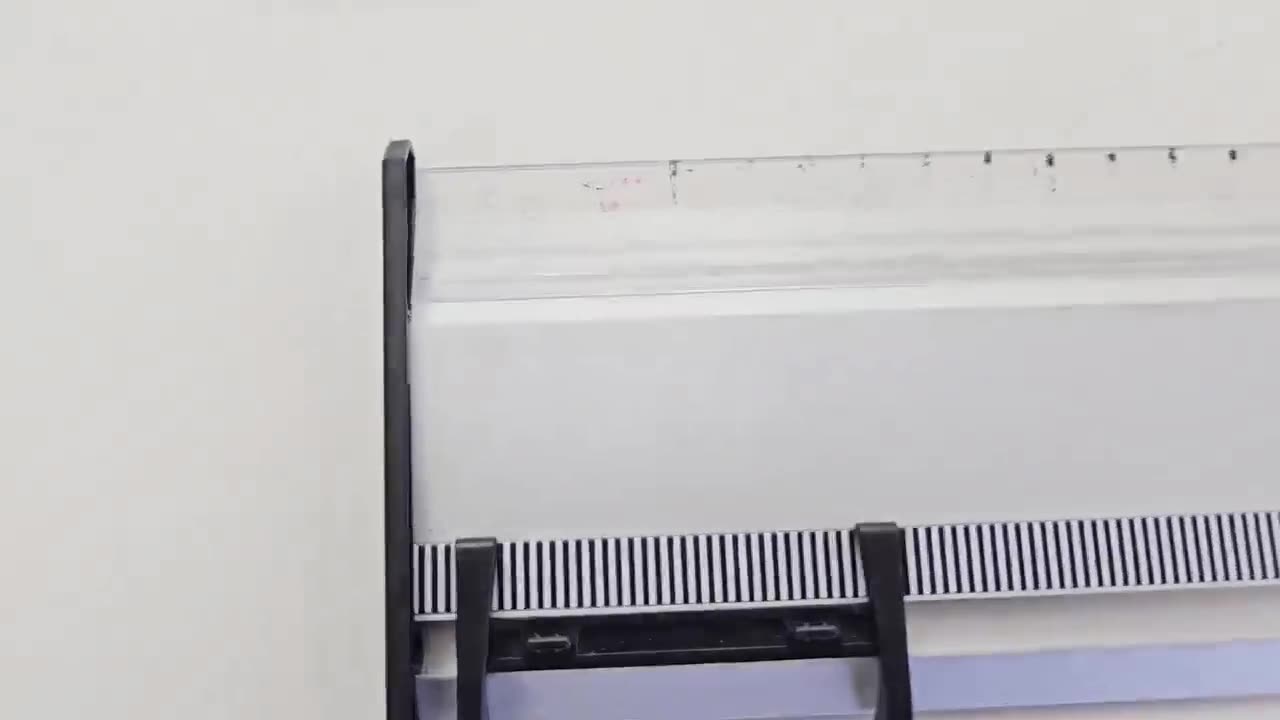
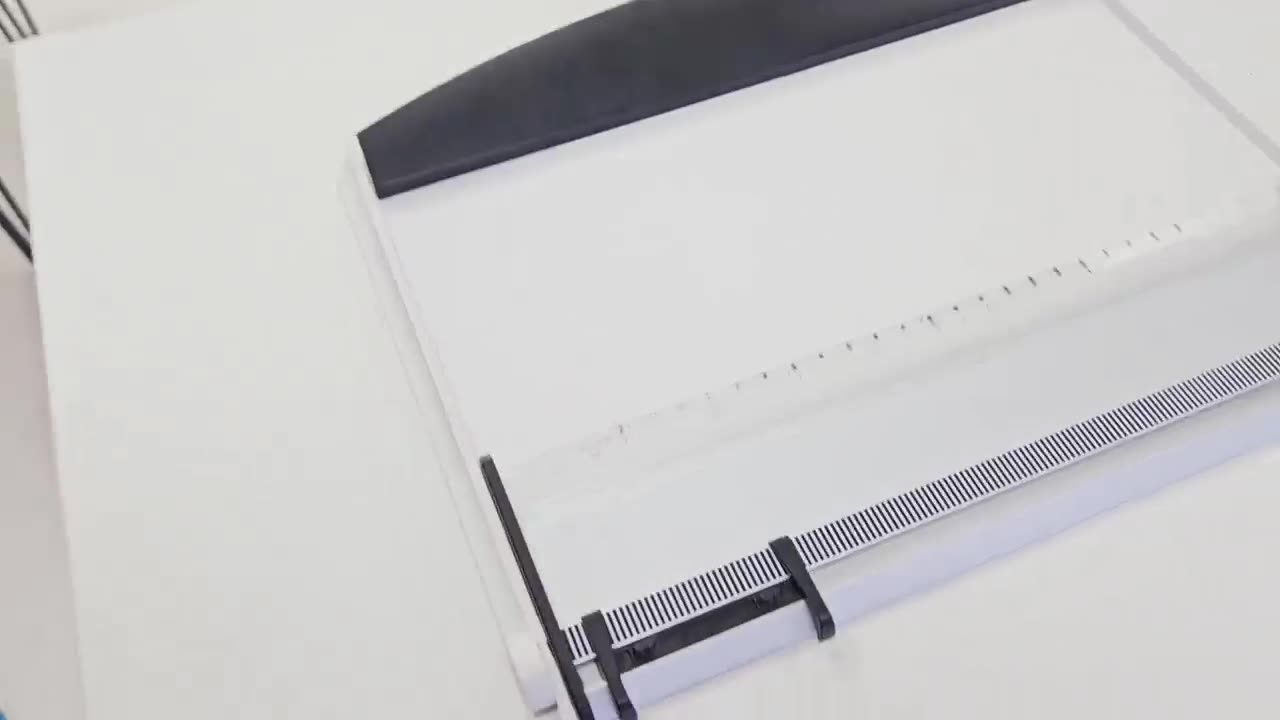
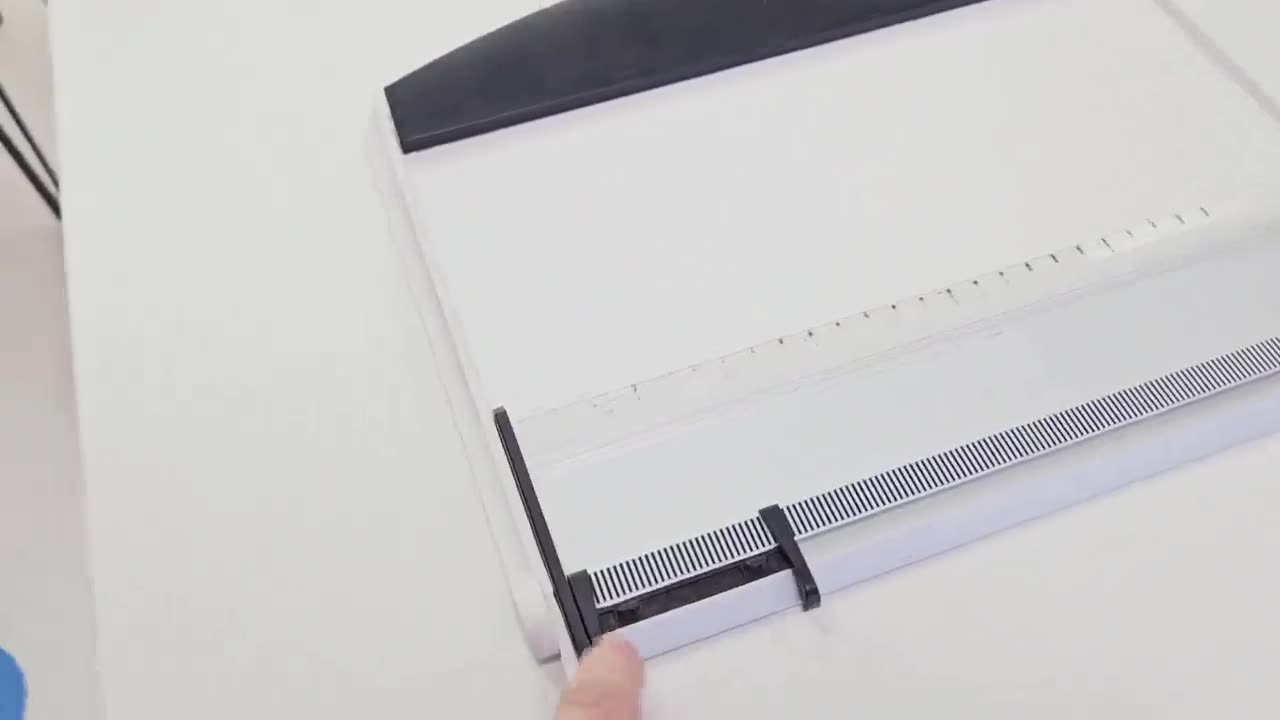
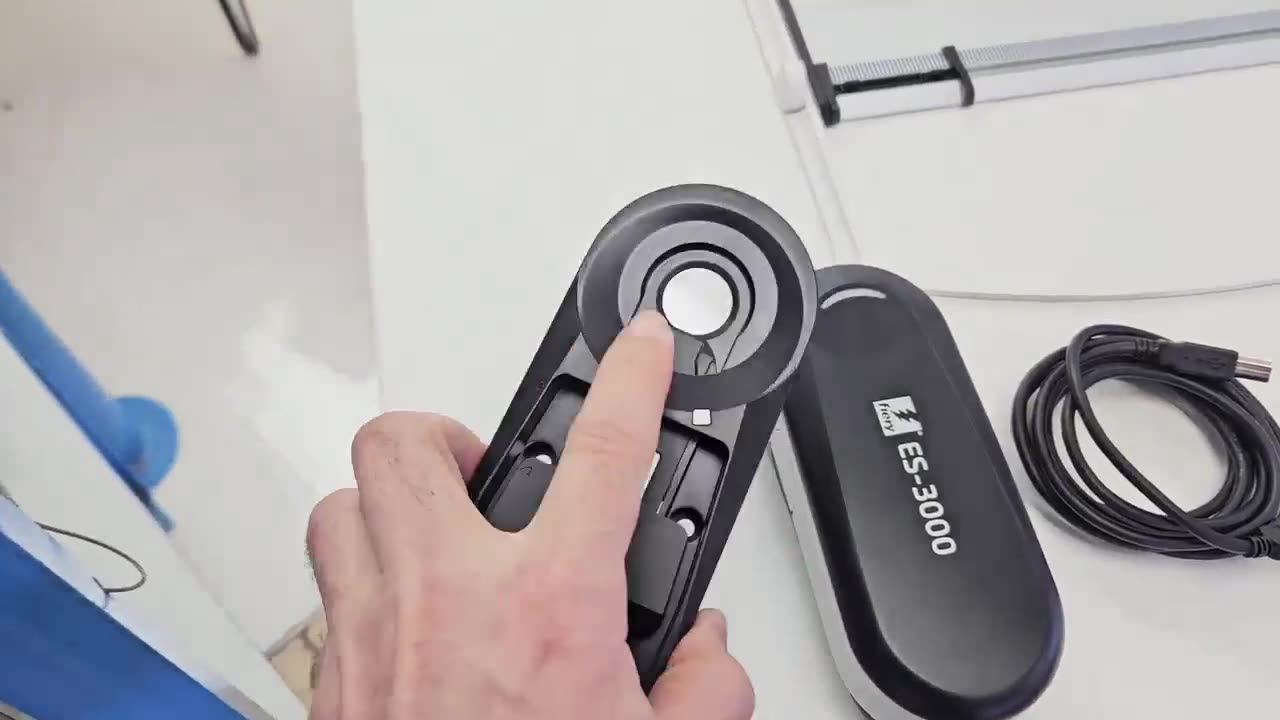
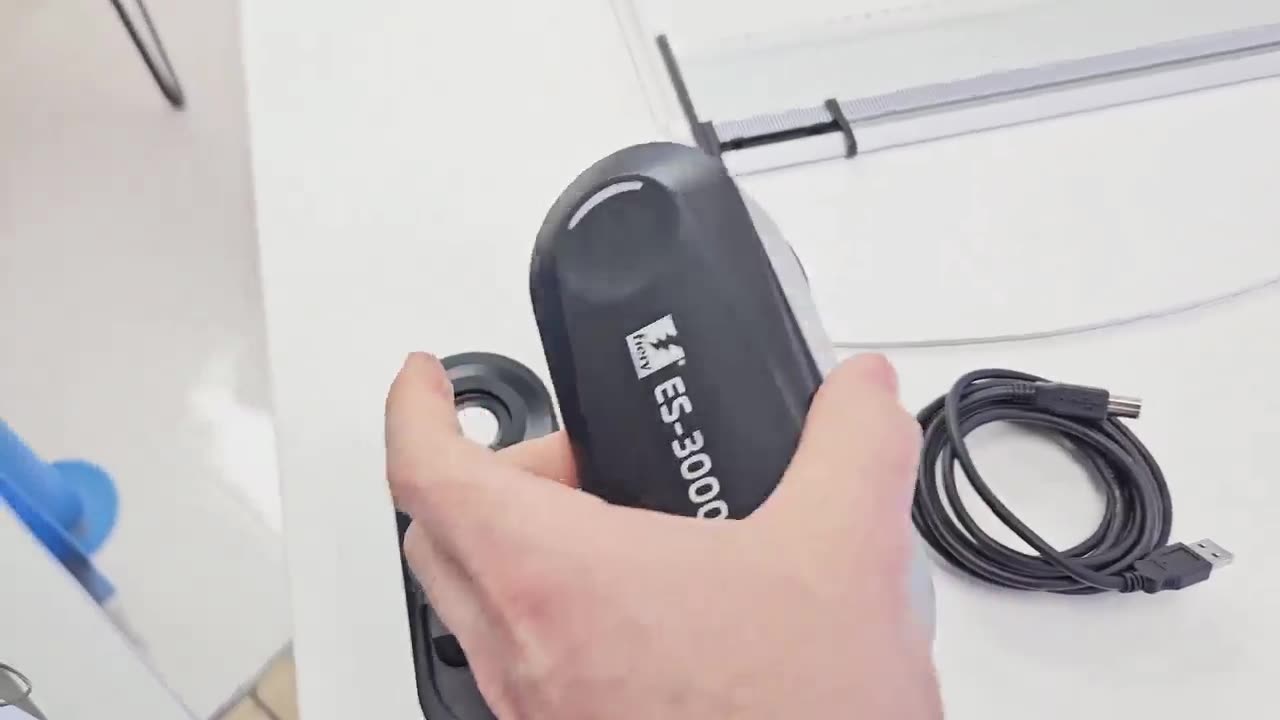
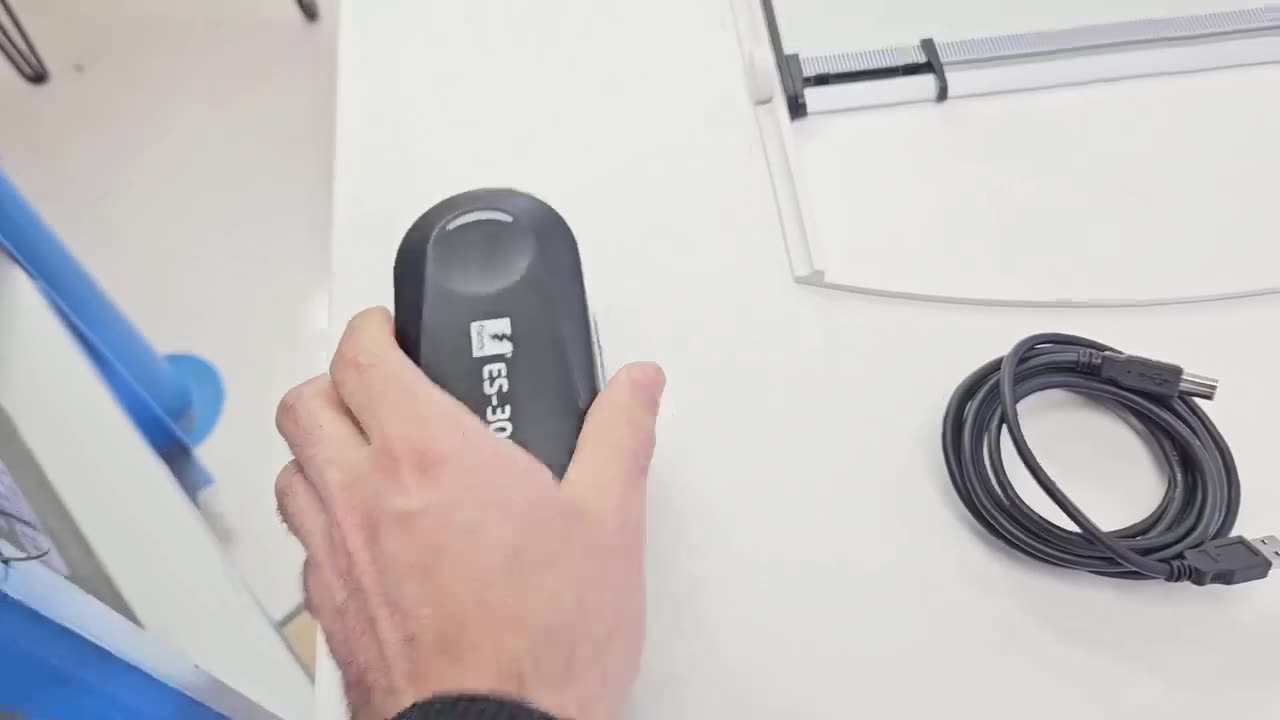
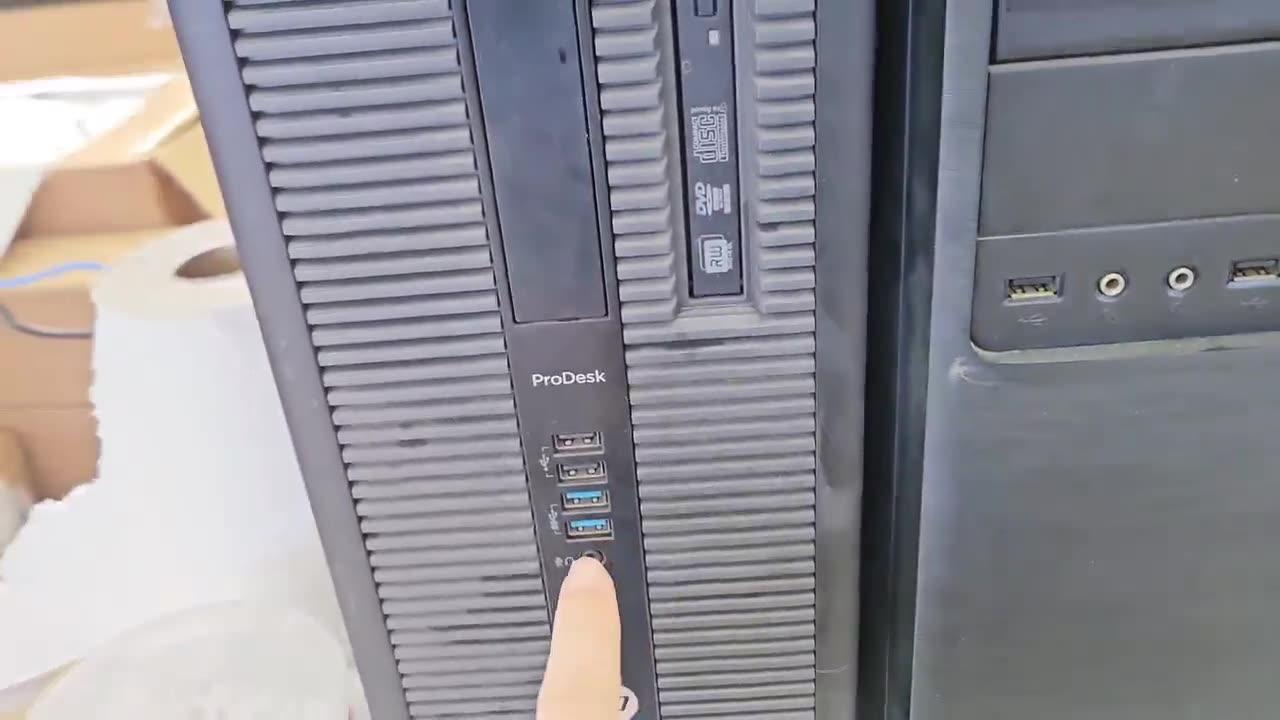
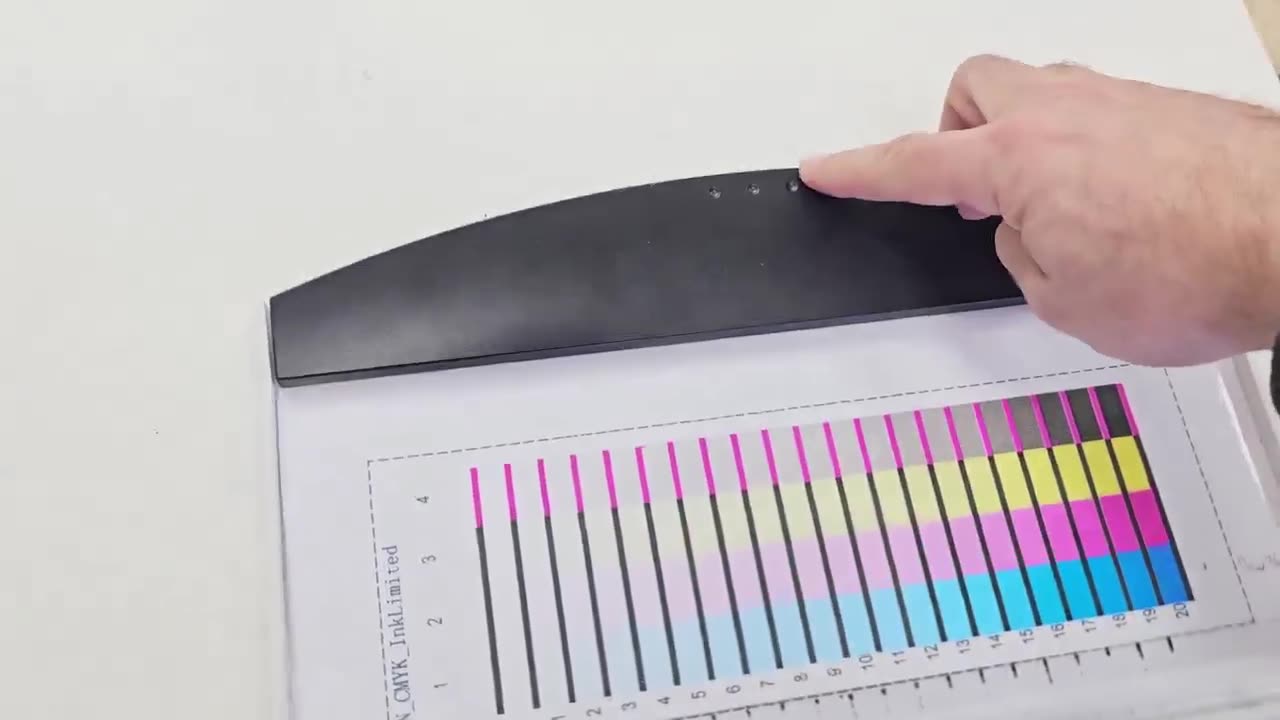
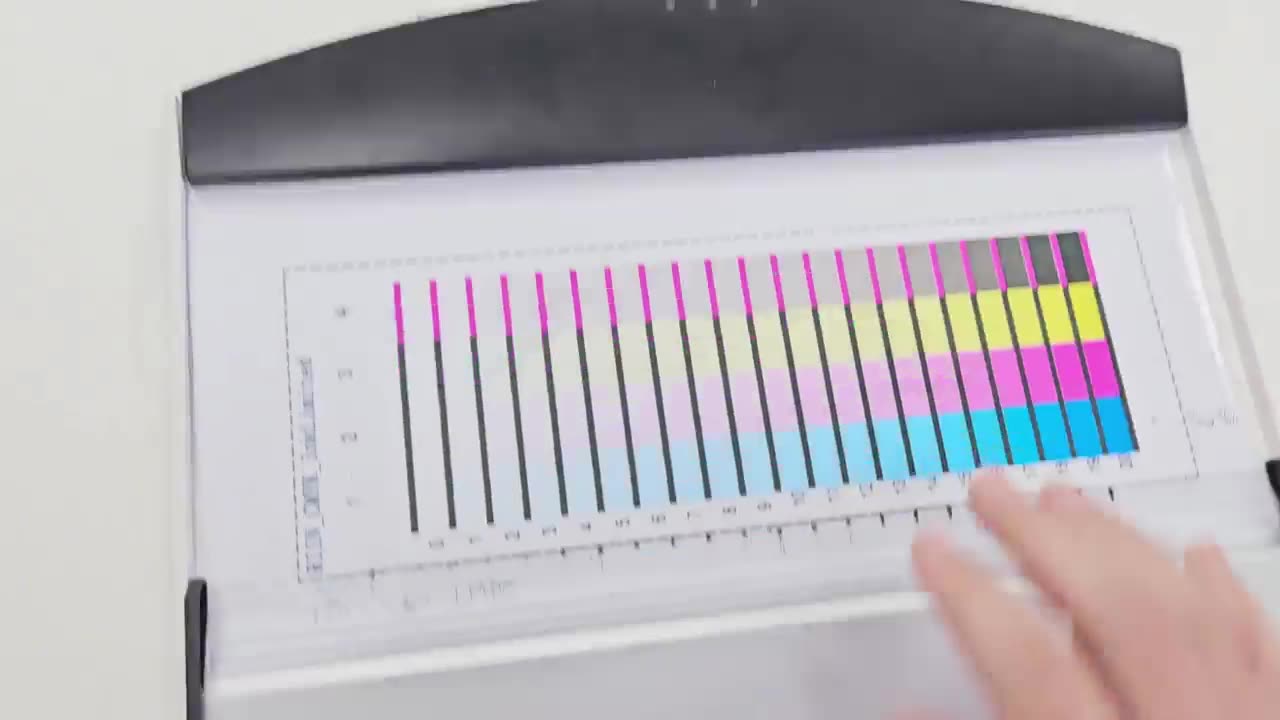
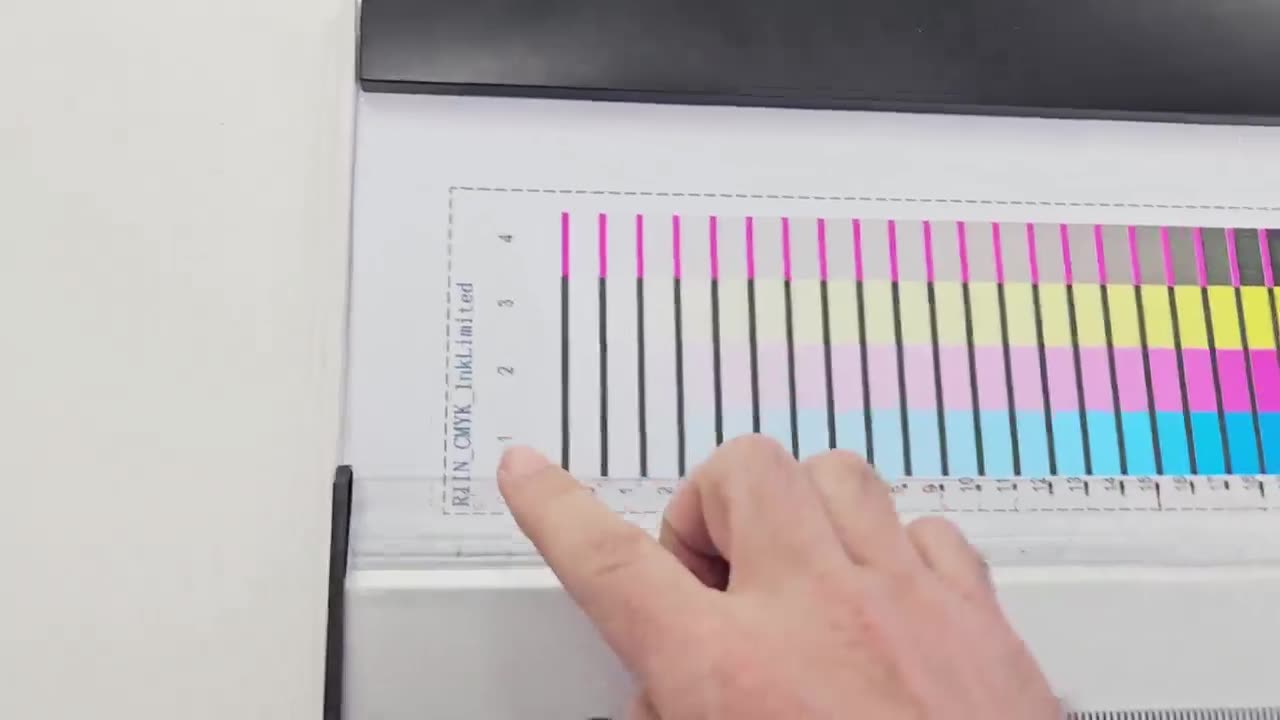
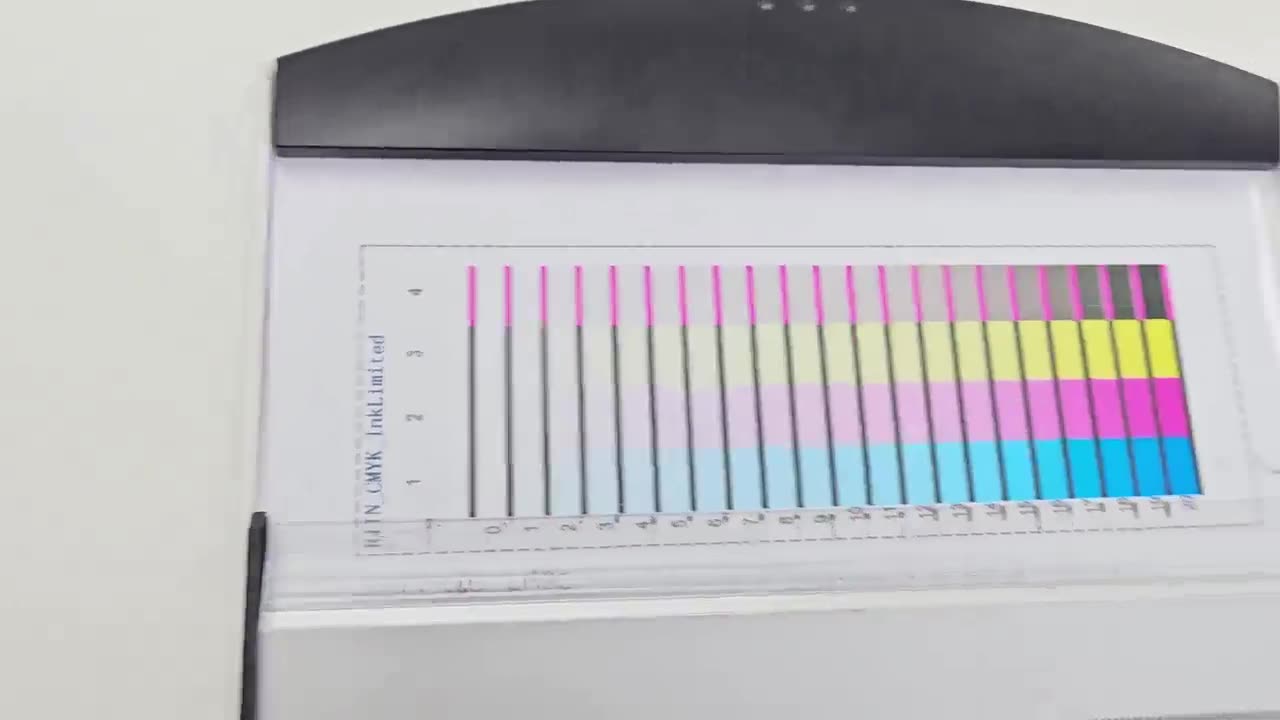
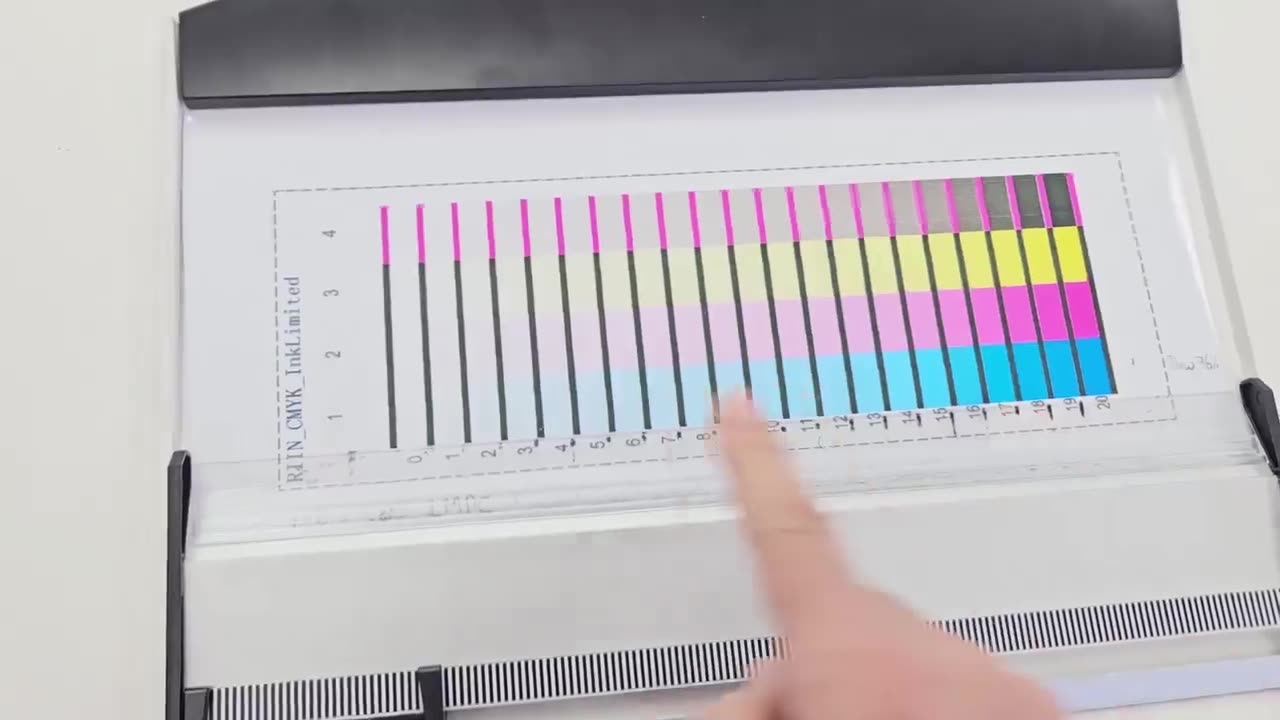
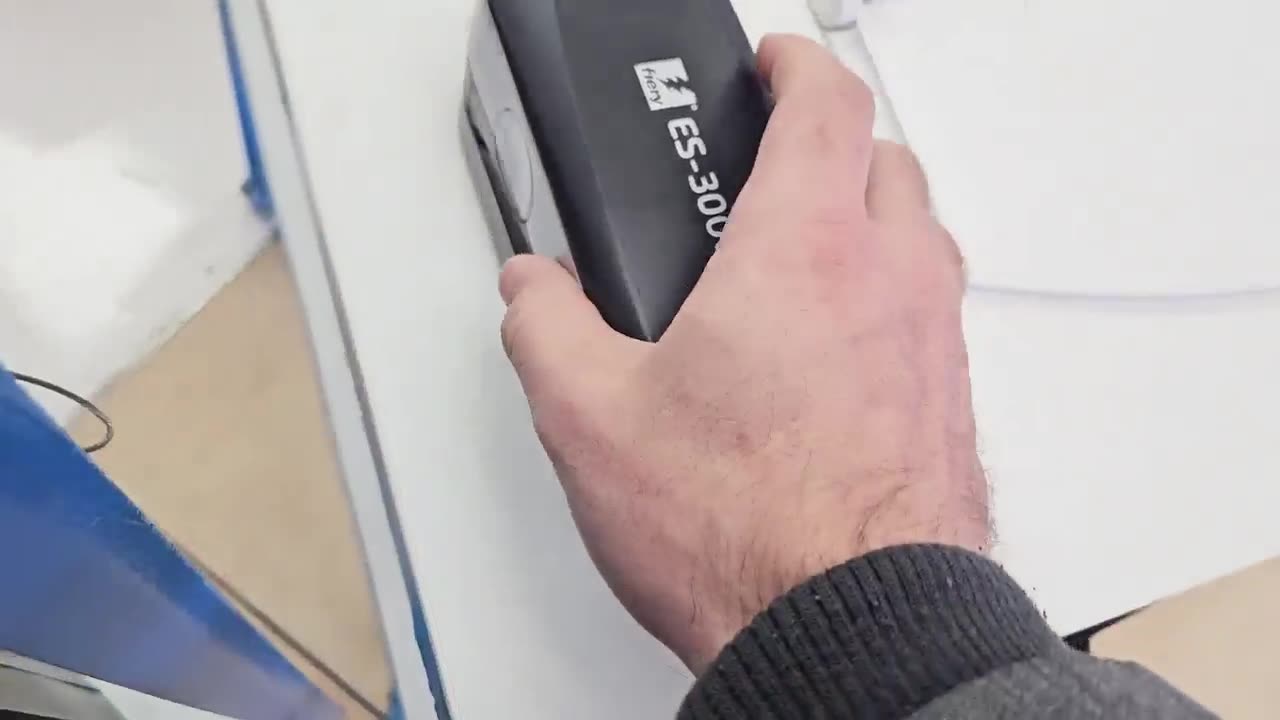
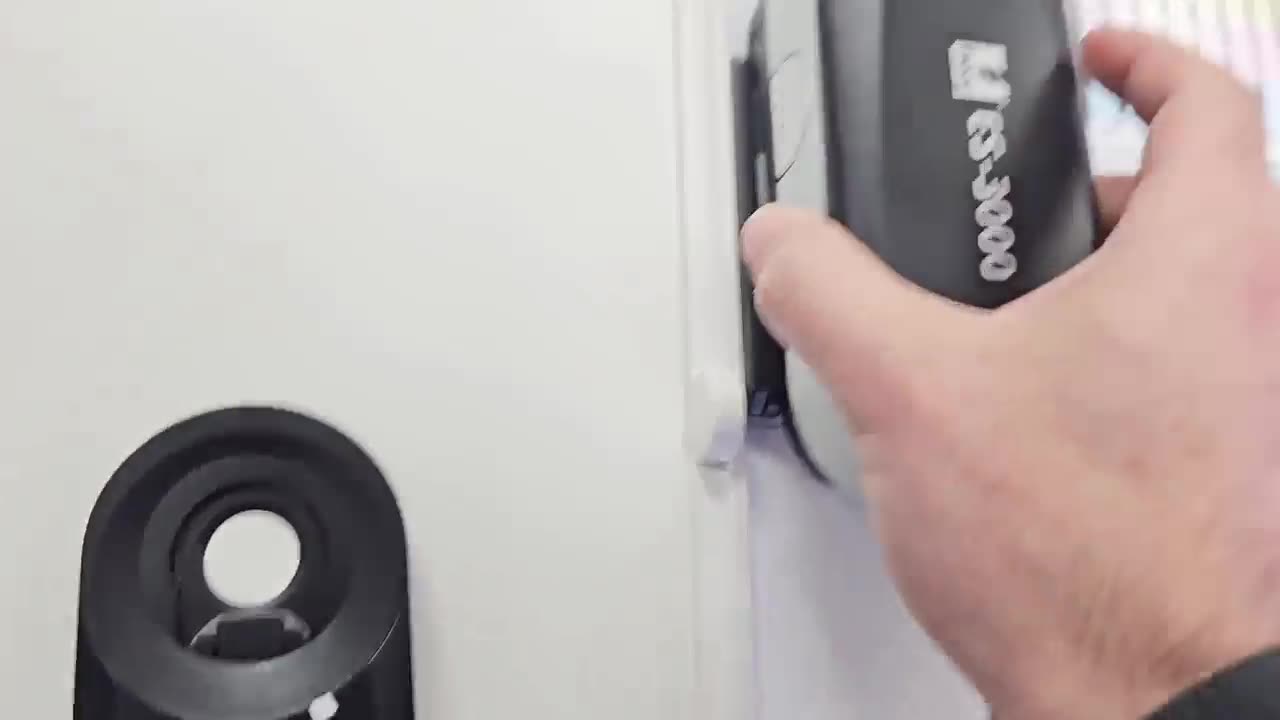
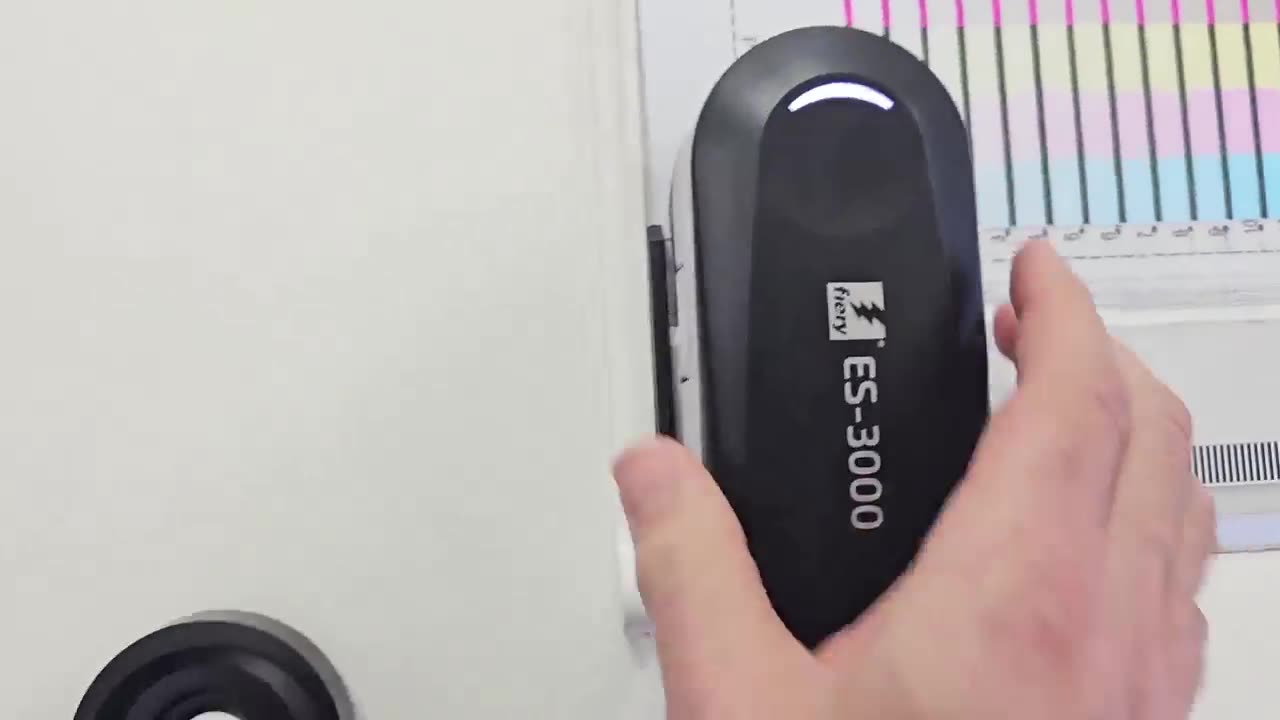
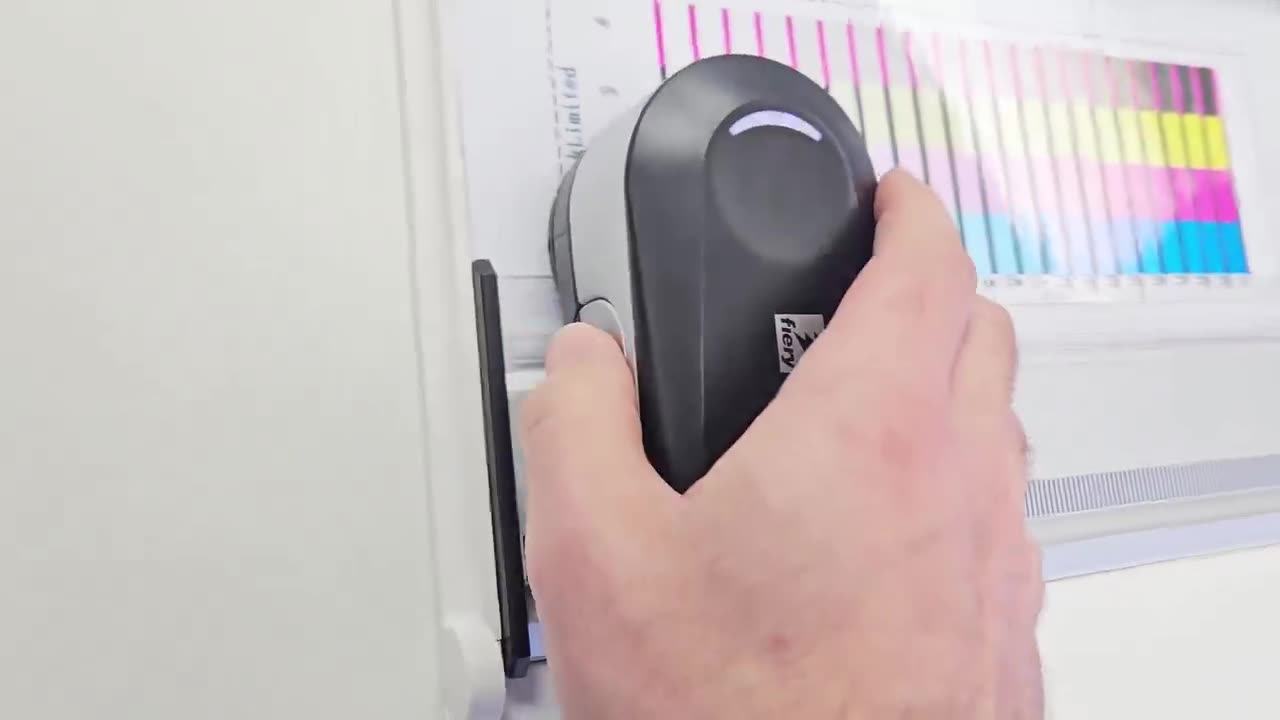
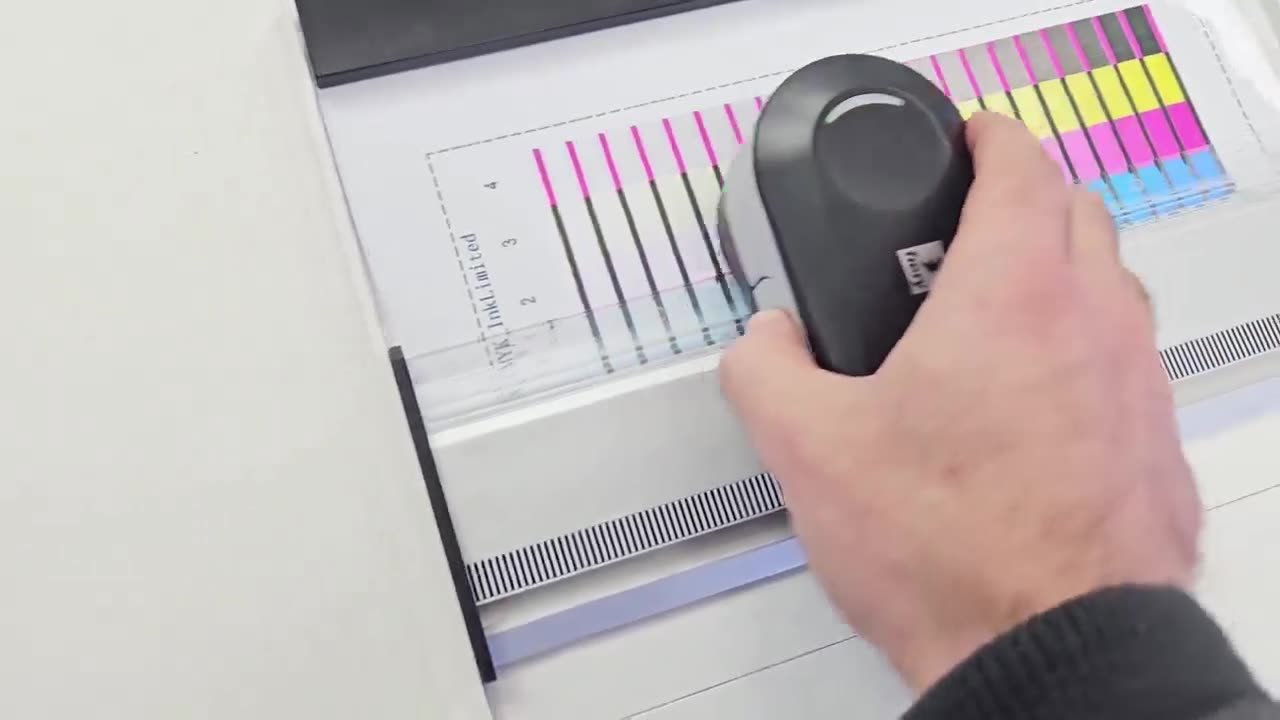
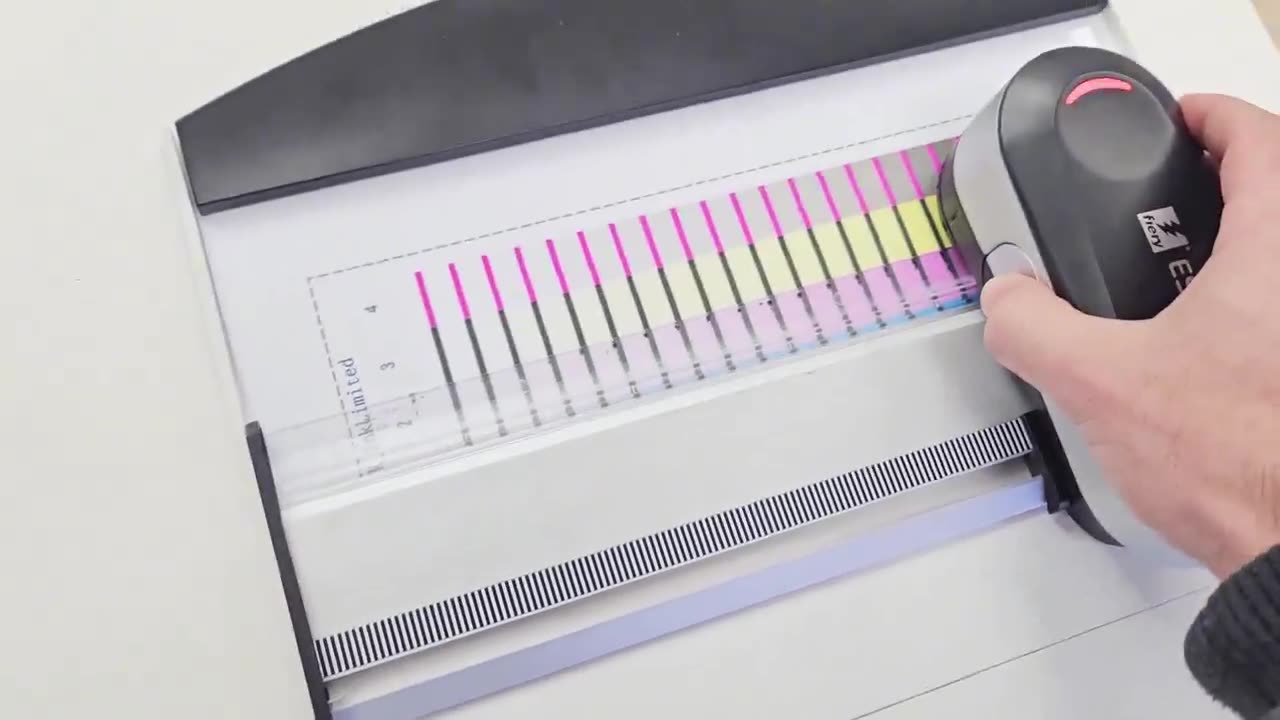
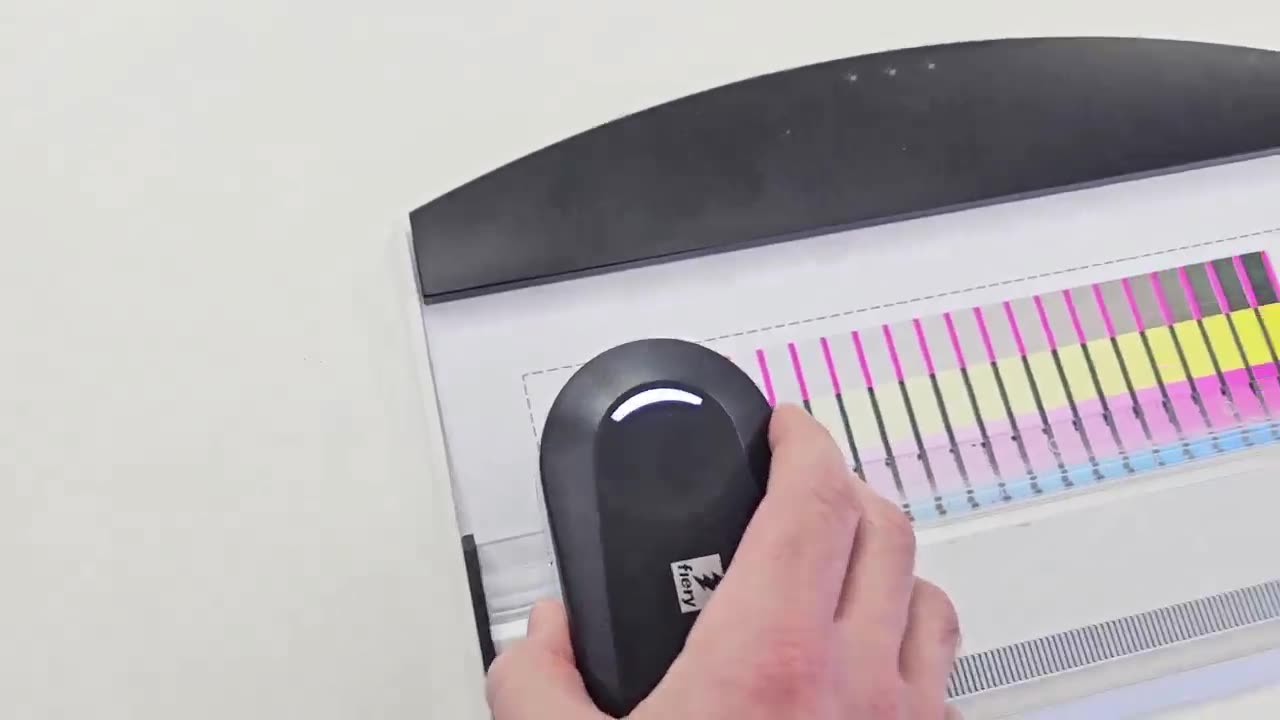
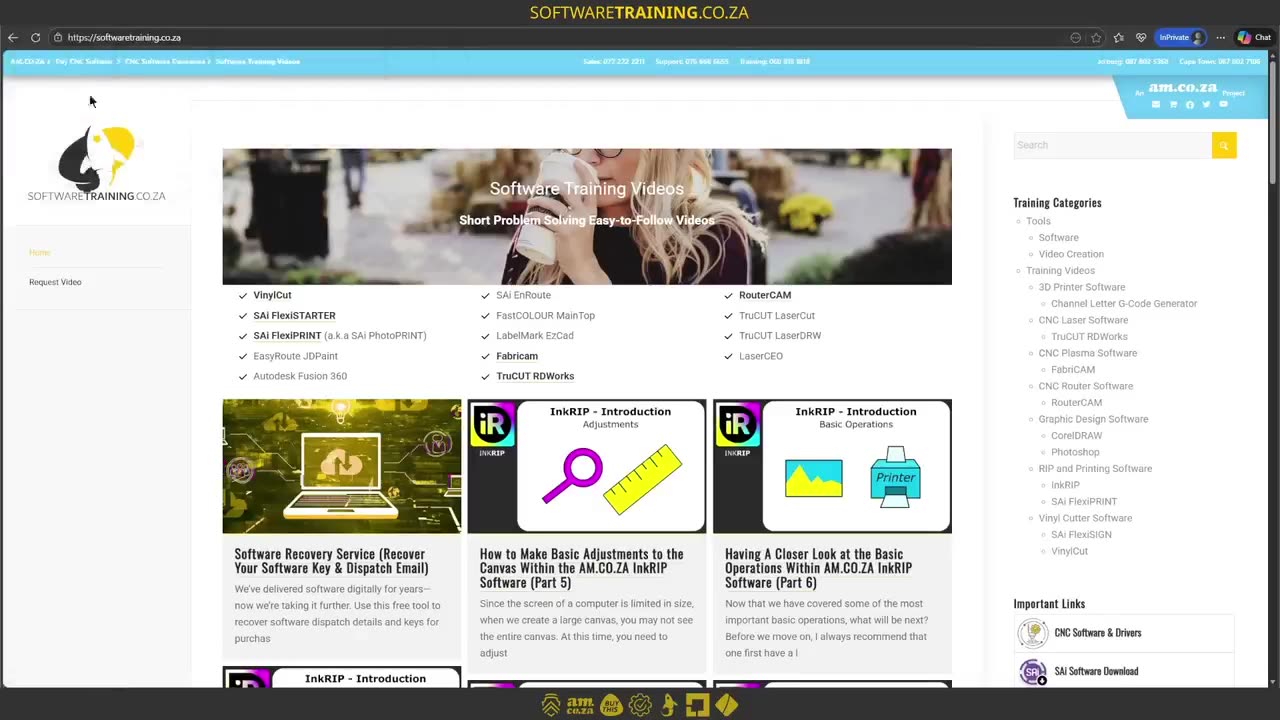
So, today's video can be found on softwaretraining.co.za. za where we make short and easy to watch problem-solving videos. Alrighty, guys. In today's video, we're gonna be having an overview of the spectrophotometer and how to use it. Now, when it comes to the spectrophotometer, this is the device we're gonna be using to ensure accurate ICC colour profiles. There's a few different things that comes with that we're gonna be looking at. So first of all, we have this measuring tray that we'll be using to put our printed charts on. And then we also have a ruler that comes with a form of tracking rail. Now, when it comes to the actual tray that we're putting our prints in, it's important to note that this tray has a specific white that it will use so in case the light sensor scans through the colour on the print, it will keep it at a standard base. So, that is why we use this tray because it gives way more accurate colour readings. Then, when it comes to the actual ruler, also a thing that's unique to this is you can see we've got this little track there which the spectrophotometer will be, how can I say, seated in, and it will only allow it to move sideways. Now, when it comes to the actual spectrophotometer, an important piece of the device is the actual collaboration or docking station. So this is this first one. Once again, as you can see, it's got a white little dot there in the centre. And that will be used to get an accurate uh calibration. Then we've got the actual device, which you can see we've got a laser there, and then we also have the button we'll be using throughout the scans. Now, a general rule of thumb is just keep that dock on the actual docking station instead of having it laying around. Another important point is the actual connection. So, you'll see we've got this USB cable that we wanna plug into the spectrophotometer and then into the actual PC. Now, when it comes to the actual operations, there are a few things to keep in mind, so we'll run through them. First of all, we wanna clip down our printed chart with this top clip, so it is important to cut your prints relatively accurate and to the correct size so it fits within this tray. Then, another thing that's quite important is we wanna make sure our ruler is aligned with the actual print because we're gonna be running the spectral photoometer to the side. If it is not aligned, we're gonna get an error in our actual scans. Then also, The sequence in which we scan is quite important. You will see on the test prints, we have these numbers 123, and 4. Now, obviously, we want to scan it in that order. So, we wanna start with scan 1 till it's successful, then move on to scan two, and so forth. Now, the direction in which we scan, in all the scanners, you would wanna go from left to right or right to left depending on the way your actual print is and keep that consistent. But then, in the newer scanners, we can actually go from left to right, right to left, and so forth, which saves us a little bit of time. Now, when it comes to putting our spectrophotometer on the actual ruler, if we had to pick this up and look in the bottom, you will notice we've got these little guide holes. Now, those will nicely slot into the guides on the ruler which will nicely put it in place. Then, once we have that in place, what we wanna do is align our ruler to the first line. You'll see we're align it to the bottom of that. Another important point is we actually want the centre of the laser to always start and finish on a white piece of area. So it mustn't start and finish on a print, otherwise, it will give us a read error. So now, when it comes to the actual scan, we wanna hold the button in, wait for the green light to go on and off, and then only move the device. Likewise, when we stop, we want to stop solidly, then only leave the button and then wait for it to show us the green light again. So now, the duration of the scan is about 3 seconds. So we just want to have a nice smooth motion. Then we can simply move the device and the ruler up to the 2nd light. Making sure we start on white spacing again. Hold the button, green light, move it about 3 seconds and release it on the next white space, and we just repeat the process like that. Now, if we, for some reason, don't get a successful line like in this case, where we started the scan too late while we're already moving, then we'll wanna just rescan this. You can obviously go from any direction, so we can go either from the right to the left or the left to the right, and then try to get a successful one. In the meanwhile, though, if we head here to softwaretraining.co.za. You guys will notice we've got a variety of different softwares we do cover, and you can also isolate your search here on the top right. If you do not, however, find the training videos you're looking for, simply go here, request the training video, fill in the mini form, and then we'll do our best to try and make that for you. But otherwise, thanks guys for watching and cheers.

 pexels-domenico-paolella-6058231-Index