Adding Footnotes with Additional Information Within the AM.CO.ZA InkRIP Software (Part 8)

inkrip adding footnotes
In some cases when you are working for a client or a brand, they might require you to add print information to your designs.
This print information will help the client to better understand information in regard to the more technical side.
This video is part of a Mini-Series.
.
The previous video covered Text.
Video Transcript
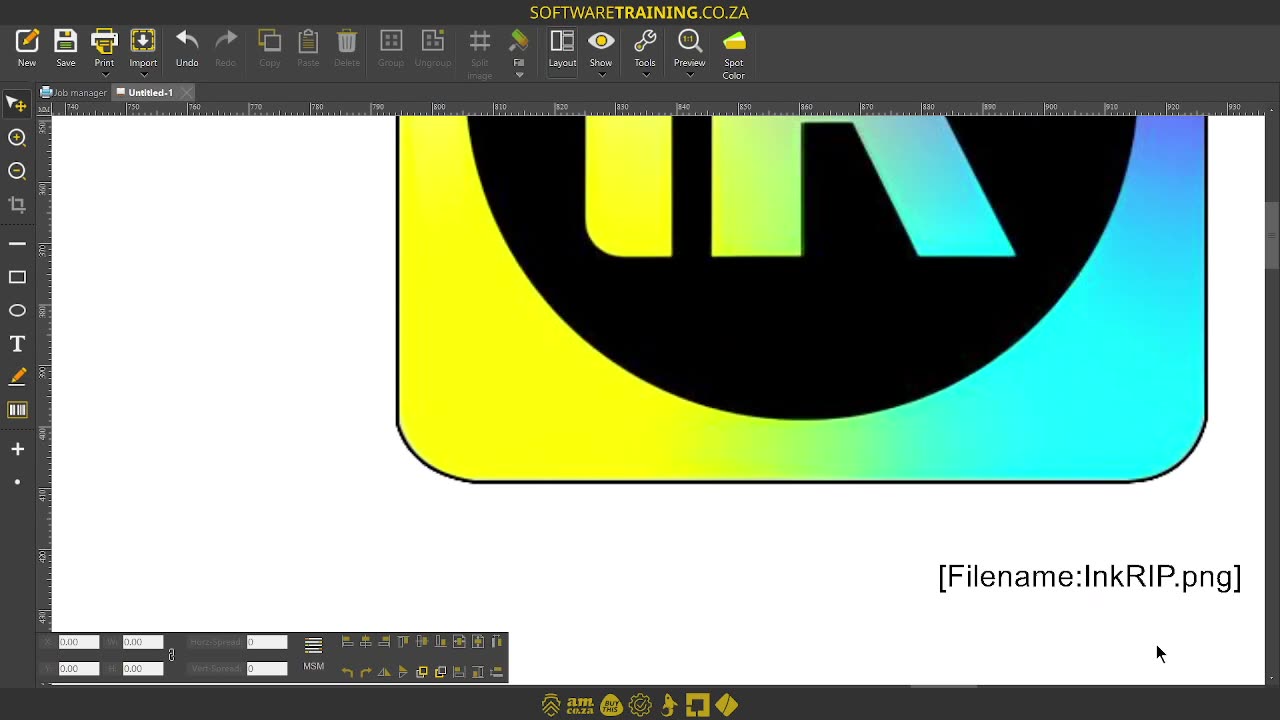
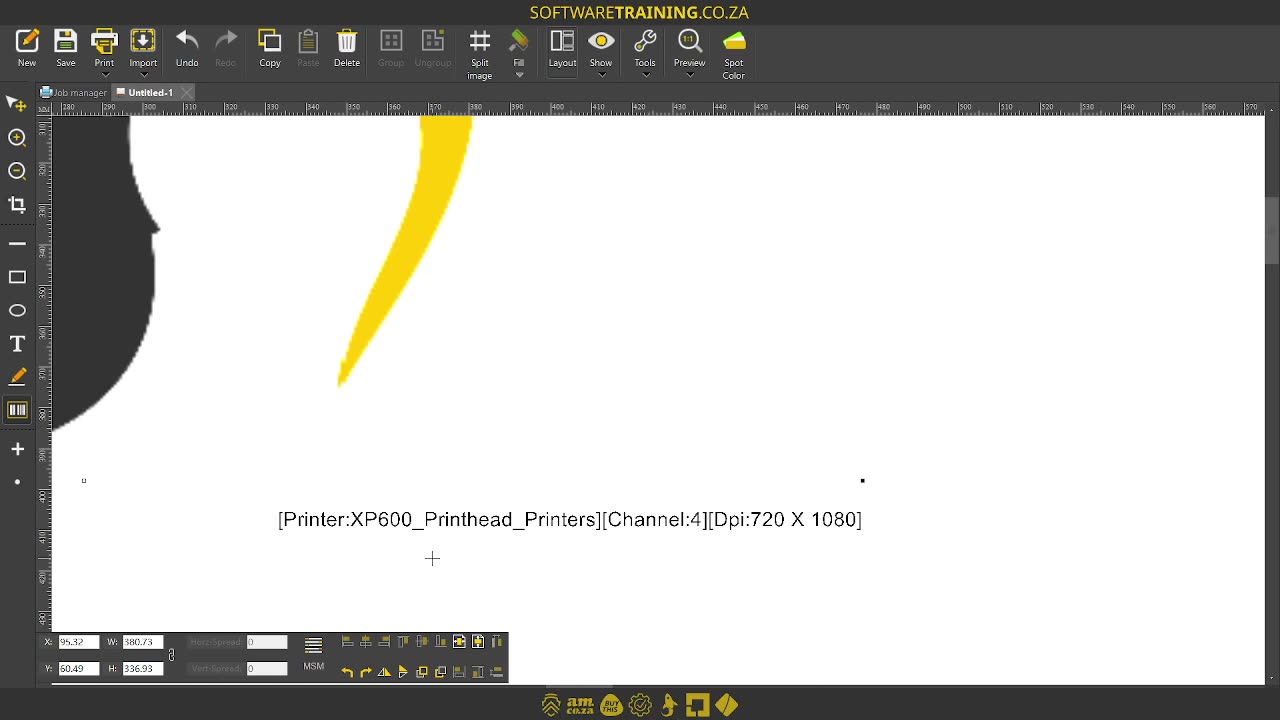
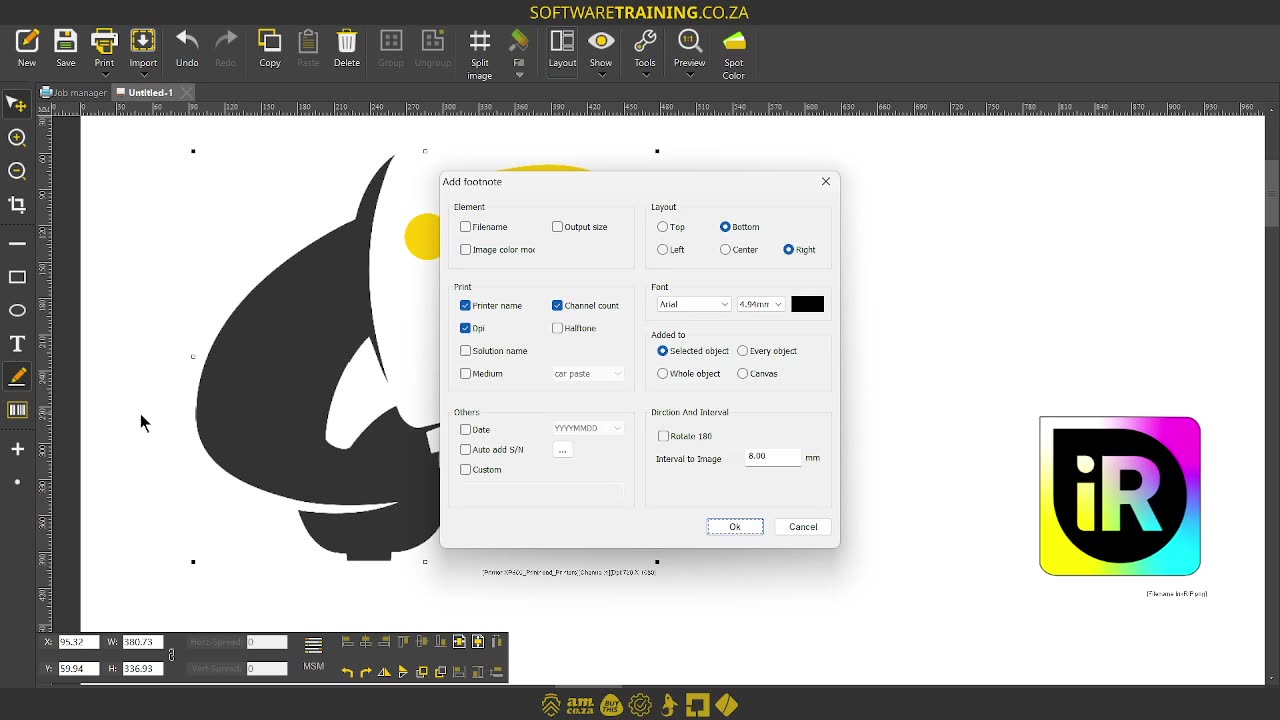
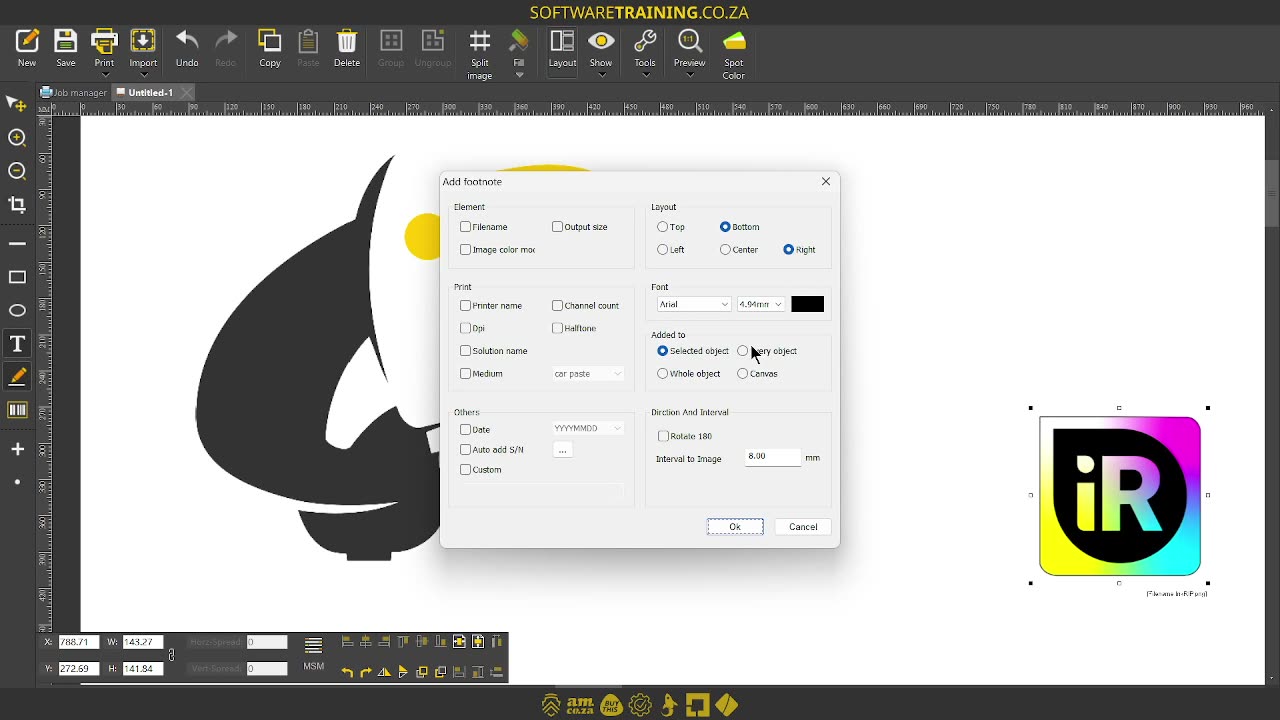
Howdy, guys. In today's video, we're gonna be looking at footnotes within encrypt software. But before that, let's have a quick intro first. So, today's video can be found on softwaretraining.co.za. We make short and easy to watch problem-solving videos, and we also have daily updates. Now, if we're heading into the programme here, like I mentioned in today's video, we're gonna be looking at a footnote. Now, first of all, what is a footnote? It's pretty much extra information we can add on the page or the design, and that helps maybe another designer or a client understand what's within that. Depending on different uh elements. So, first of all, um, to locate it, we wanna go here on our toolbar. And then, under the text tool, you'll see we've got this little pen with a line, and that is to add a footnote. Now, I'm just gonna open this quick so we can see what we have here. Now, important on the left here, this will be the type of information we wanna add to our our design. So on top, we have some element. And um we've got the file name, output size, image colour, and so forth. Then under that, we have print, so this will be your printer's name, uh maybe your channel count, DPI, halftones, things in that line. So this is handy if you may be sending it to someone and they have to know what type of information for the printer or which printer to use and so forth. Under that, we have others, so we can add like custom dates or maybe serial numbers, and uh we also have a custom field there, which is nice. Then, on the right here, we basically have a form of location of the footnote. So, over here, first of all, we can choose where we want it. If it is our actual design, overall design, we can choose do we want it on the top, bottom, left, centre, right, and as you can see, we can join this. So we go bottom right, so it will appear over here. Then under that, we have the font, the size, and the colour of the footnote. And then add to. This one is maybe one of the most important ones, but we'll come back to that. To show you some samples. And then over here, we've got the direction. So we can pretty much have like a, a form of rotated and we have intervals for that. So if you wanna customly set up where the footnote is relevant to whatever it is added to. Now, like I said, OK, so under the add to, we have a few different options. We have selected object, so this will add a footnote, obviously, to only what was selected. Currently, nothing is selected. Then we have one for every object, so maybe if you're printing multiple things of the same design. Then you could add a footnote to each one. Whole object, and then we also have Canvas. So now, a whole object will obviously, whatever, it will treat all the objects as a single unit. And uh the canvas will add it to the actual canvas design itself. Now, let's quickly look at a few. So I'm gonna, let's say we only wanna add a footnote to this object. Then, we're gonna select that object, go footnote, select the information we want. So maybe in this case, we'll do the file name and yeah, let's just leave with the file name for now, and we want it on the bottom right of this. Now, depending on the size of this object, obviously, the text is longer. It will start at the bottom right and it will print it this way. So, I'm gonna leave everything else the same, so, OK, and now you can see here, we've got our actual footnote, and zoom there. You can see, you know, it's got the file's name, the image's name. Now, let's go back to footnote. Now, obviously, should I say, I can select this object. We go, it's the wrong one, let's go to footnote. And now, I can maybe different information, maybe the printer name, DPI and uh channel count. I'm gonna make sure it's to selected object and then say, OK. And now you can see we've got two different footnotes here, different information. For the different shapes. Now, to remove footnotes, what we wanna do is, let's say we wanna remove this one, we select the object, go footnote, and then we remove all the information on this side, and make sure it's to select it, say, OK, and you can see it removes it for us. Now Yeah, let's just go back to the footnote. I'm gonna remove this one as well, so you can see everything's still the same, and select it. Say, OK, and there, everything is gone. So, pretty straightforward, but like I said, this is nice if you wanna add extra information on the actual design for maybe another designer or whoever's printing it to understand what to use. But yeah, otherwise, that is it on footnotes. In the meanwhile, if we head here to softwaretraining.co.za. za you guys will notice, we've got a variety of different softwares we do cover, and you can also isolate your search on the top right. If you do not, however, find the training videos you're looking for, just simply go here, request a training video, fill in the mini form, and then we'll do our best to try and make that for you. But otherwise, thanks guys for watching and cheers.