Finalizing Our Newly Created ICC Profile Files Within the AM.CO.ZA InkRIP Software (Part 9)

inkrip icc profile files
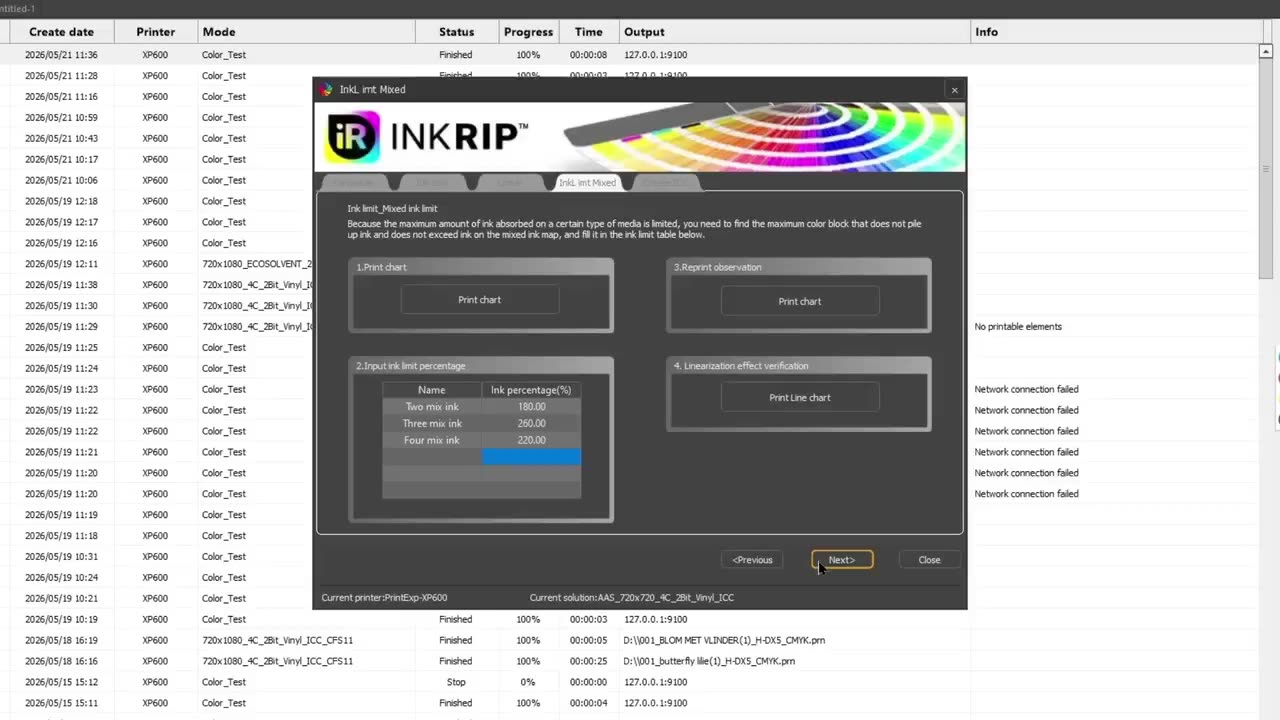
After we have set and adjusted our Parameters, Ink Limit, Linearization and Ink Limit Mixed, we want to tie it all together.
In order to tie all the adjusted settings together for a final ICC Profile, we need to finish adjusting the most important chart.
This video is part of a Mini-Series.
The next video covers Import / Export & Modify.
The previous video covered Ink Limit Mixed.
Video Transcript
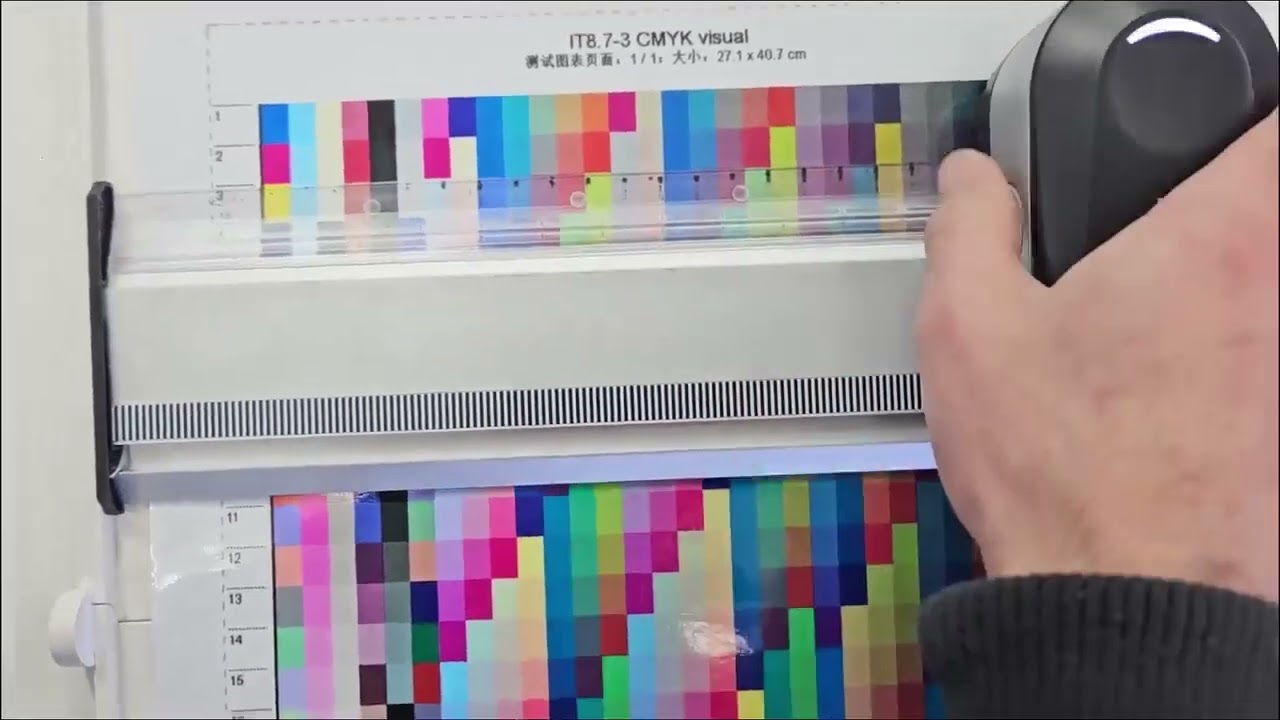
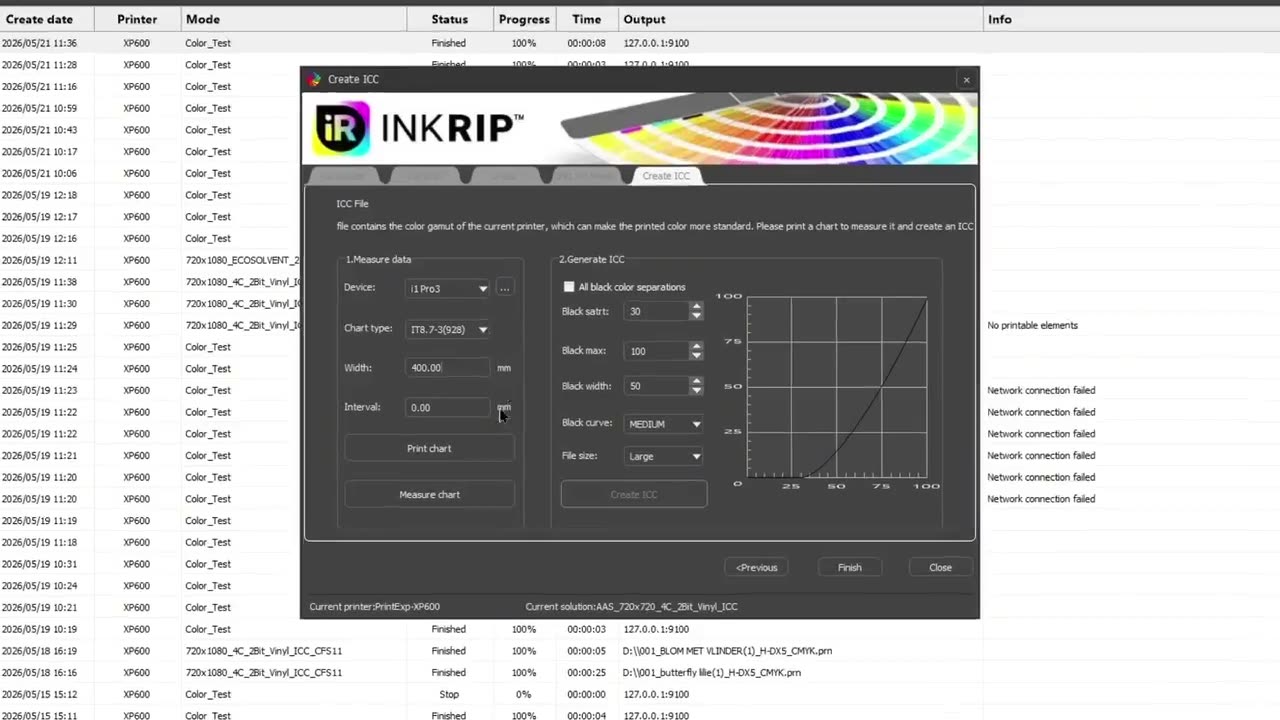
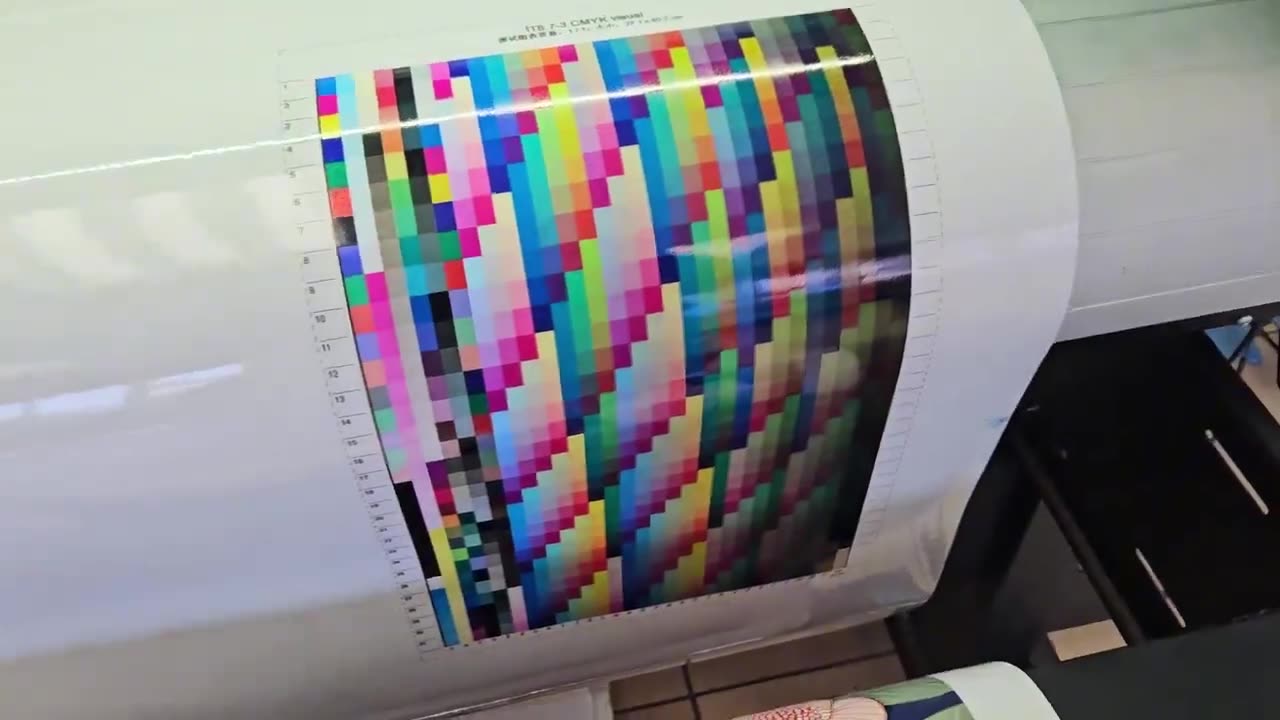
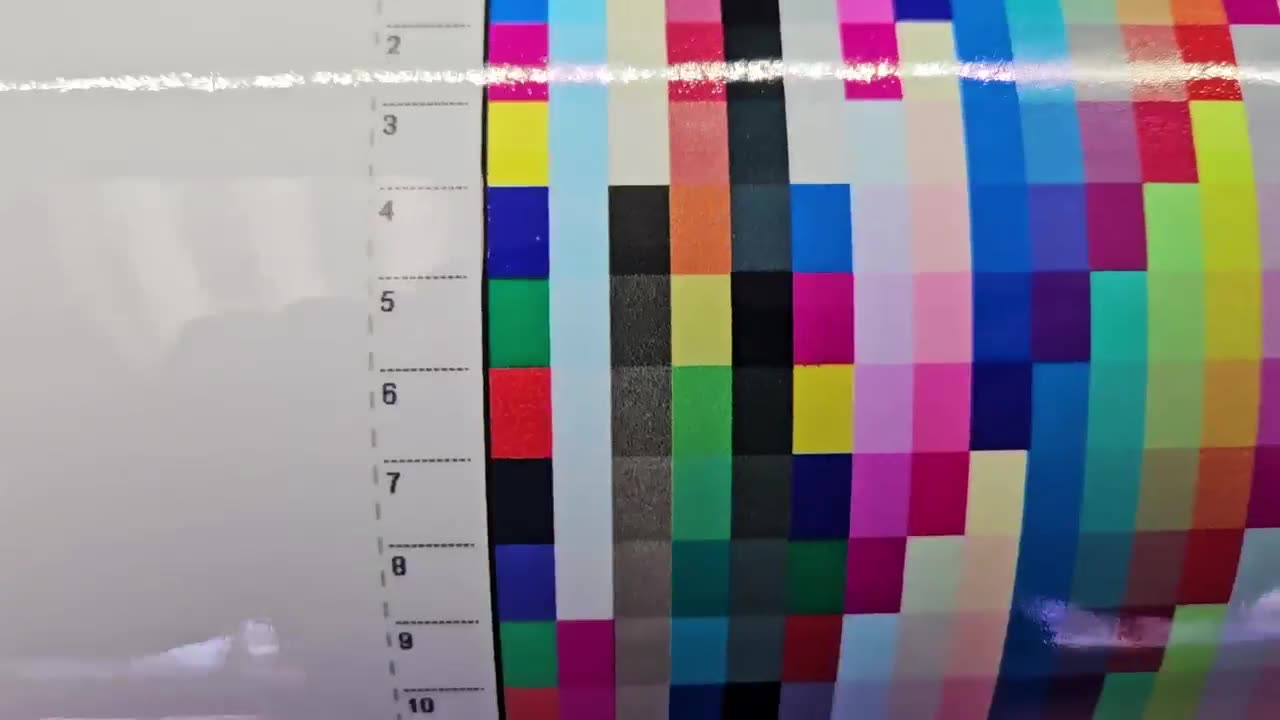
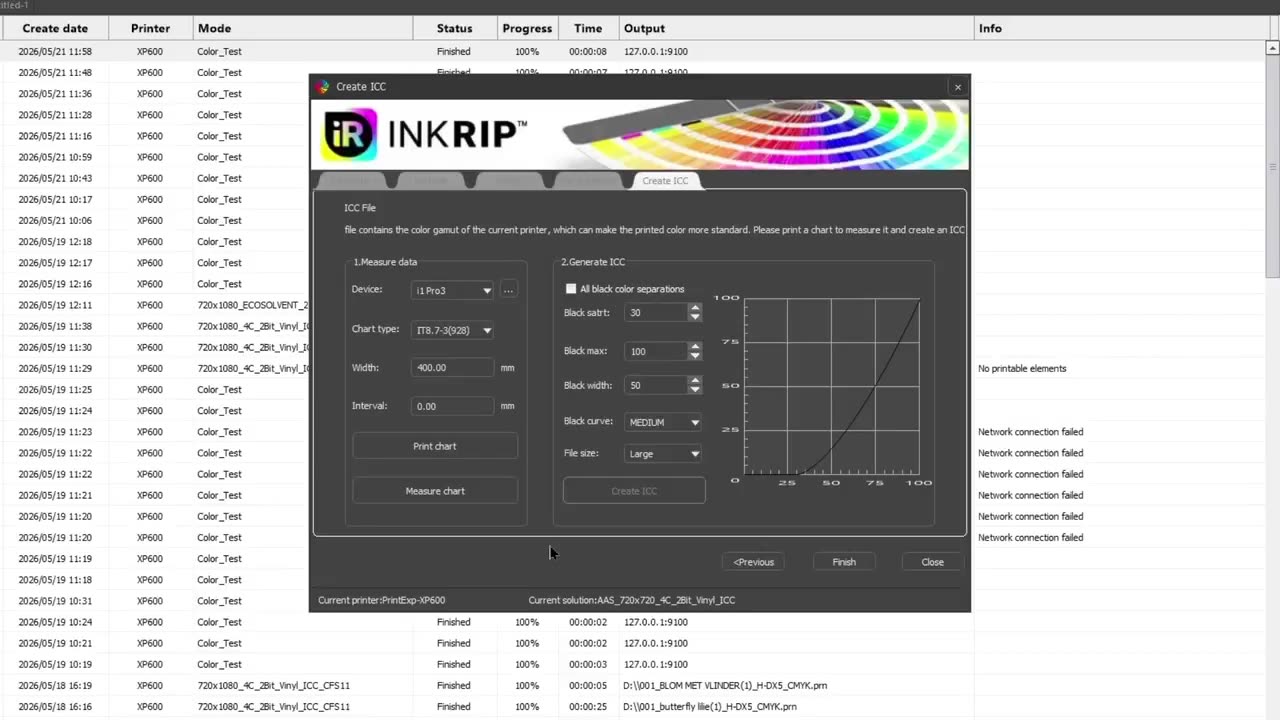
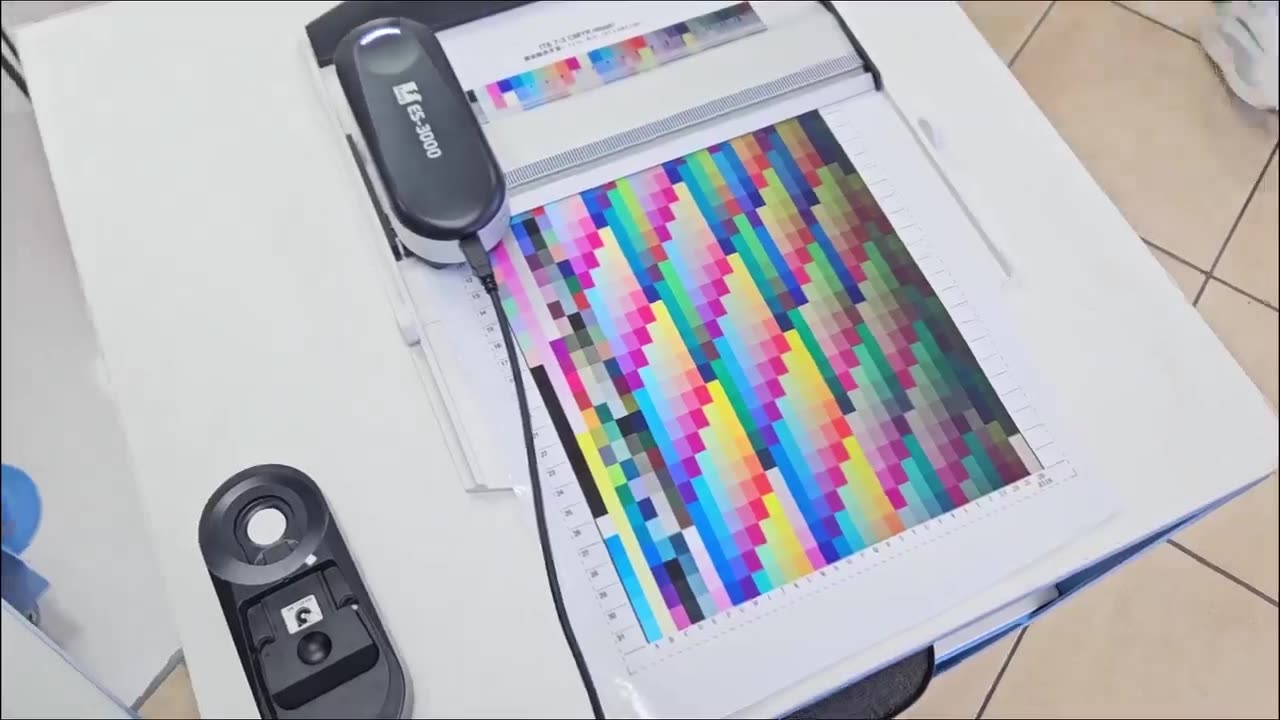
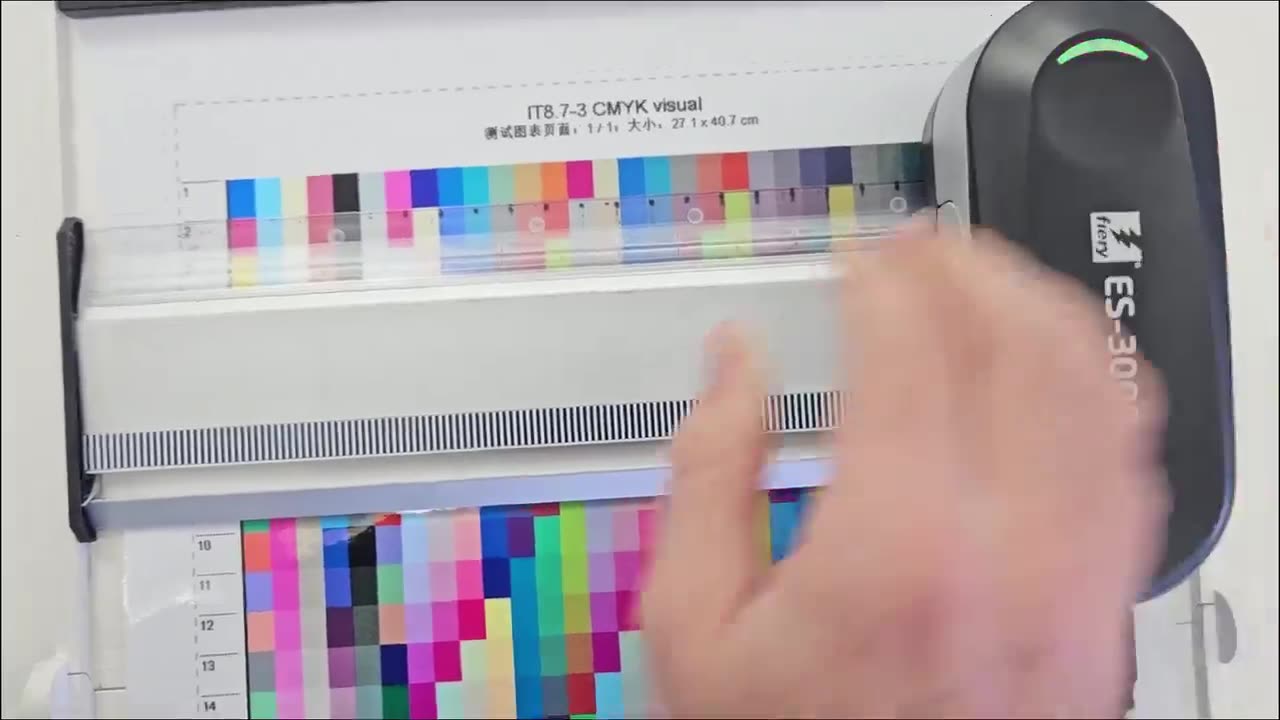
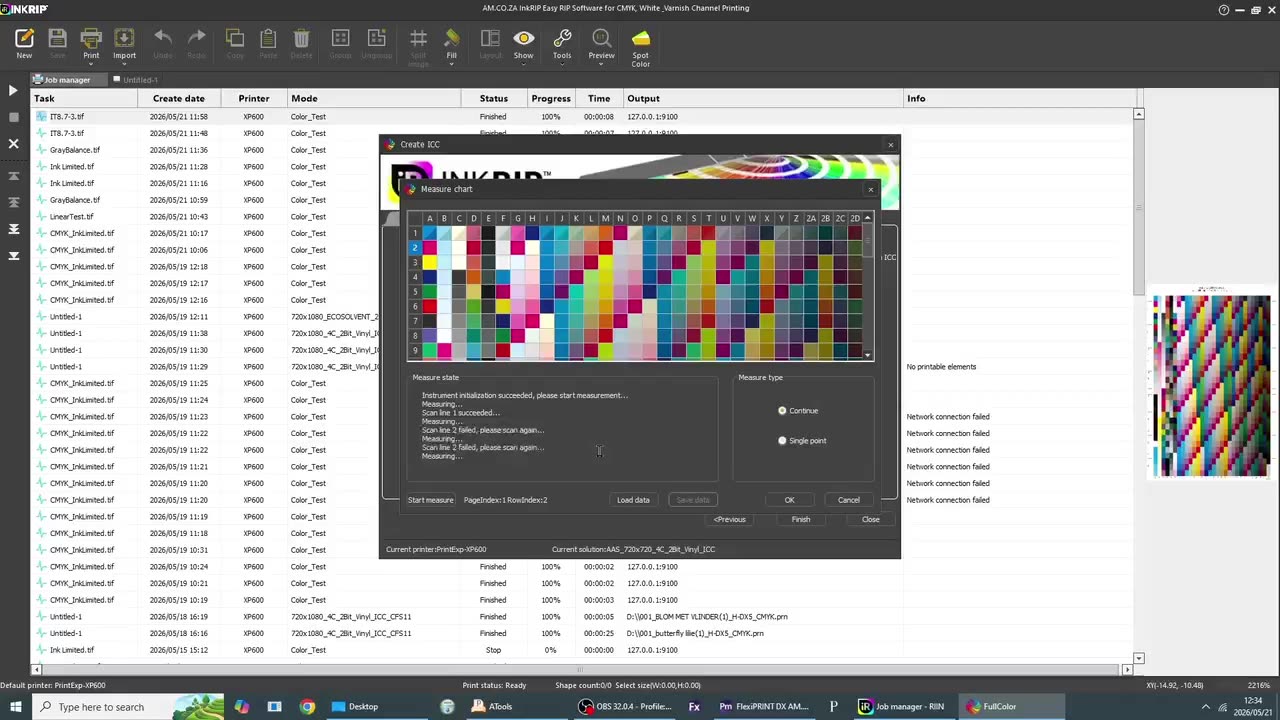
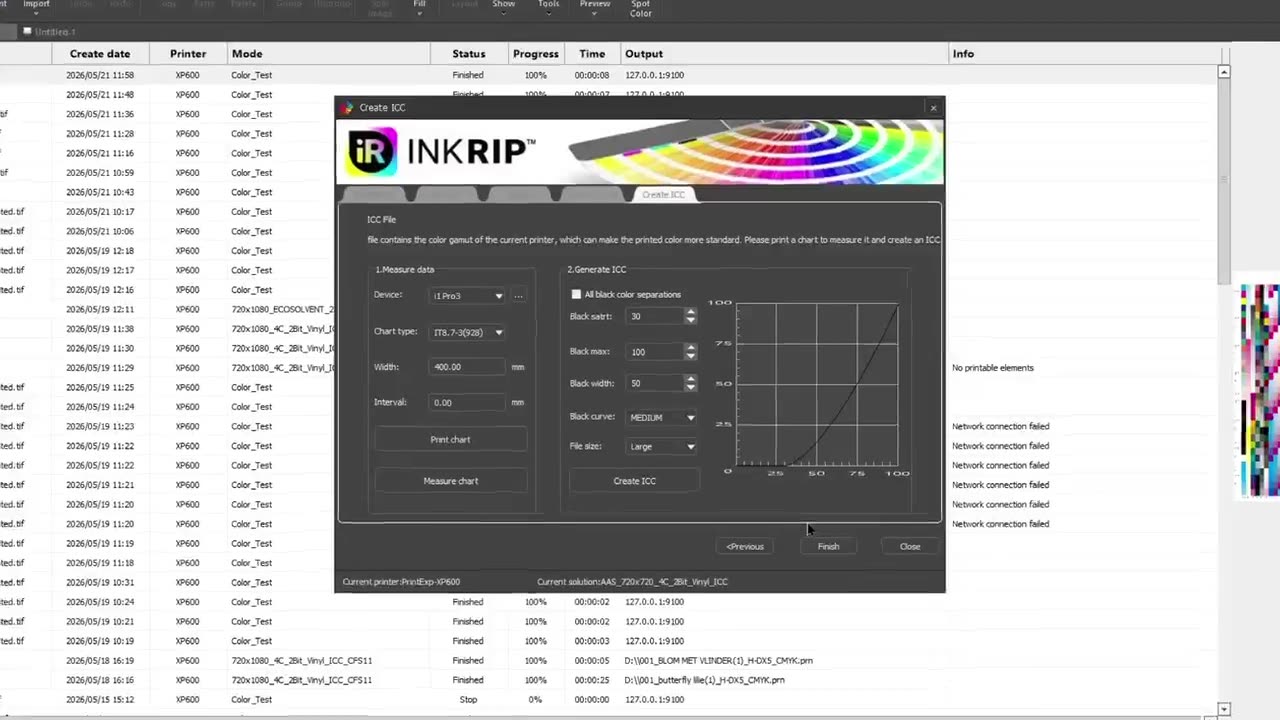
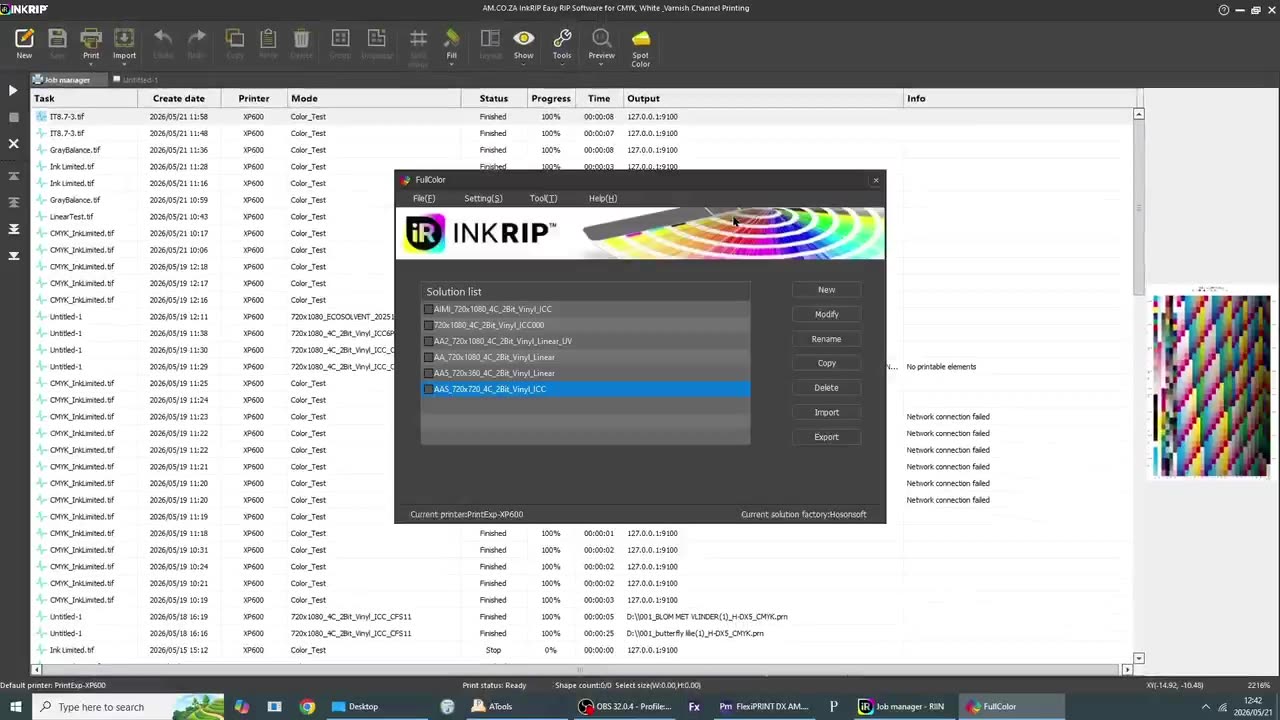
Alrighty, guys. In today's video, we finally get to finalise the ICC profile, but before that, let's have a quick intro first. So, today's video can be found on softwaretraining.co.za. za where we make short and easy to watch problem-solving videos. Now, when it comes to the actual final step here of creating the ICC profile, we have one more chart we wanna be doing, and this will really tie things together and then we'll create the chart. So now, in the actual colour manager, we're gonna click next and you'll see we are met again here with a few different options. On the left here, we've got the measured data. So we wanna once again, just ensure that our device is set to the correct one, which it is, our chart type. I'm just gonna leave it on the default, but yeah, you can play with different charts if you want to. Then we've got the width. And the interval. Then, I'm gonna click print chart. Once again, this is gonna print as a chart. This time, it's gonna be a lot of little colour blocks with a variation of them. And we can get some information on the top here about the chart, and then on the side, you can see we've got 1234, and it'll go all the way down. Now, yes, unfortunately, you have to measure every single one of these, but this will give you a very accurate ICC colour profile. So, it will take all these colour blocks, get a general average, and adjust it accordingly. And once again, we wanna click measure chart and then make sure your spectrophotometer is docked and then we wanna click here start measure. Once again, if we see you succeeded, we can start. Now, I've already got everything set up here, so you can see we've got our ruler on the first line and I'm starting on a white space and then we're simply gonna just scan every single one of these. And once again, the order is not that important if it comes to left to right, but it is important that you start by 1234, and go down. As you can see here, we're scanning through them. Every now and then, we'll get a fail and then you just print that one again or scan that one again. You know, once you're happy, we simply say, OK, now you'll see the create ICC button has become available. If you want to, you can go there and adjust some separate things from the blacks and so forth, but I'm just gonna leave mine the way it is set up. OK. And then after that, what I'm gonna do is simply click this create ICC chart. Now, this is gonna take a while or might take a while depending on the file size. You just wait for this to finish loading. I'm just speeding up mine for the sake of the tutorial. After that, it will give you a message saying it was successfully created. I'm gonna say, OK, and then you wanna click finish. And then after we click finish, it will add it to our actual list of ICC profiles. Yeah, otherwise, if we head here to softwaretraining.co.za. za, you guys will notice we've got a variety of different softwares we do cover, and you can also isolate your search on the top right. If you do not, however, find the training videos you're looking for, just simply go here, request a training video, fill in the mini form, and then we'll do our best to try and make that for you. But otherwise, thanks guys for watching and cheers.