How to Modify and Add Custom Resolutions Within the AM.CO.ZA InkRIP Software (Part 6)


inkrip custom printing resolutions
Like mentioned before, the printing resolutions are limited by the printheads physical capabilities.
That being said, it is very important that the driver reflects the printheads physical limitations.
This video is part of a Mini-Series.
The next video covers CMYK – Slot Order.
The previous video covered Resolutions.
Video Transcript
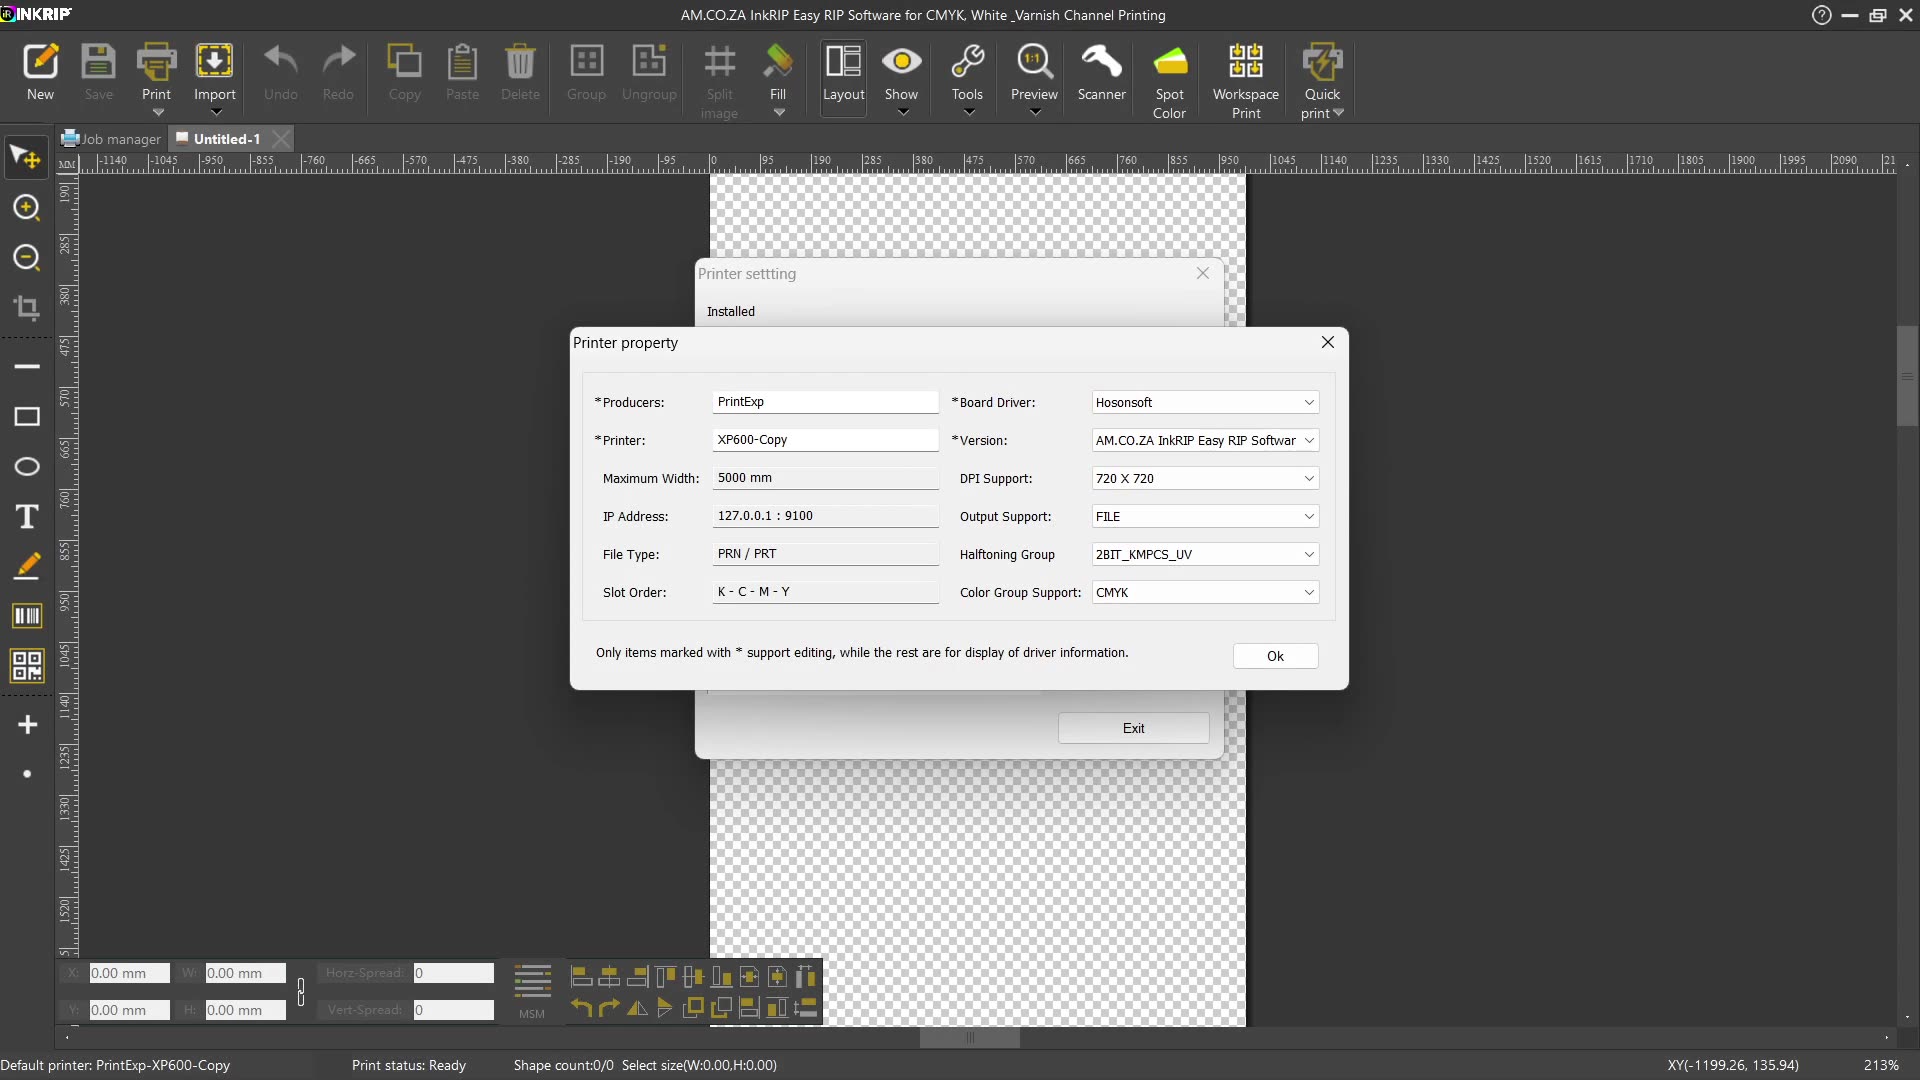
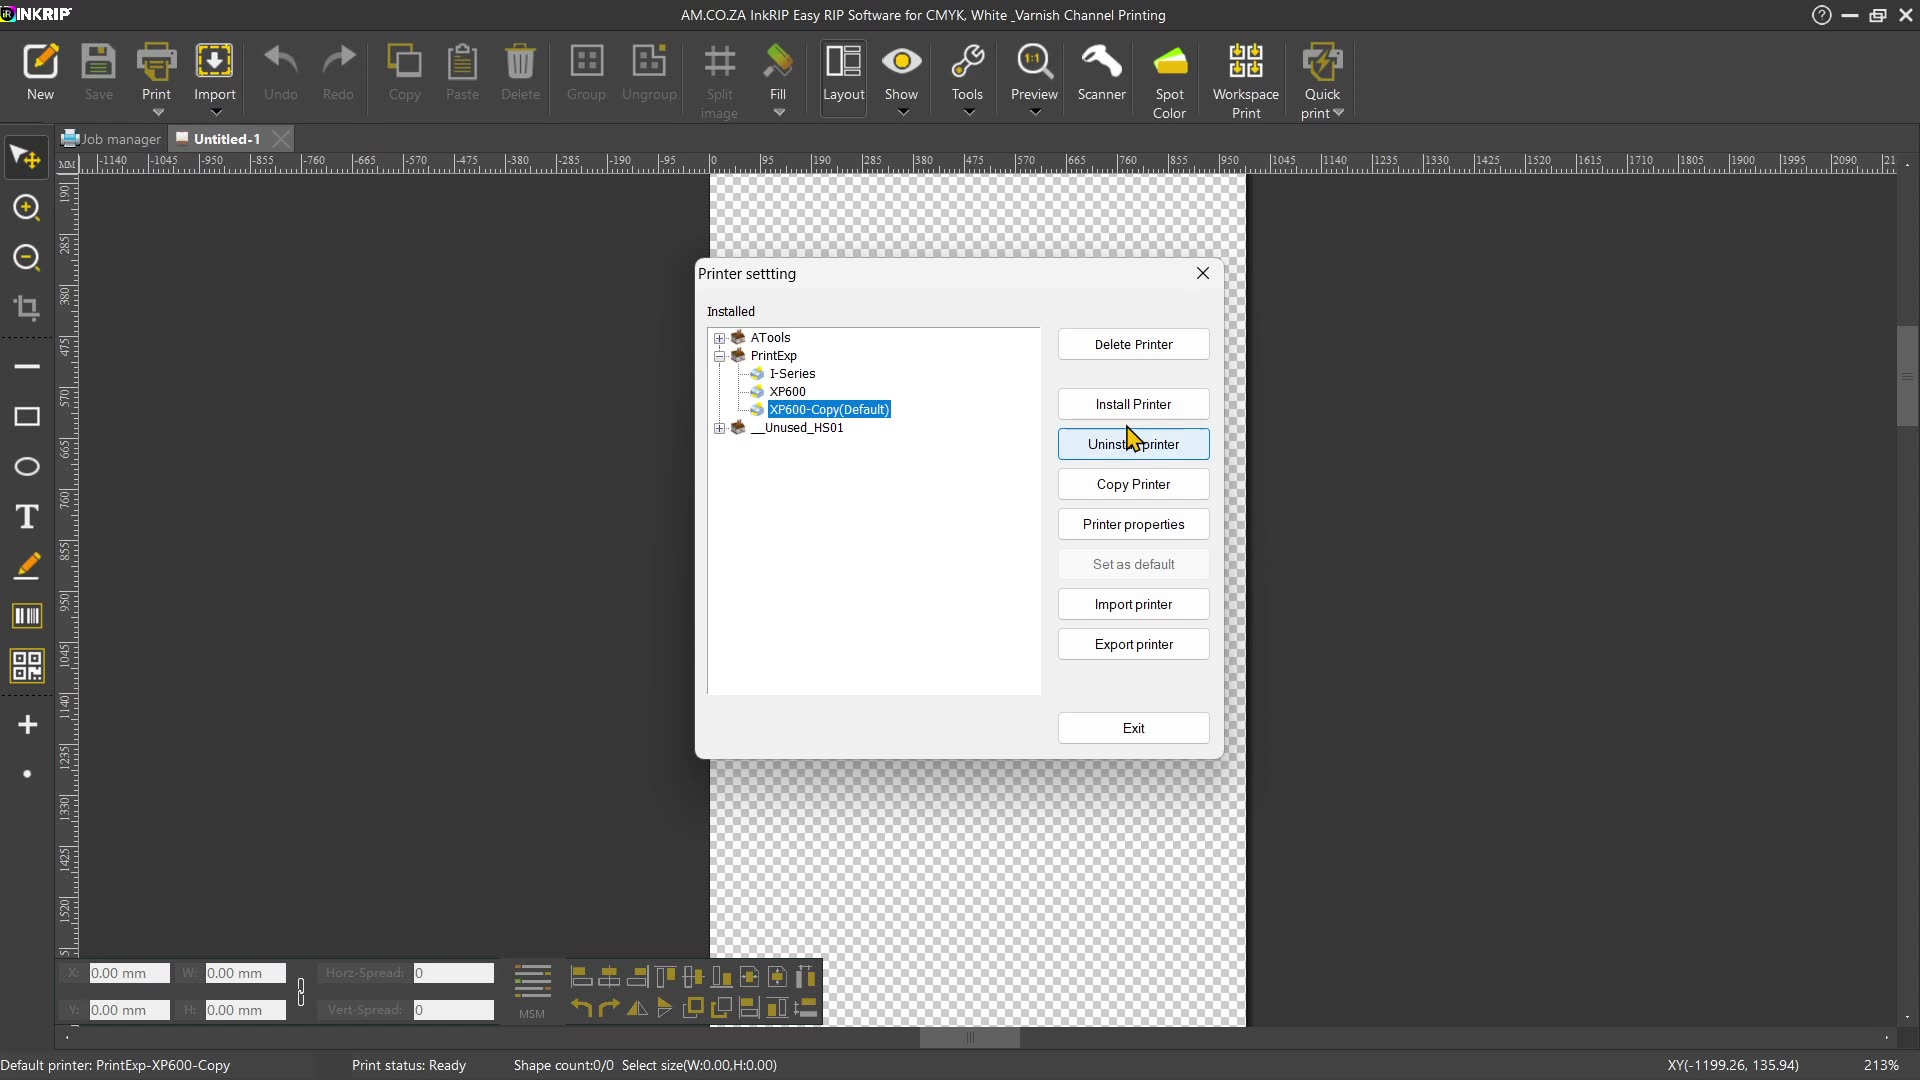
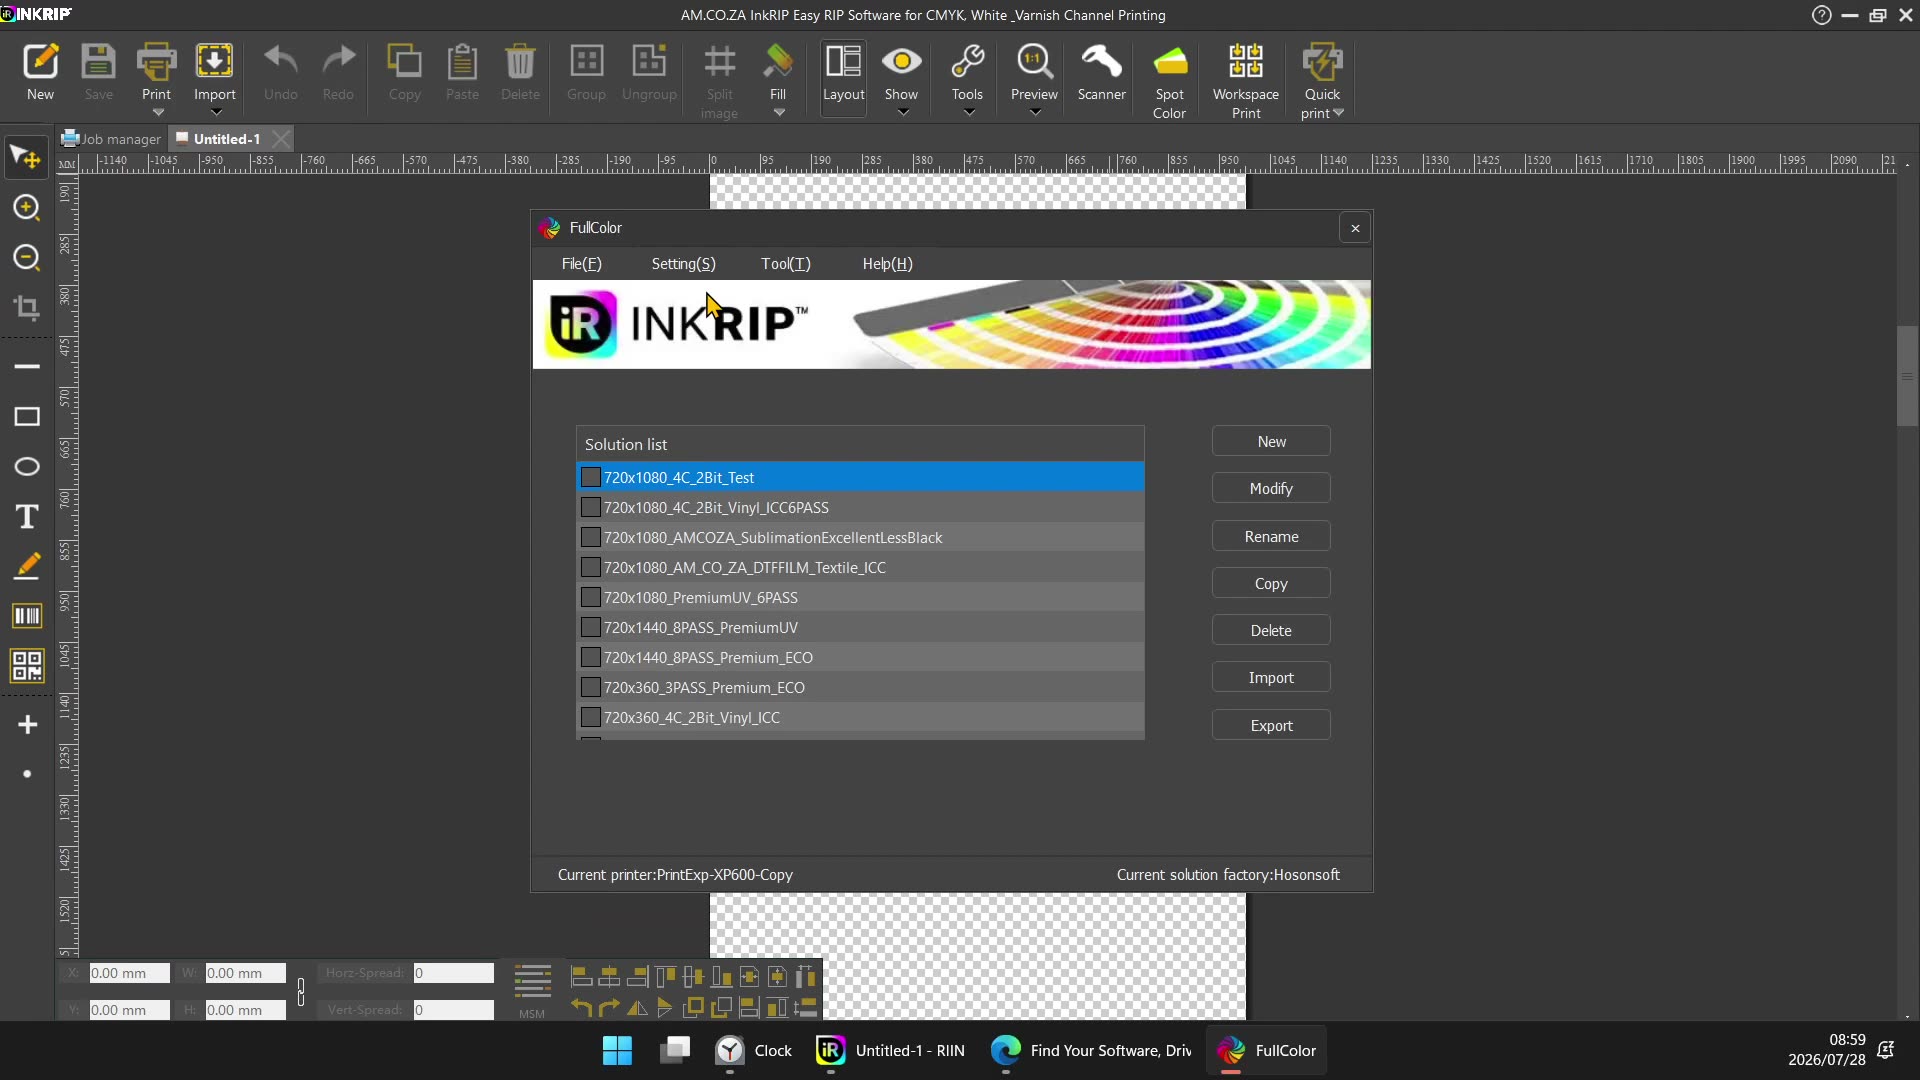
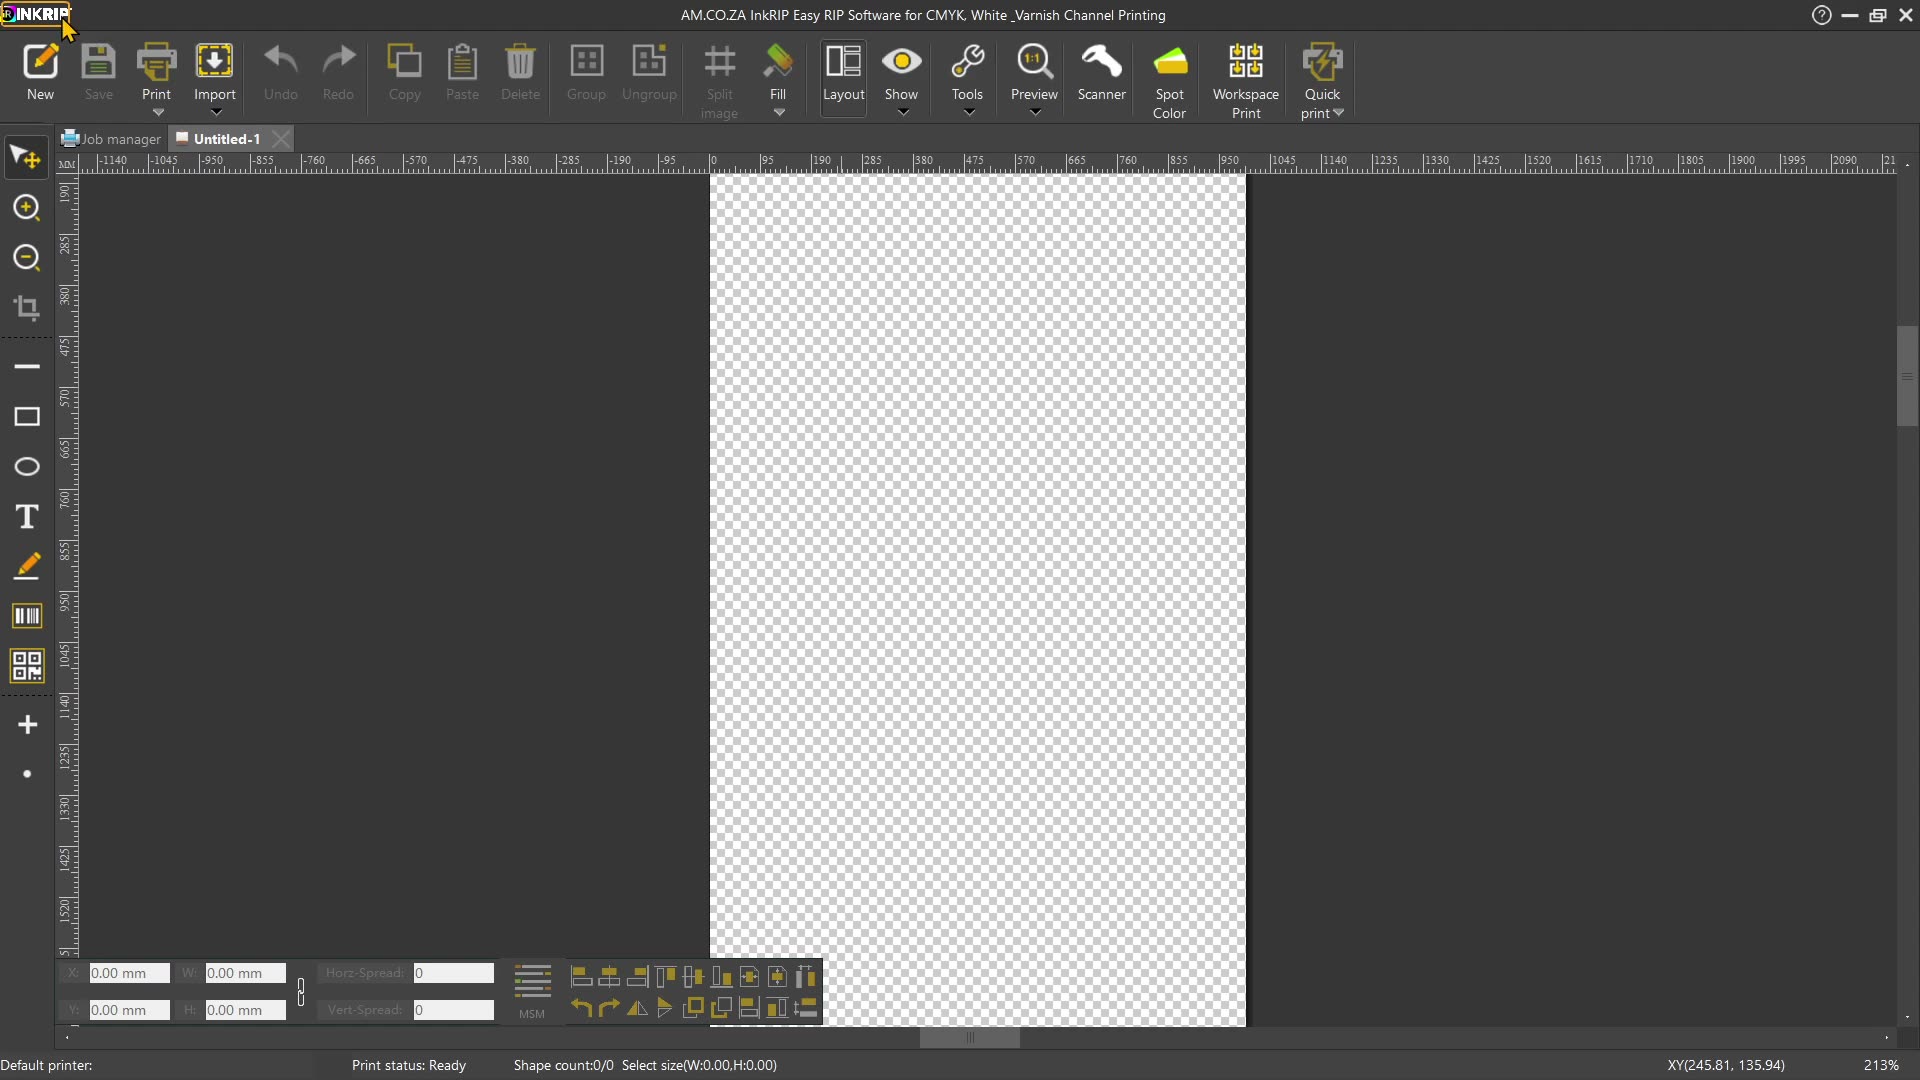
Howdy guys. In today's video, we're gonna be looking at how to modify driver resolutions within in Group. But before that, let's have a quick intro first. So, today's video can be found on softwaretraining.co.za. za where we make short and easy to watch problem-solving videos. Now, if we're into the actual programme here, so in the previous video, we had a basic overview of resolutions. So the important things are that the resolution is relevant to the actual print head. So you have to do either contact your support or do research on the actual print head and so you can know which resolutions to add. Then under the resolutions, the first one here is the X, which means the speed. The second one is the Y, which is the amount of dots. Then, depending on passes, you can double these to increase the resolution, but in return, it also decrease your speed. Another thing that's important is in order to edit these resolutions, we need to set the printer as default, which currently it is, and then to edit them, we're gonna go to our actual encrypt and then our colour manager. Now, under our calendar manager, we wanna go to settings, driver settings, and here, you can see we've got some settings for the actual resolutions. Now, the general practise is try add all the supported resolutions. So in general, depending on your frequency on that, you will have um different speeds your printer can go at, so slower and higher. Obviously, the higher The um I'm gonna say the less accurate things can become. But in general, you wanna add them here depending on what is supported in your control software and your print head. So now, we looked at the leading, so you simply select one and then you can click delete. But now, let's say we wanna add one. Then we can simply go to this first one, we go add, and then we can add the X, which was the speed of the printhead, and the Y, which is the resolution. Now as you can see, it's got the settings of the one we deleted, so I'm just gonna leave this the same. And in general, a good practise not to name this because then it just keeps the name here. Now, after I've added it, I can go sort, and then you can see it sorted correctly by simply clicking that. Now, you can obviously also select one. You can say modify. So if you need to change the resolution, maybe you made a mistake, so instead of deleting it, you can simply modify that. And then that is ready. So as we can see now, we've added that new one. We say, OK, tells us that it is updated. Then we go back to our actual printer setting. Or properties. We can see under this um DPI support, we have that 360 back. So now, in all essence, yeah, you probably can just add the resolution you use often, but like I said, it's good practise. Add all the supporter ones, especially if you're gonna be setting up something like an ICC colour profile. Then you oftentimes are gonna do it for multiple resolutions and uh sometimes even speeds. But yeah, otherwise, that is it on the actual printhead resolution for the drivers. In the meanwhile though, if we head here to softwaretraining.co.za. za, you guys will notice we've got a variety of different softwares we do cover, and you can also isolate your search on the top right. If you do not, however, find your training videos you're looking for, just simply go here, request a training video, fill in the mini form, and then we'll do our best to try and make that for you. But otherwise, thanks guys for watching. And cheers.