Adjusting and Calibrating the Ink Limit Within the AM.CO.ZA InkRIP Software (Part 6)

inkrip adjust ink limit
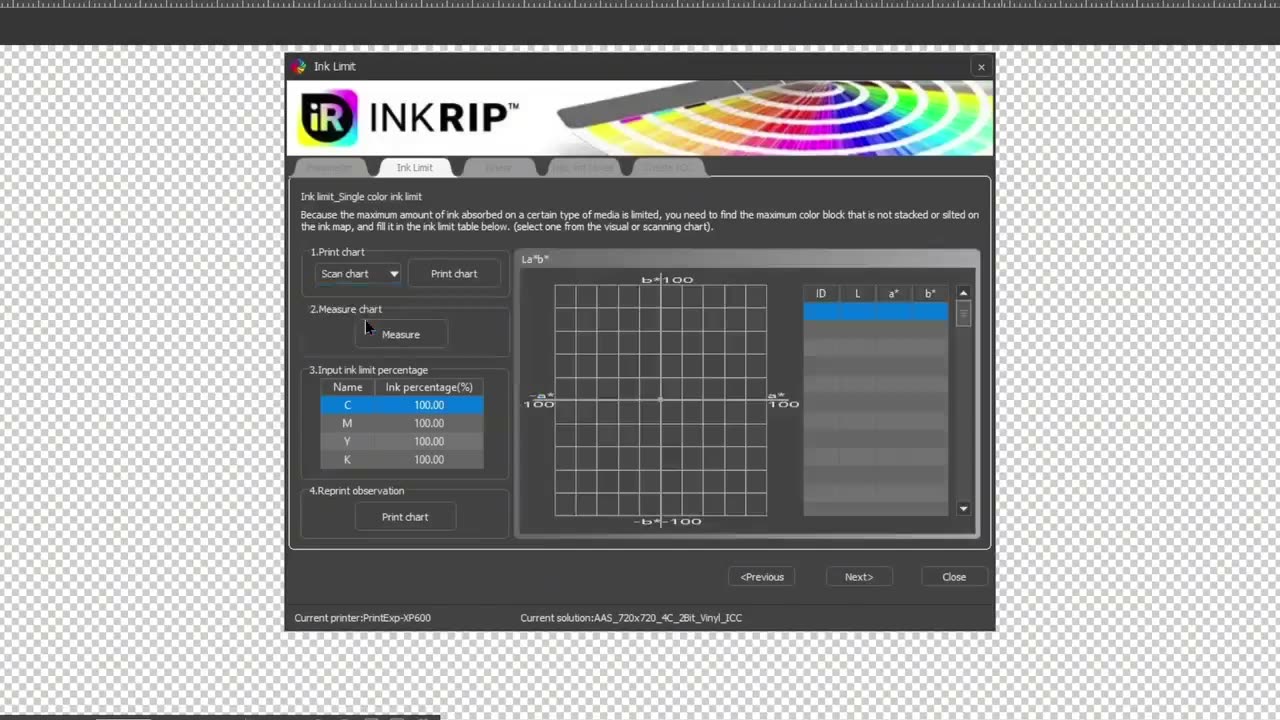
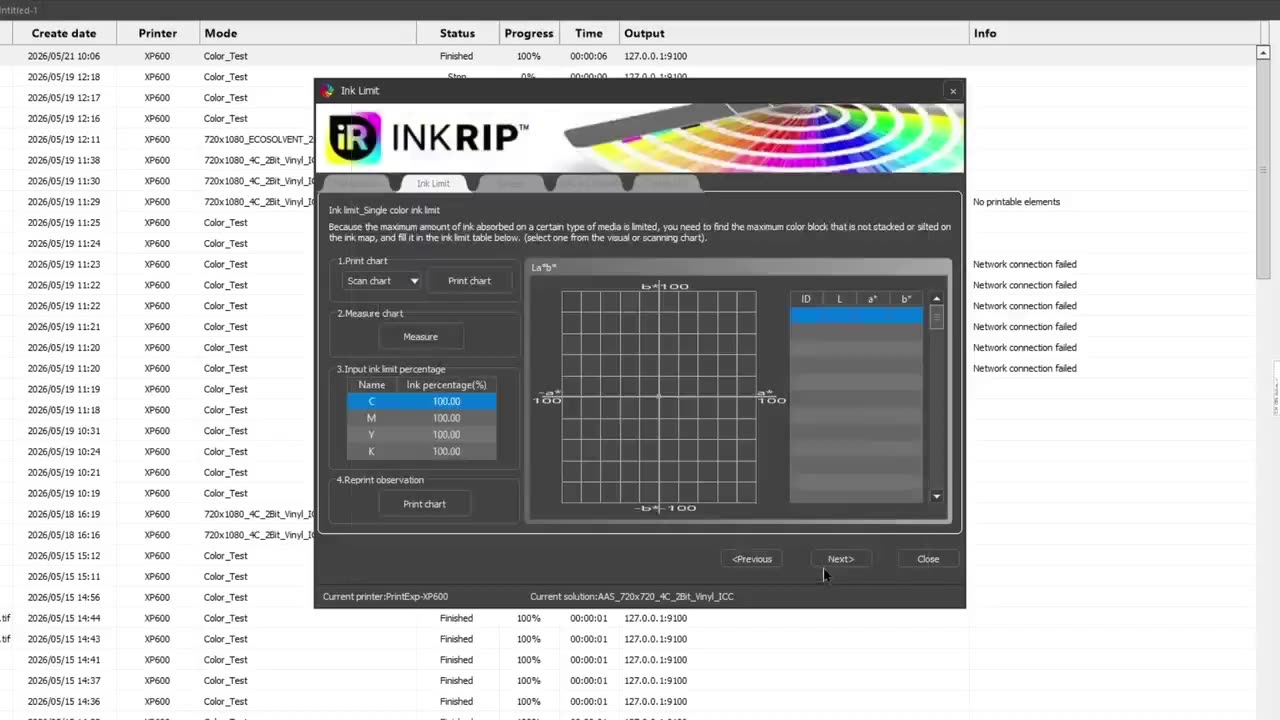
After we have adjusted the Parameters of our newly created ICC Profile, we want to jump into the Ink Limit tab.
When it comes to the Ink Limit Tab, we will finally start using the Spectrophotometer to calibrate these limits.
This video is part of a Mini-Series.
The next video covers Linearization.
The previous video covered Parameters.
Video Transcript
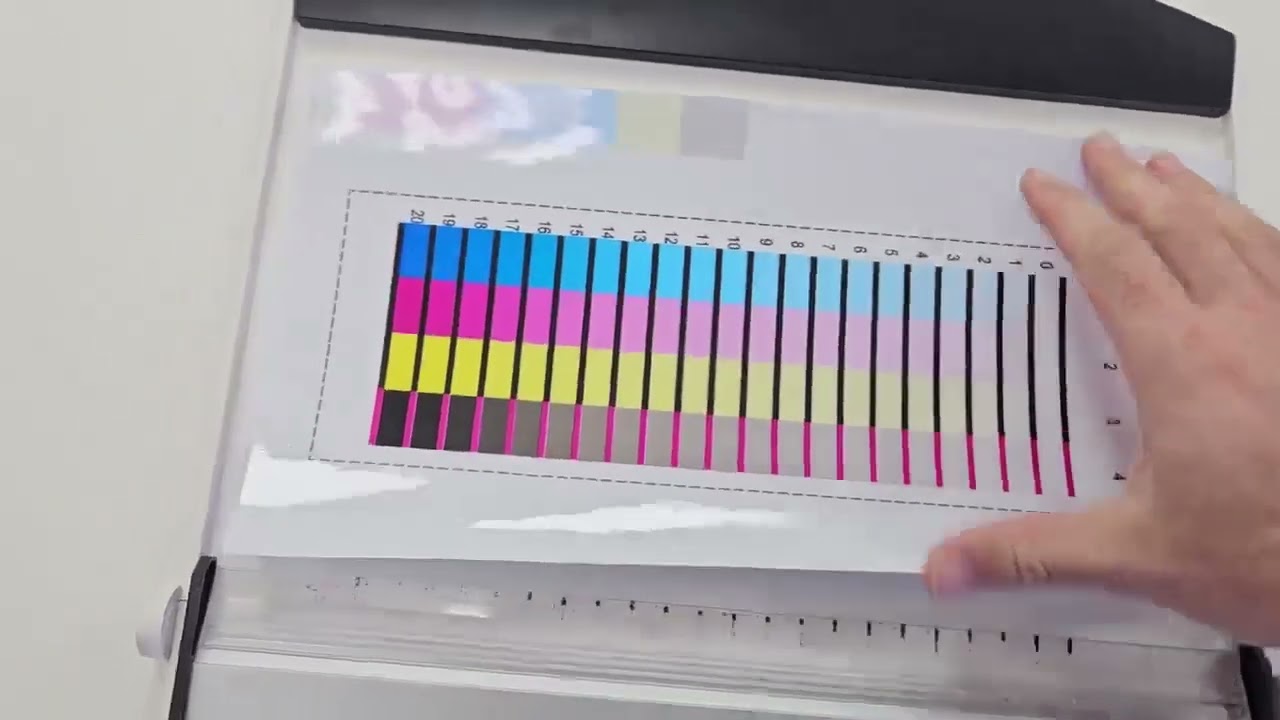
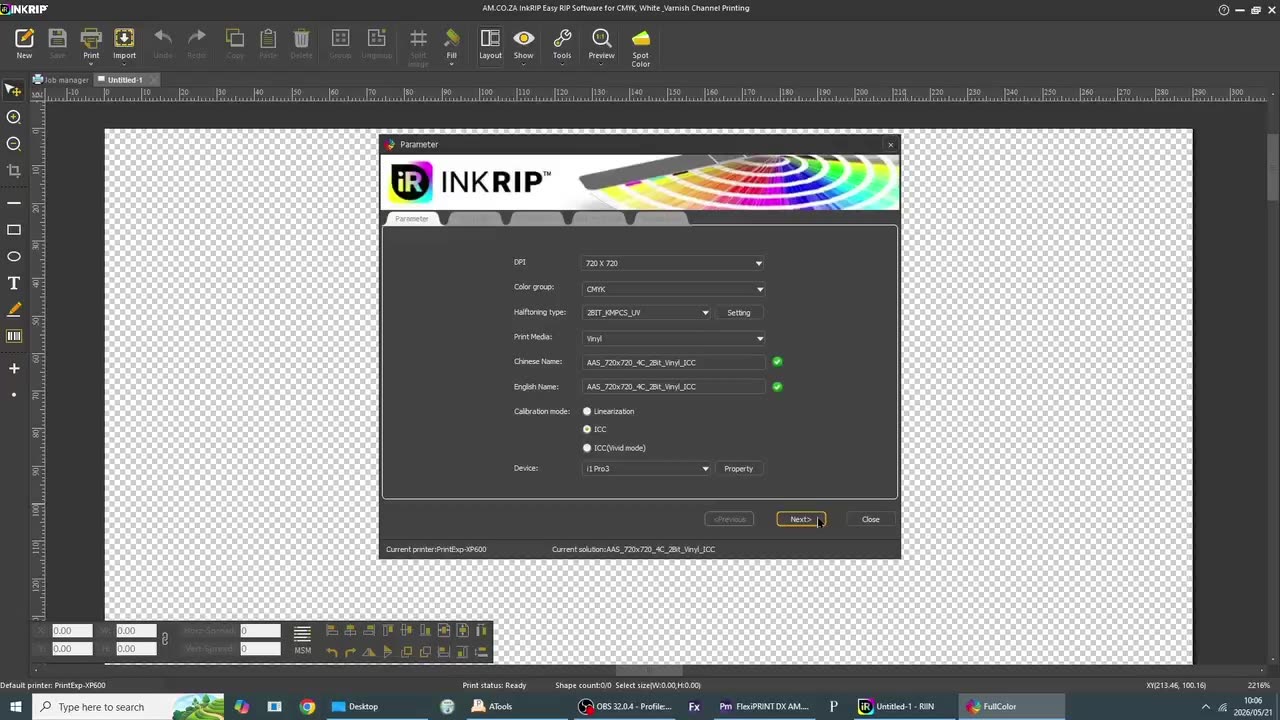
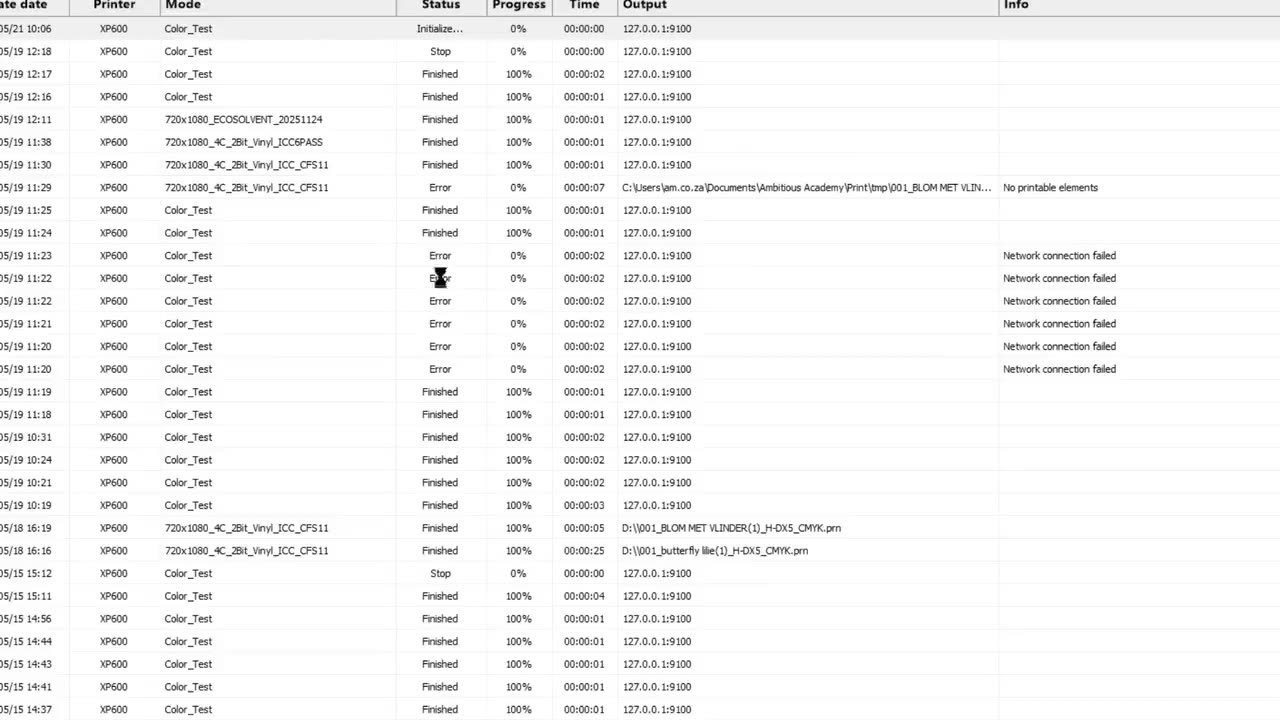
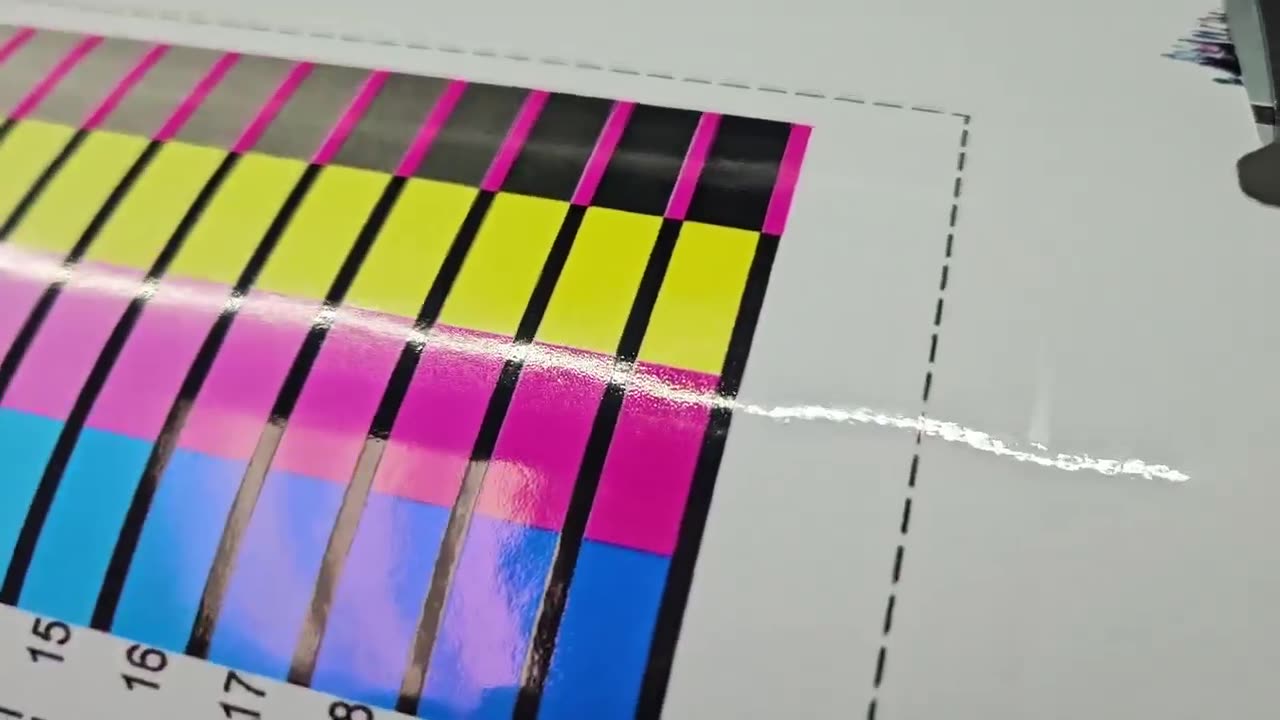
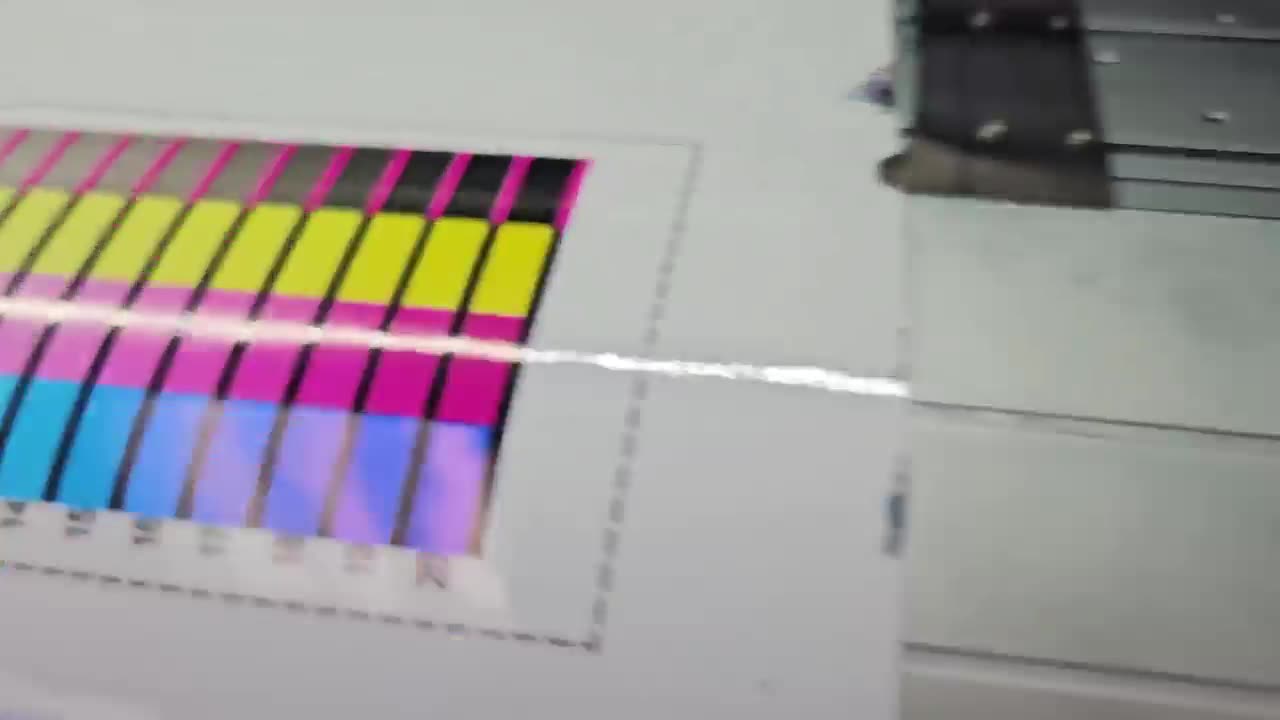
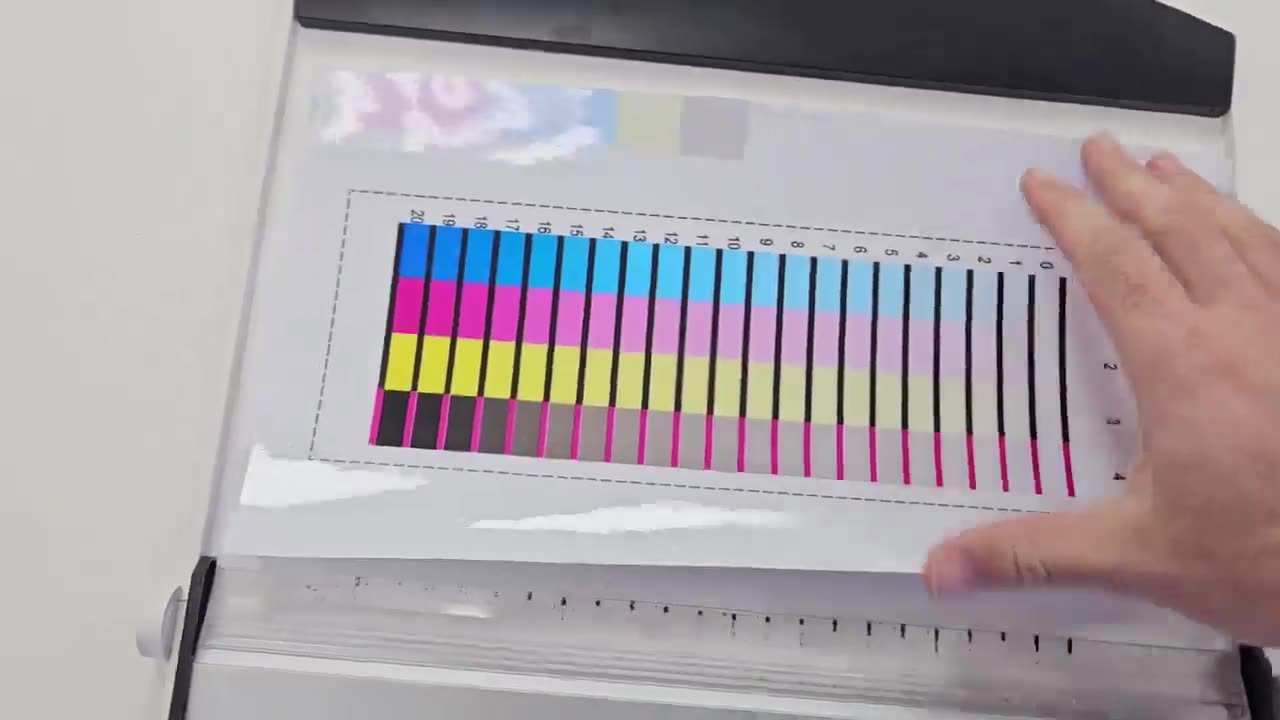
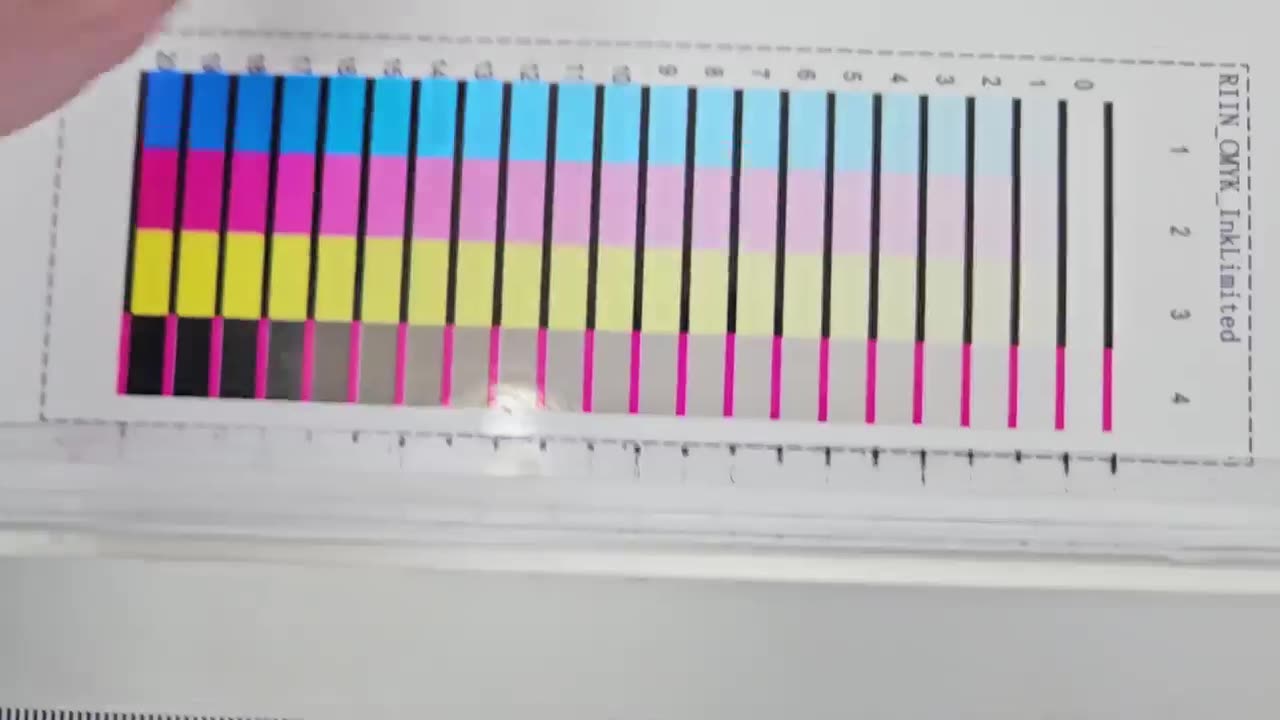
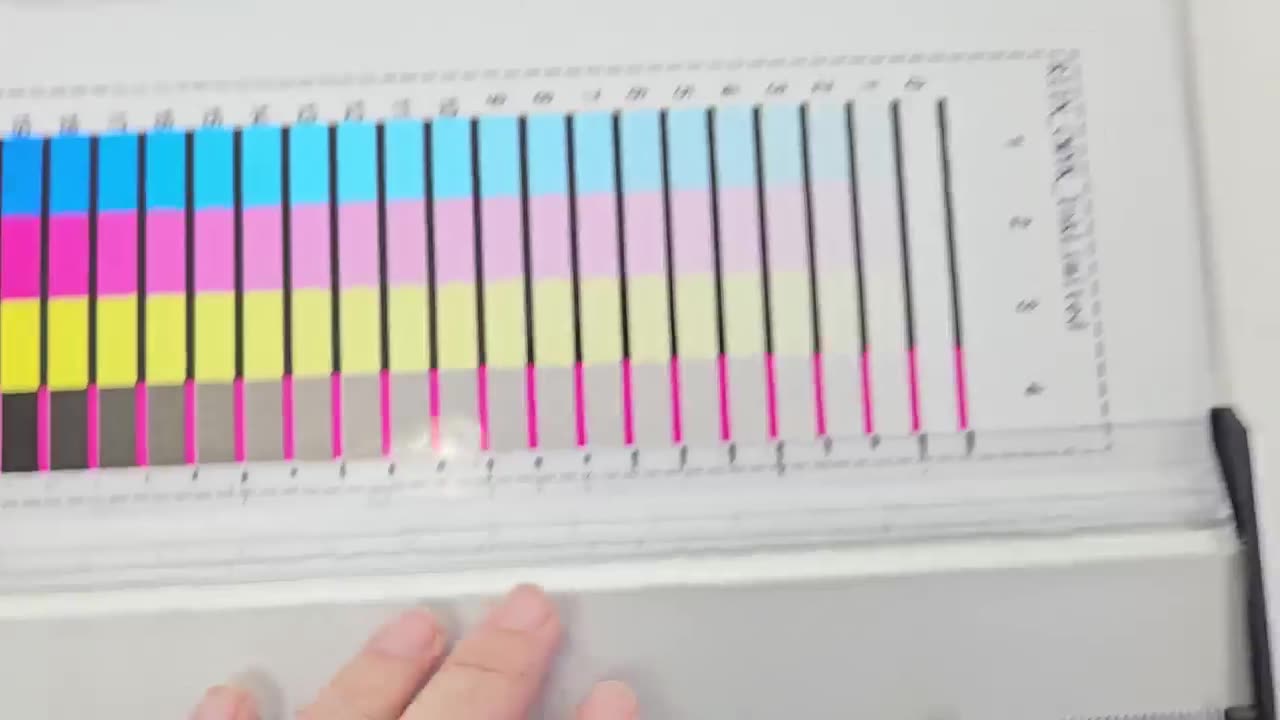
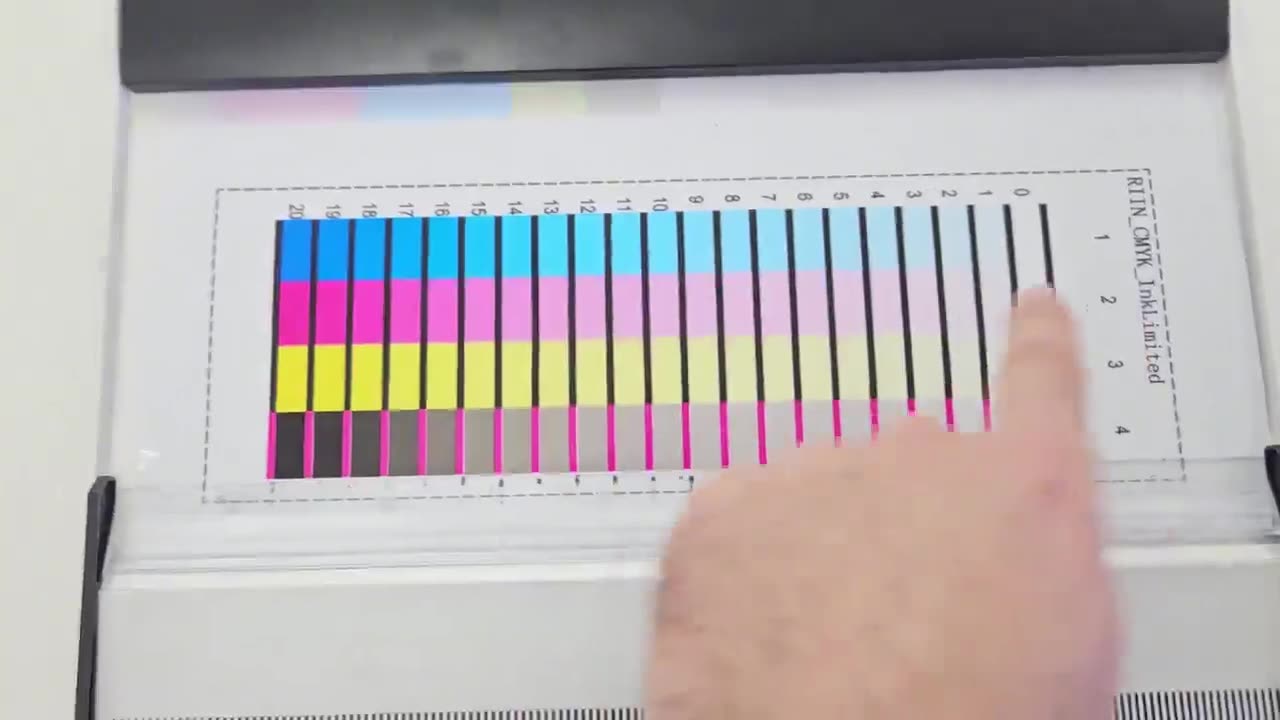
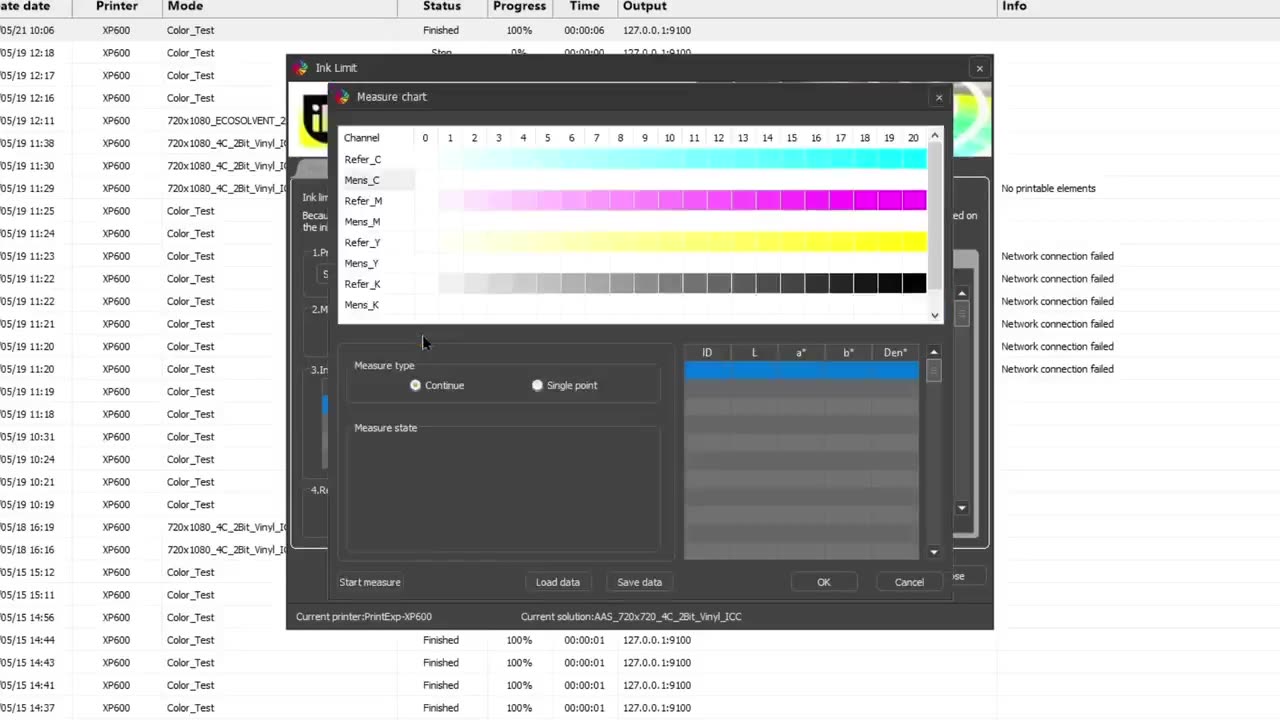
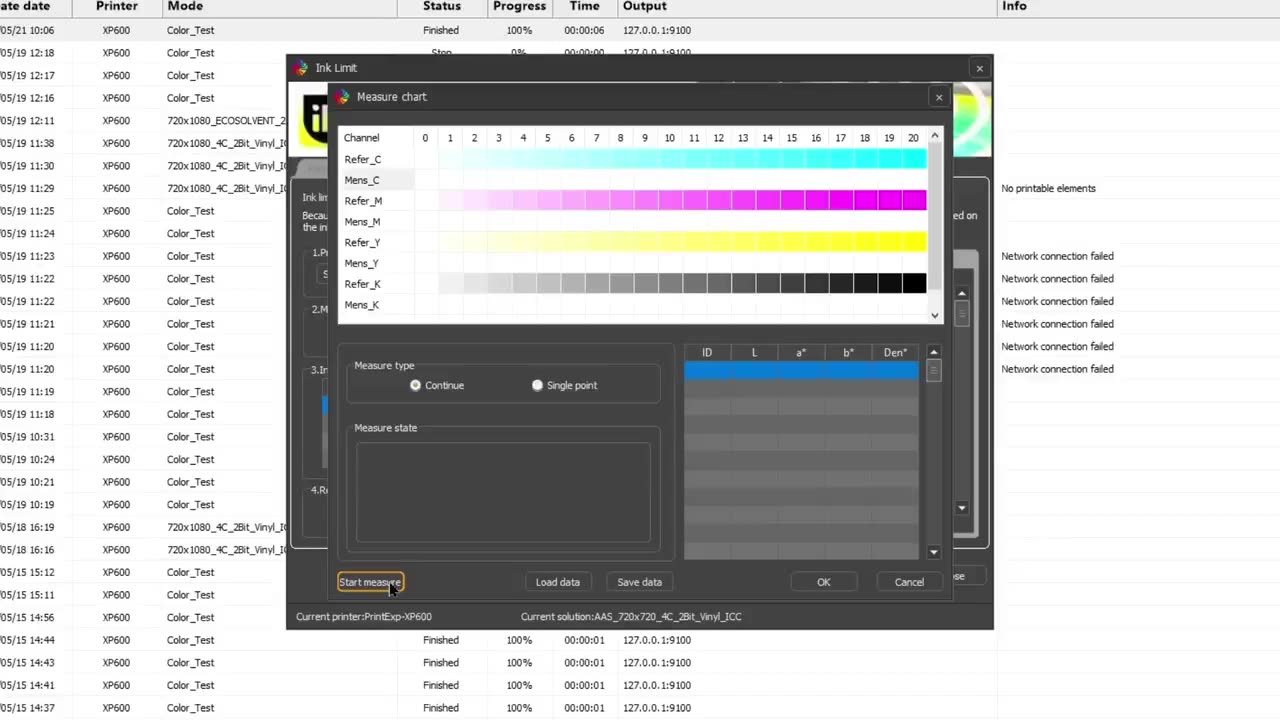
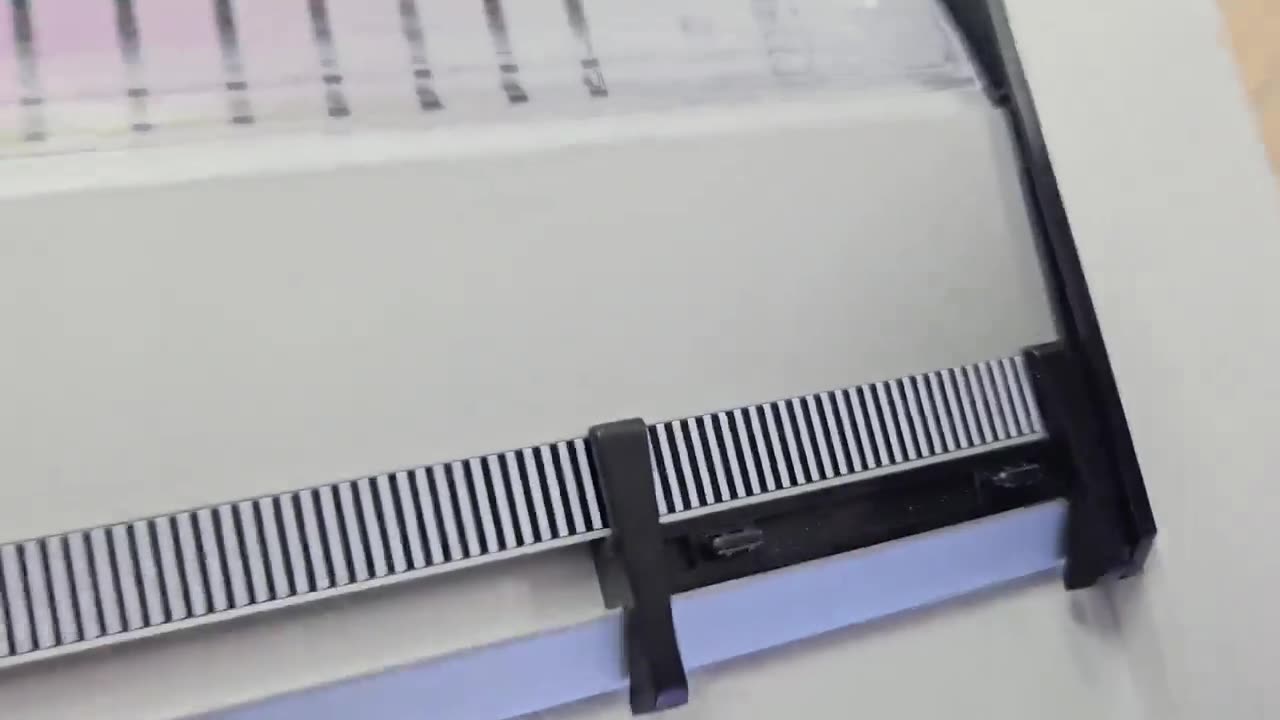
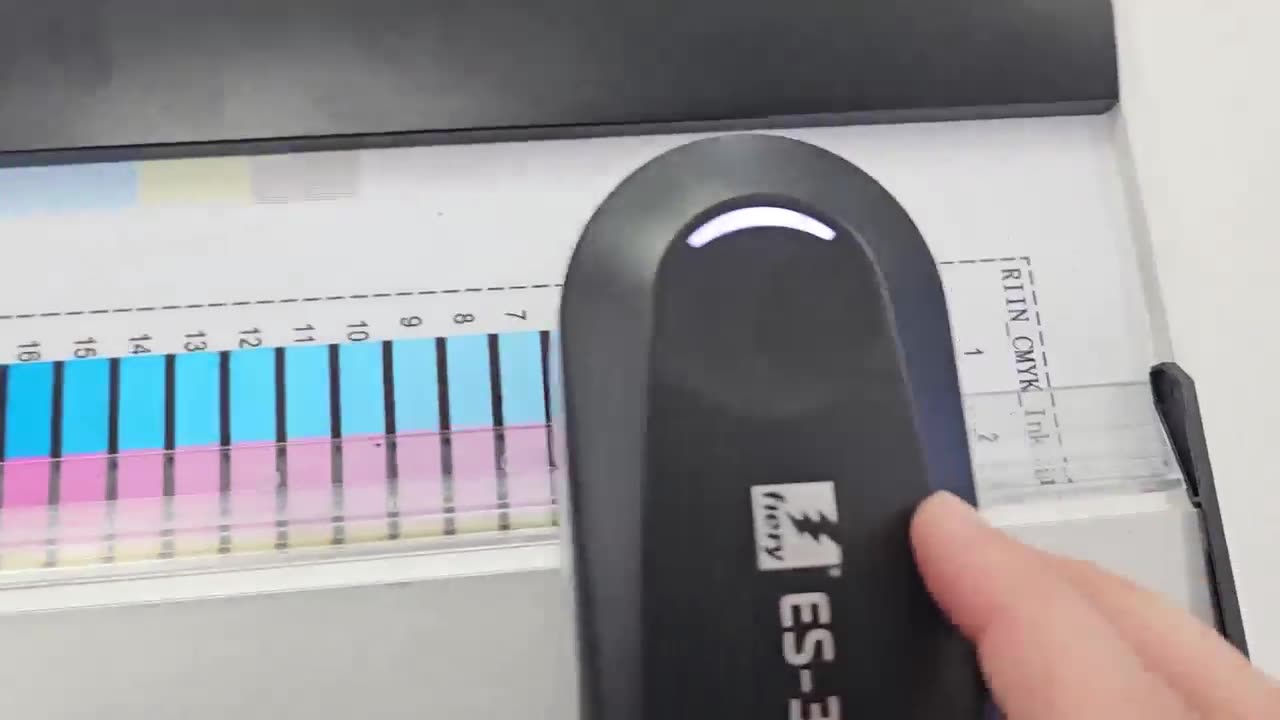
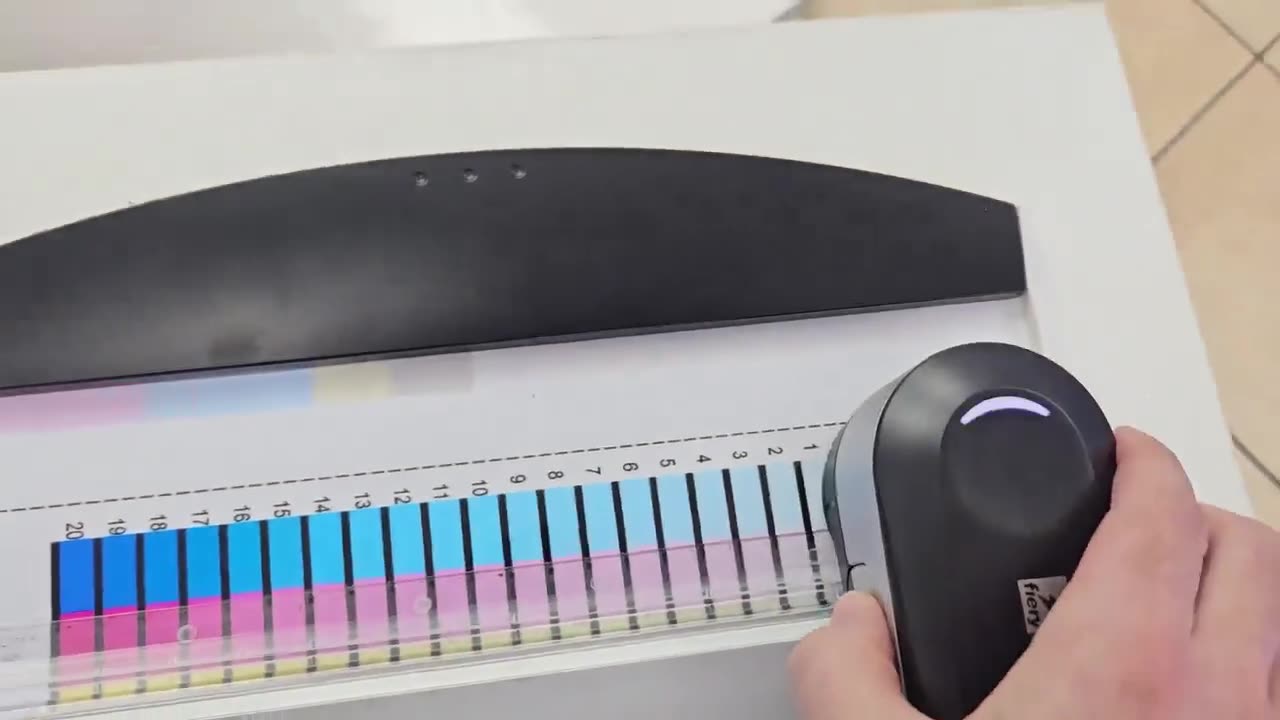
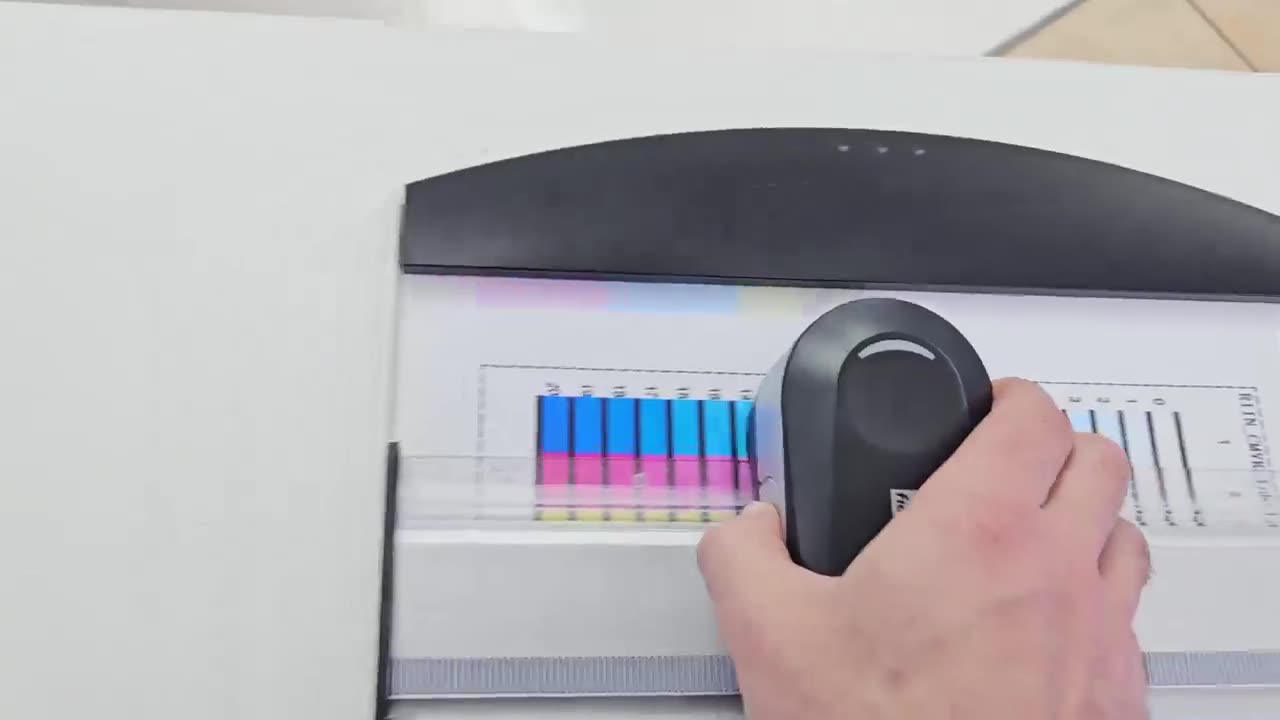
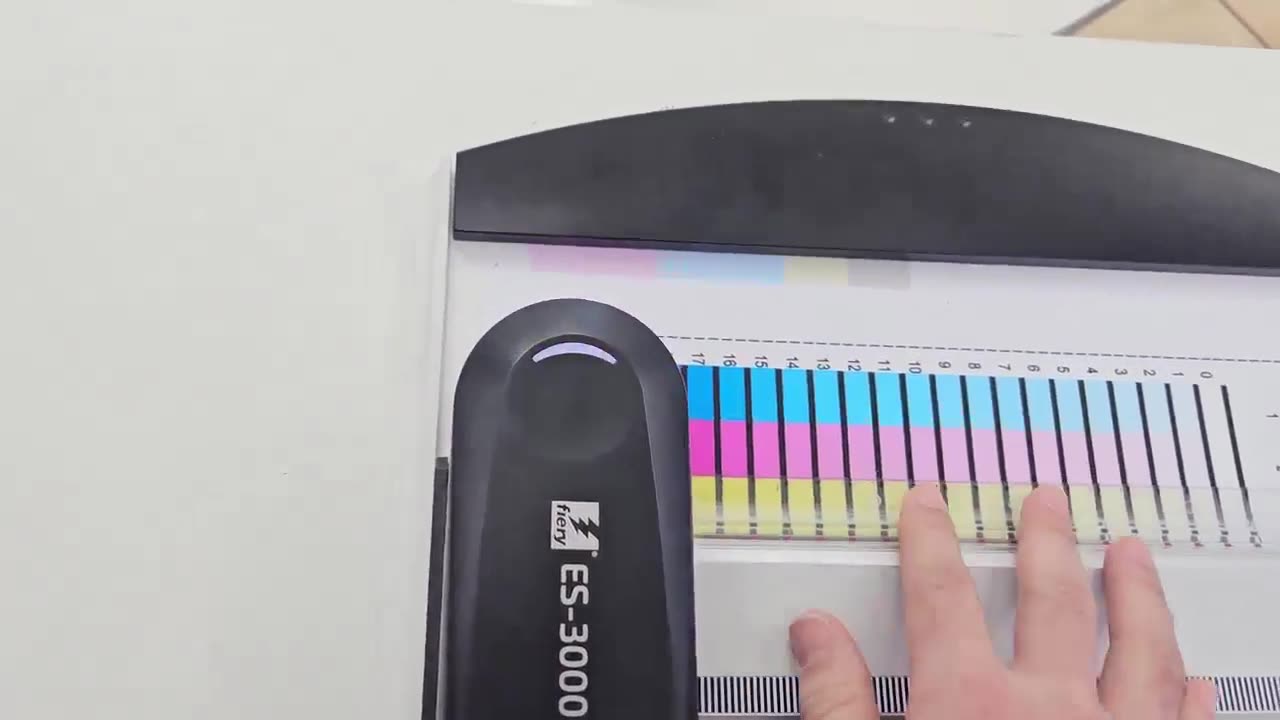
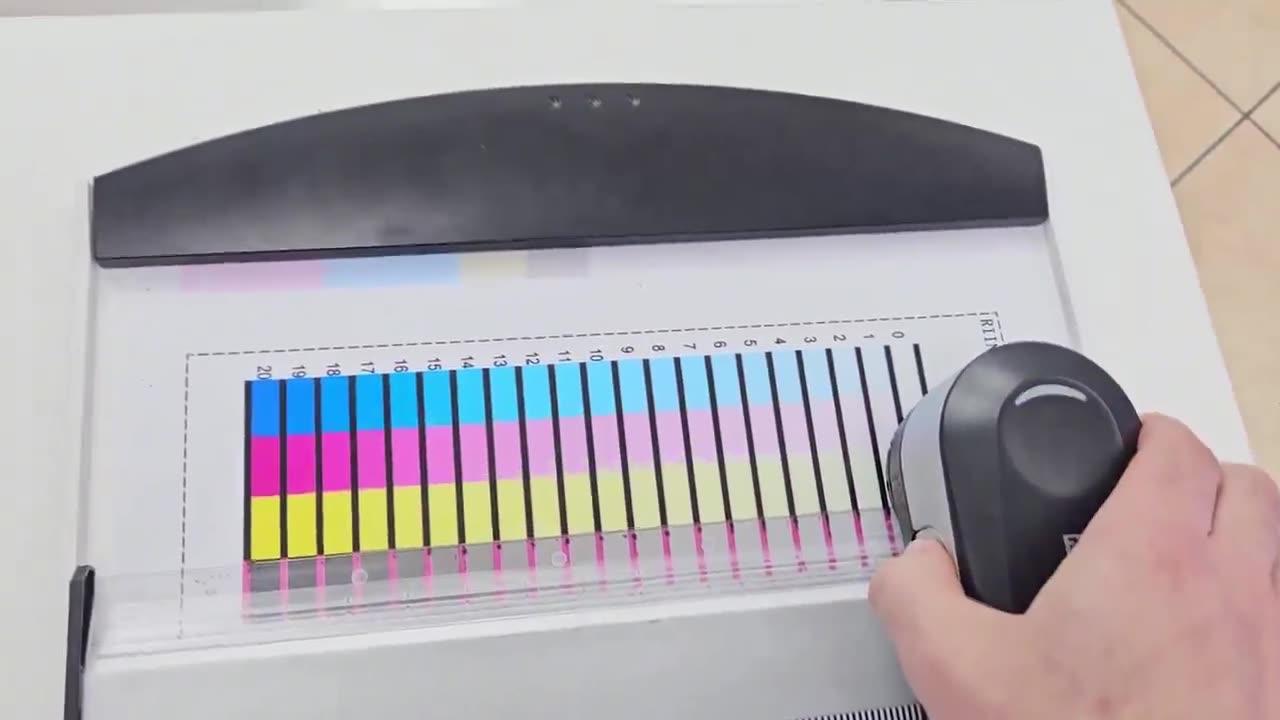
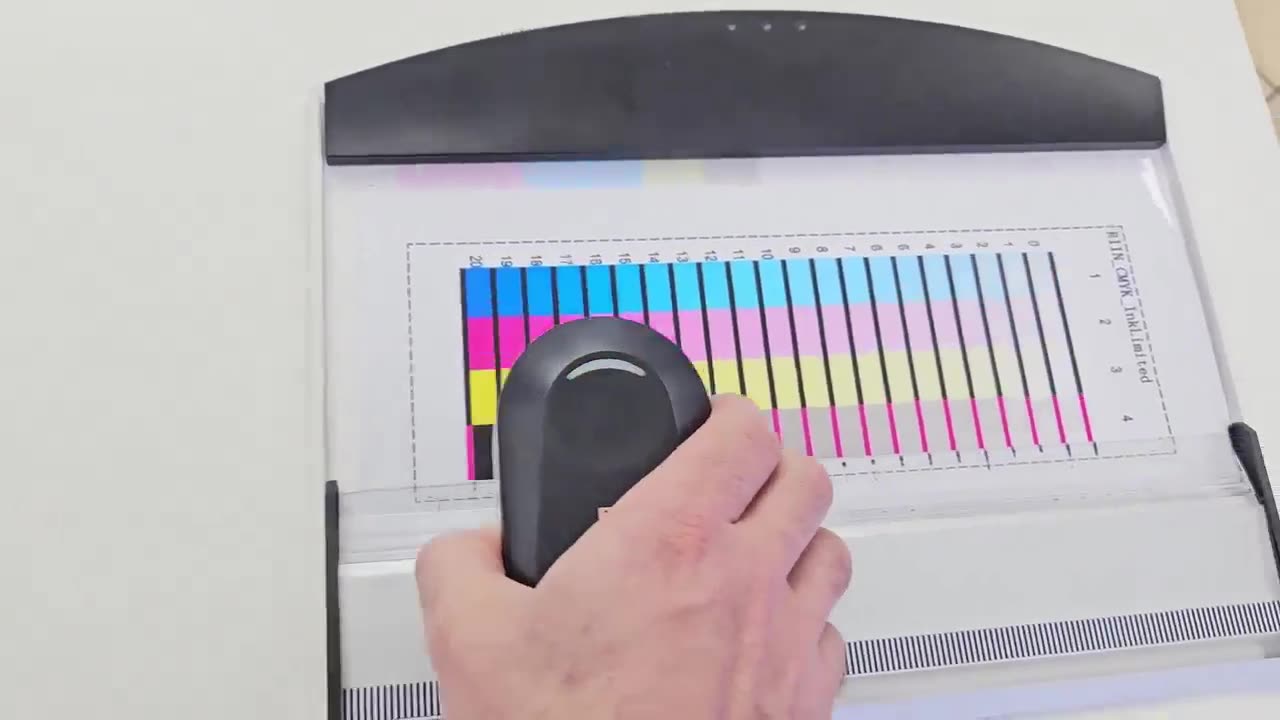
Howdy, guys. In today's video, we're gonna be looking at some ink limits when it comes to our ICC profiles. But before that, let's have a quick intro first. So, today's video can be found on softwaretraining.co.za. We make short and easy to watch problem-solving videos and we also have daily updates. OK, so next up, we're gonna be looking at the ink limit. So here, we're gonna define how much ink is the max ink we're gonna be putting down before the, how can I say, the media or the material starts bleeding or when your ink starts running. After we've set up the parameters, I'm gonna click next year and then this will take us to the inkli tab. Now, on top here, you can see they give you a little warning message that you can read. Pretty much what it comes down to is your type of media that you're loading. Like I mentioned before, you're gonna be limited to the amount of ink you can put. So, the more porous or the more glossy, it's gonna change. Then, under that, on the chart or one print chart, we have two different options. We have a visual chart, so this, we can print and we can manually try adjust it based off the um guidance, and then we have a scan chart. So, that is pretty much what we're gonna be using because we're using a spectrophotometer. So, we're gonna be scanning and it's gonna try to read what's the minimum or maximum or rather the maximum amount of ink per channel. Then what we're gonna do is we're gonna click this print chart. And this will queue it for us. It should in our production manager, and then start the actual print. So, we'll just wait for this to finish. Then once it's finished, we can see here what's the actual final result. So, right at the end, that'll be 100% and then we can see after it starts drying if it's bleeding at all or not. Now, another important thing is you wanna make sure this print dries for at least 20 to 30 minutes depending on the type you're using, the type of ink, and so forth, but in general, it's a good practise because the colour will change a bit as your print dries. Then in my case, to speed this up, what I'm gonna do or what I have done is under my menu for my machine, I went to auxiliary function. And then the heat mode, I've just set it instead of only when printing, that it's always on. So then the actual print will heat up regardless of whether it's printing or not. Then once it is dry, what I wanna do is grab the scissor and then we just wanna cut this one out to more or less the correct size to fit within our actual um docking area. Now, like I mentioned before, the reason why we use this docking area is because if the light shines through from the spectrophotometer, The background is a base white that stays consistent and then the actual device understands. So, now, I'm just gonna simply clip this in. Now, it is important that you make sure your actual design is aligned. So, I'm gonna use the ruler and we see here at the bottom, it's slightly not. Then, I'm just gonna adjust the right a little bit, so we get that aligned. Then when it comes to the actual scanning of this chart, you'll see on the right here, we've got some numbers, 1234. So that is the order in which we want to do it. So, we first wanna scan the first, and then the 2nd, 3rd, and 4th. So now, on the more modern devices, when you're scanning with your spectral phototer, direction doesn't matter that much in the sense of left to right. So, for speed, I like to go from right to left, then left to right, right to left, left to right. Just to speed up the process. And then, in the actual software, what we wanna do is click the measure. And then before we click the start measure button, we want to make sure our spectrophotometer is placed on its docking station. So, what that's gonna do, it's gonna allow it to calibrate as we click the start measure. They will wait for this. It can take a bit of a while, and then once it gives us the succeeded message, then we are ready for measurement. Now, if we head to the actual measuring table, what we want to do is we wanna take our uh spectrophotometer, and then you'll see on the bottom here, we've got these little guides, and we wanna align that with actual rulers, so it clips in. This will ensure everything stays nicely aligned. Then, next thing, I'm gonna take this ruler and we're gonna move it up till it's aligned with the bottom of the first row. And then, we want to start on the actual white space next to it. It's quite important. Then 2 users, I know we've covered before, but I'll just do it again. We wanna keep in the side button till we see a green light go off, and then we wanna scan it from the one side to the other side, and the movement should approximately be about 3 seconds long. Then we wait for the green light to go off and confirm that the scan was successful. Then, we can move the ruler to the next line. And like I mentioned, now, we're gonna be going from the left to the right. Just make sure it starts in a white space. Do it again And then, you can see that is confirmed. Once again, if it has a red light, just rescan that one. And we scan from right to left. And then we do the last one. Now, also, you don't have to grab this thing too tight. You can hold it very loosely and just make it one smooth motion. Then if we're back to the software, we can see here, line 123, and 4 were all succeeded or successful in scanning. And then to the right of that, you can see we've got our adjusted values based off the scans. And then, what I'm gonna do is simply say, OK. And now, you will see on the left, our CMYK values are automatically adjusted. Then under that, we have a print chart. So, let's say you wanna reference the newly updated one. You can simply click that and then it will reprint the chart, but with the updated values. Now, I found sometimes with your medias, you might have to come in and manually adjust the ink percentages or the max. So maybe one colour is still bleeding a bit, then you can just simply adjust it down here. But you obviously don't wanna go too low cause then you're gonna start getting some inconsistencies in your colours. Now, in my case, I'm not gonna print the sample. I'm just simply gonna go next and move on to the next tab. Yeah. Otherwise, if we head here to softwaretraining.co.za. za, you guys will notice we've got a variety of different softwares we do cover, and you can also isolate your search on the top right. If you do not, however, find the training videos you're looking for, just simply go here, request a training video, fill in the mini form, and then we'll do our best to try and make that for you. But otherwise, thanks guys for watching and cheers.





 pexels-agung-pratama-7585961-index
 pexels-henry-altidor-6918317-Index