Adjusting the Linearization Within the AM.CO.ZA InkRIP Software of our ICC Profile (Part 7)

inkrip icc profile linearization
After setting our Ink Limit for the ICC Profile, we want to have a look at the Linearization options.
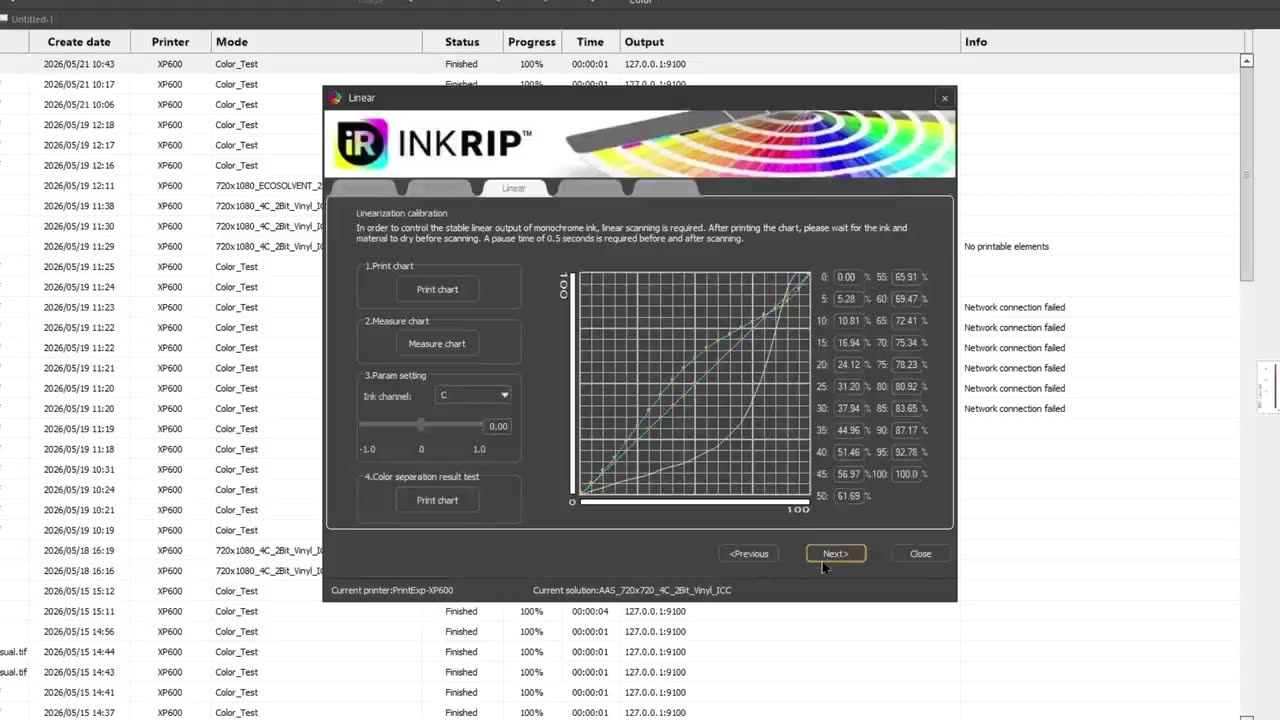
The Linearization calibrations will help us achieve nice and smooth gradients between our values.
This video is part of a Mini-Series.
The next video covers Ink Limit Mixed.
The previous video covered Ink Limit.
Video Transcript
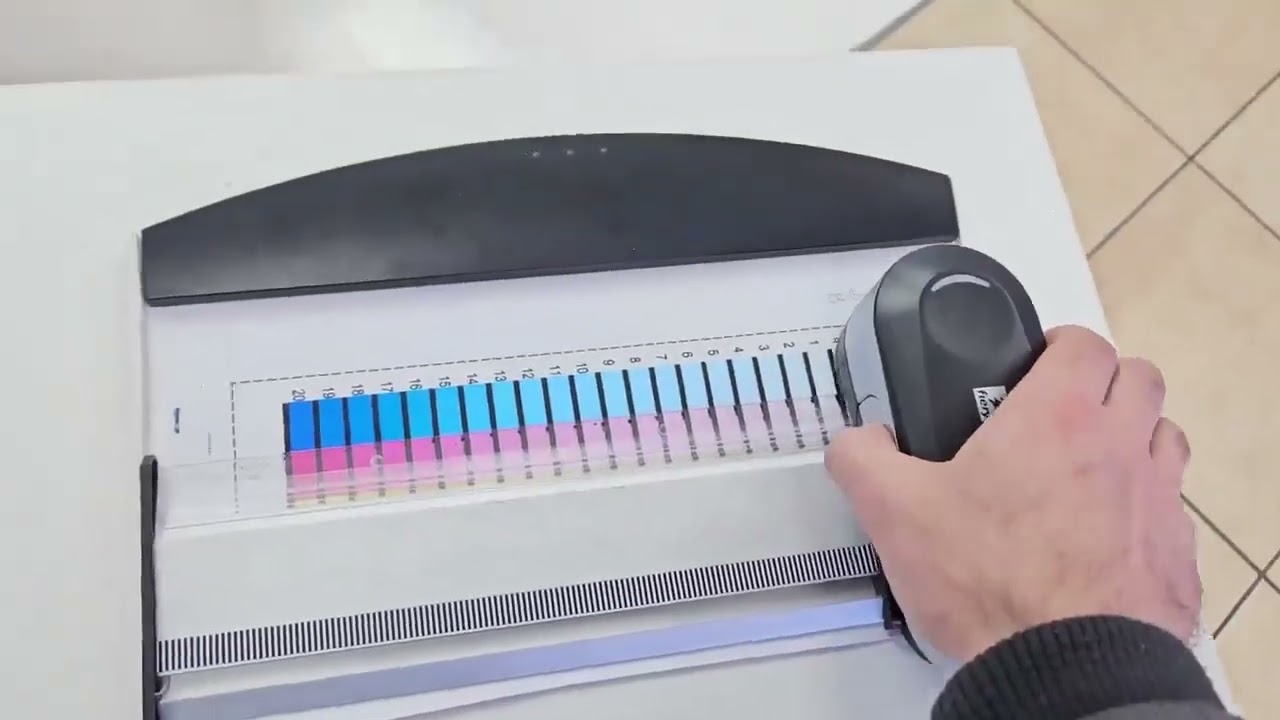
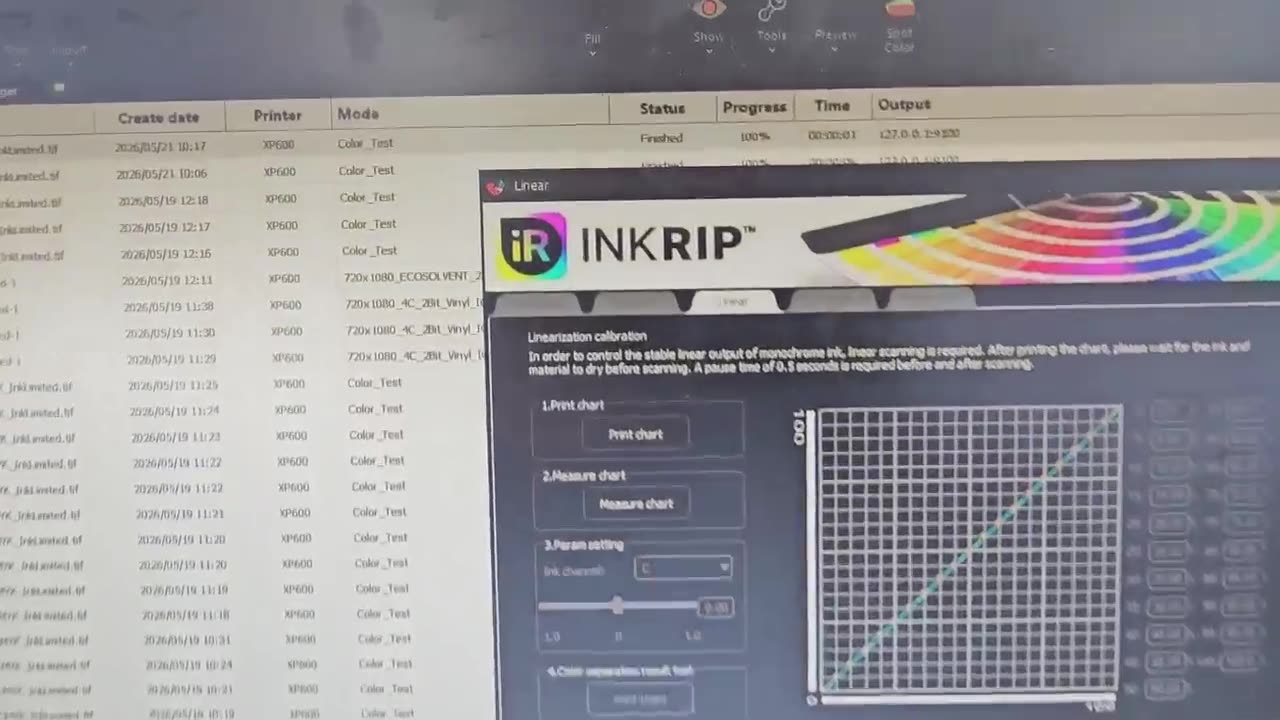
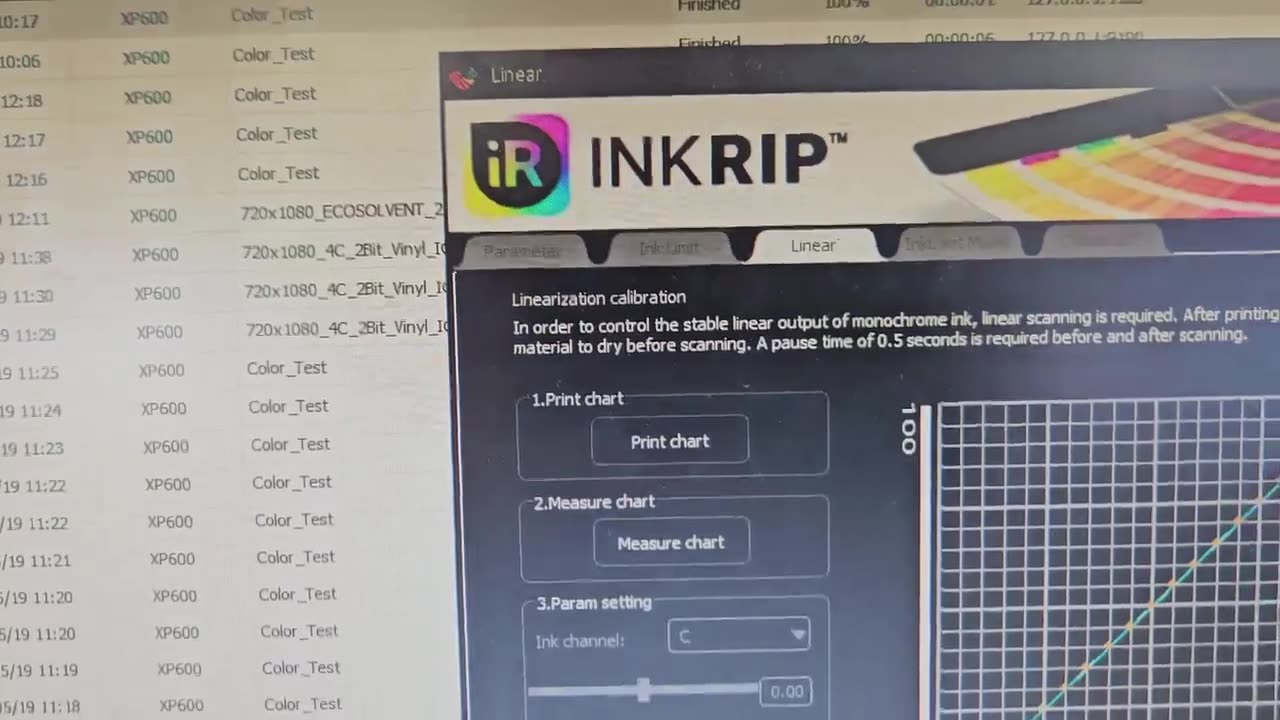
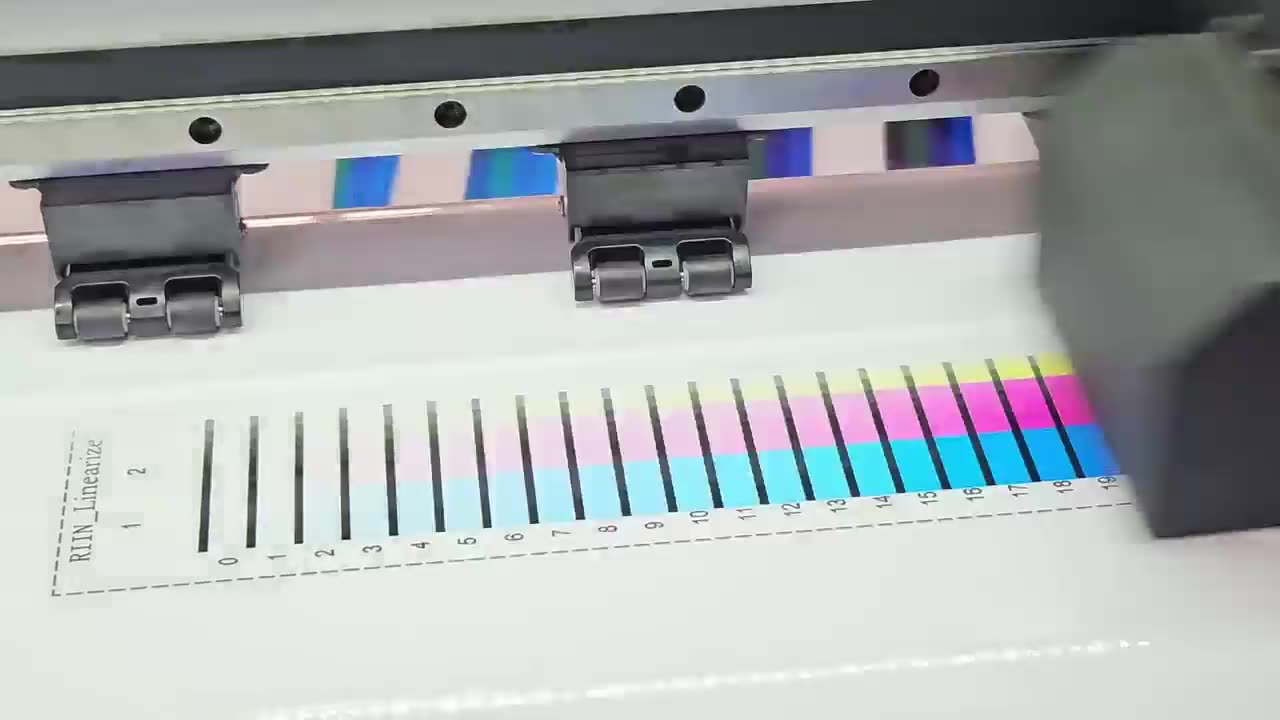
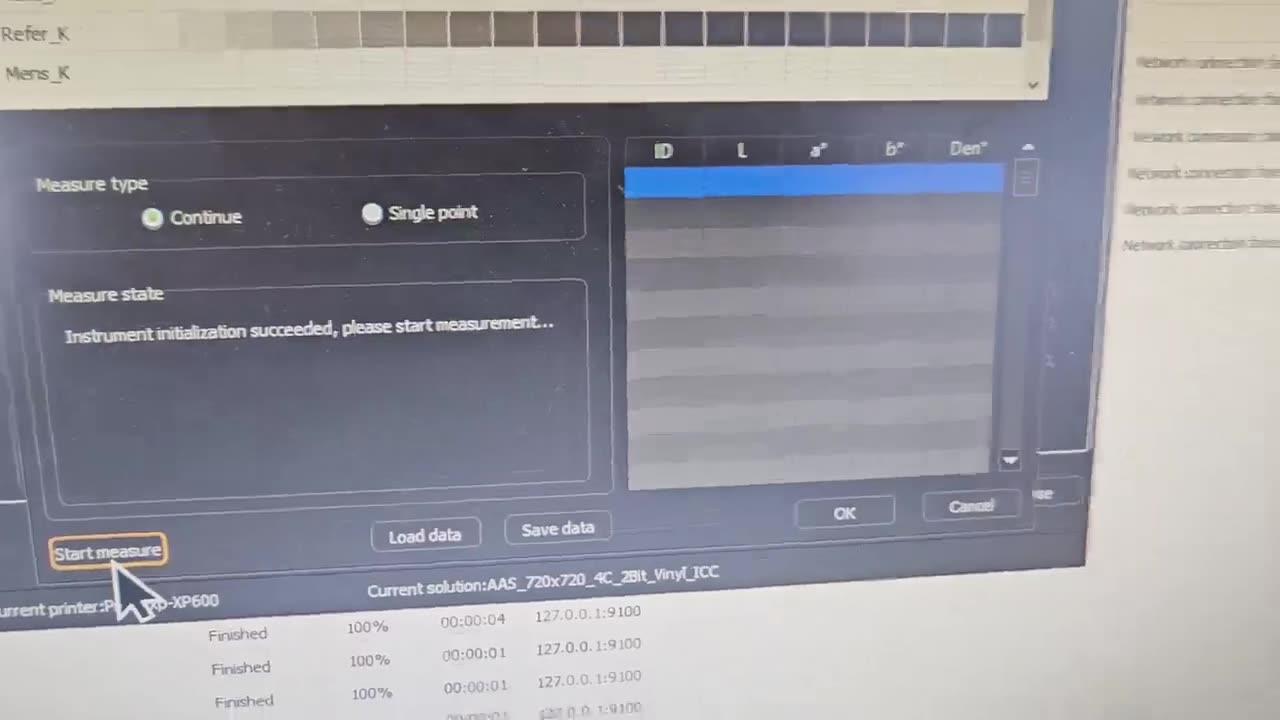
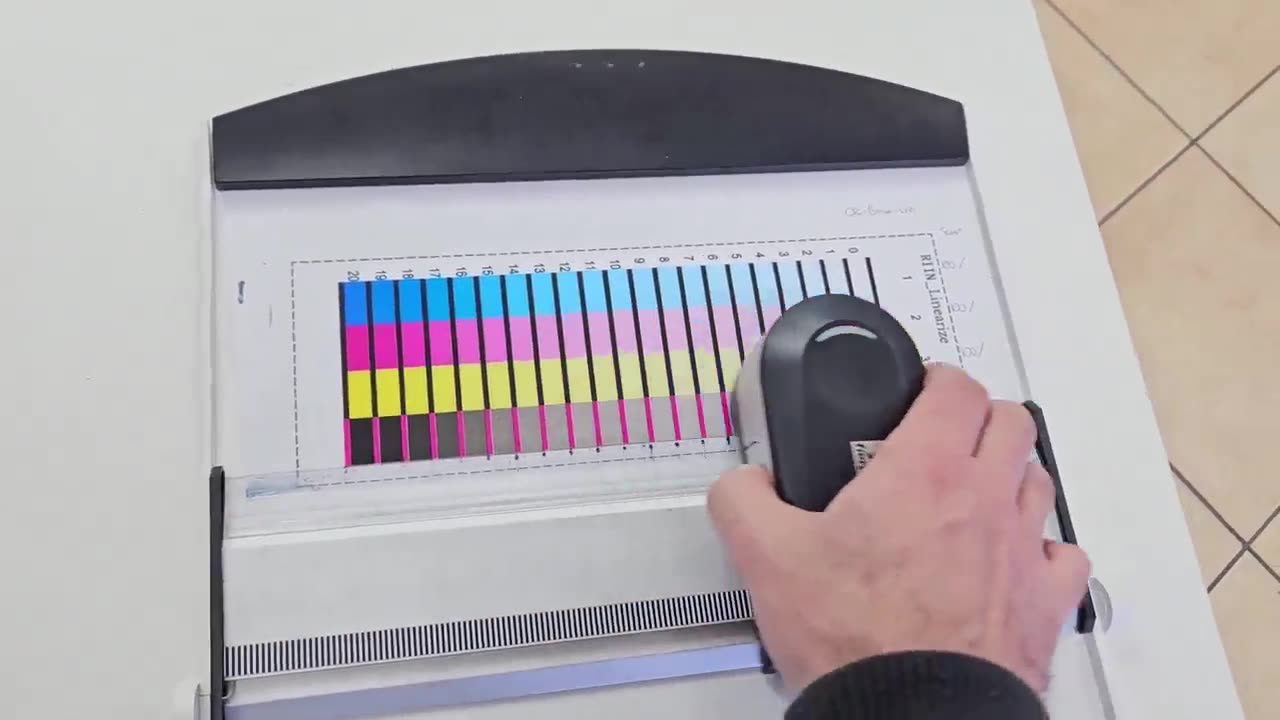
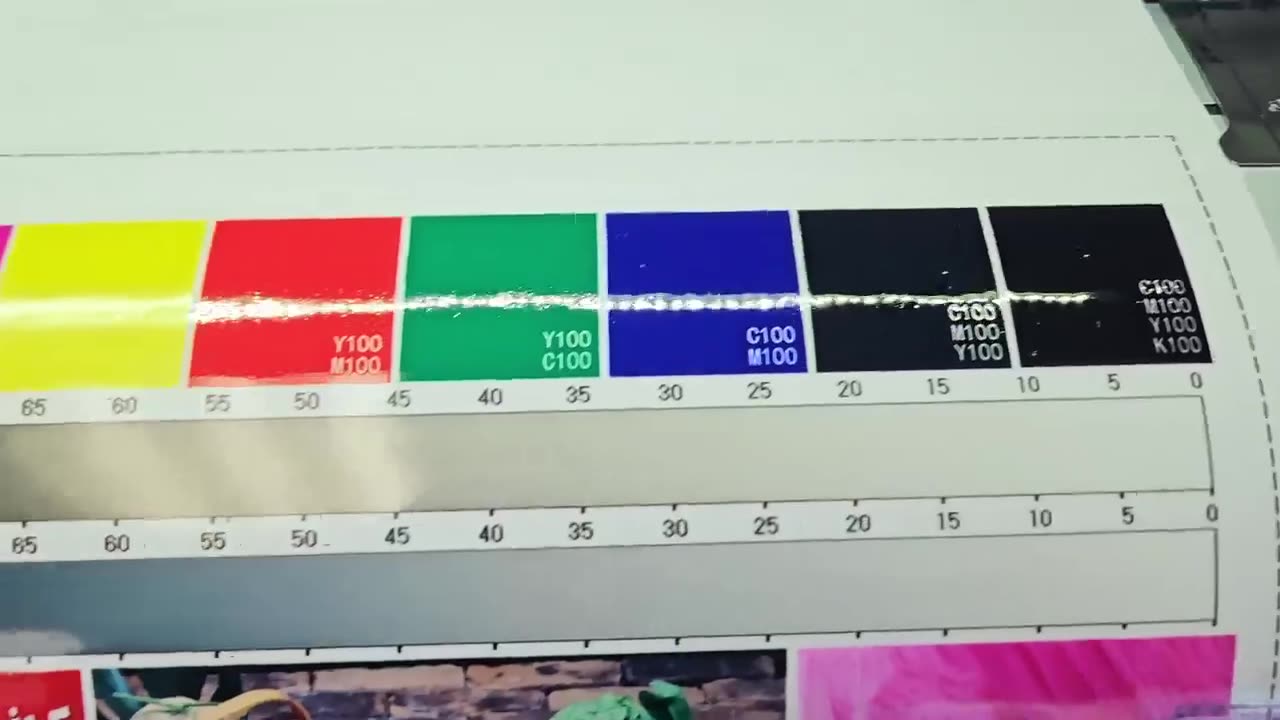
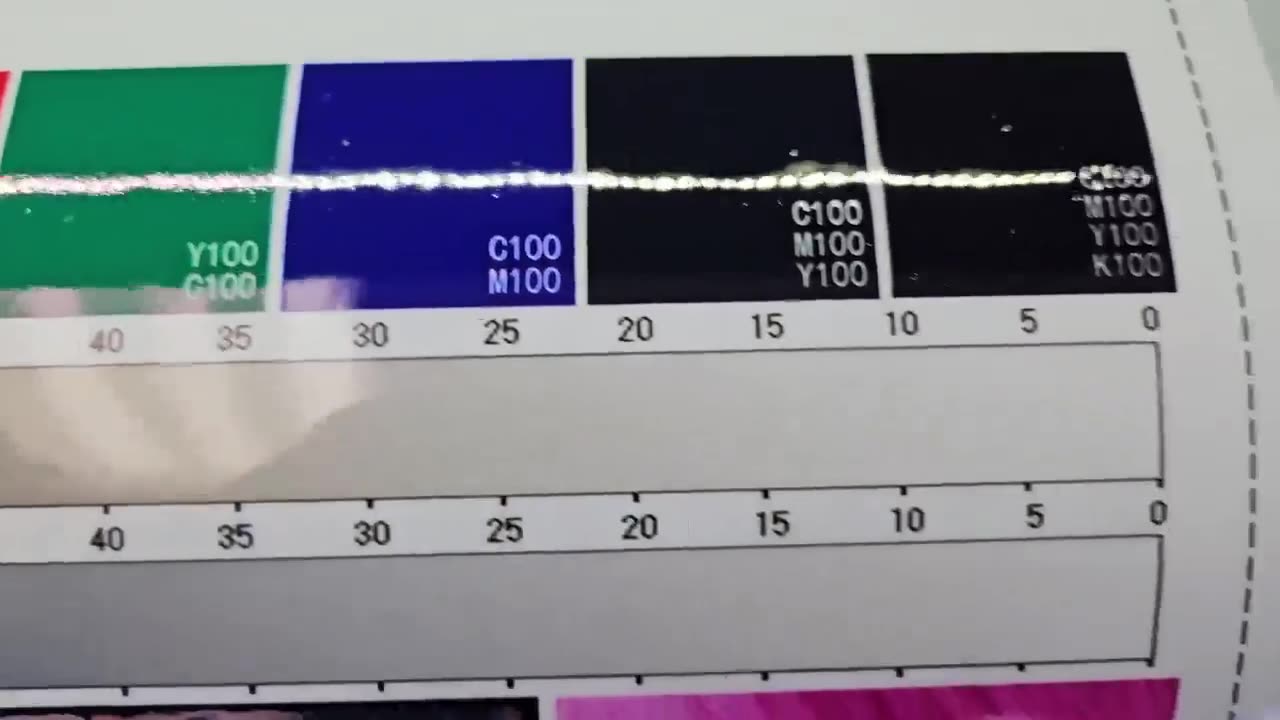
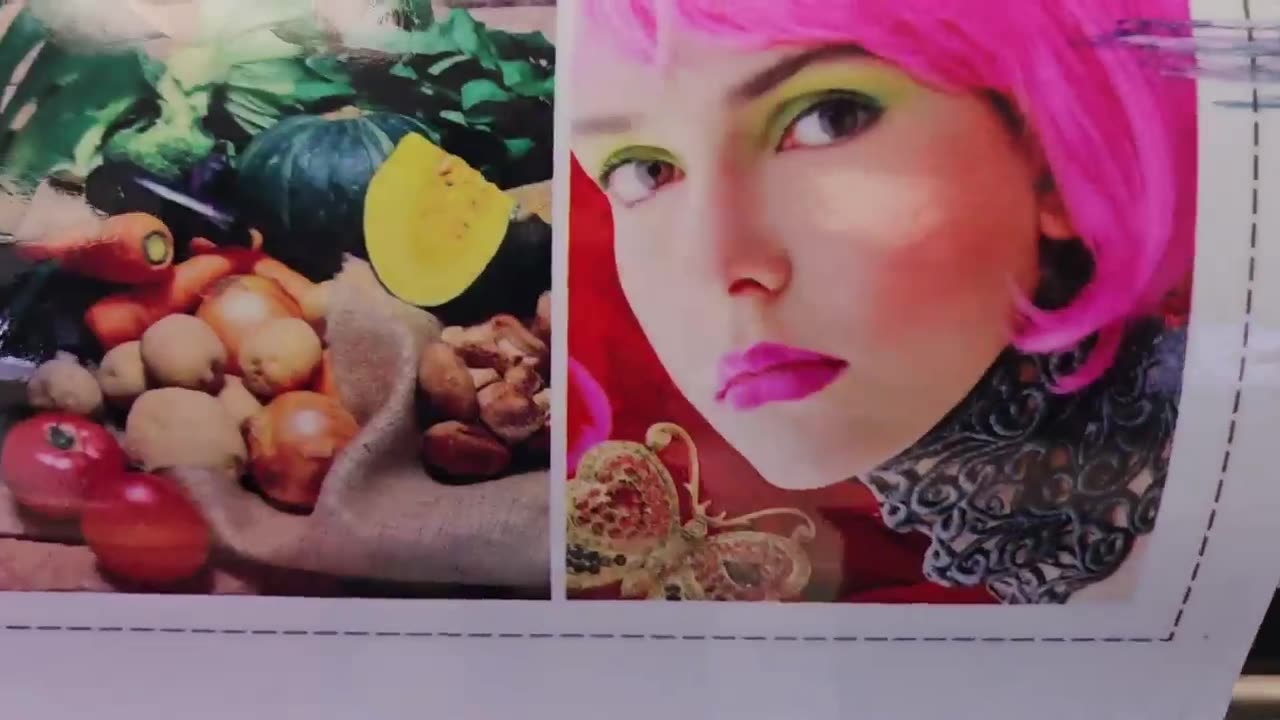
Alrighty, guys. In this next video on ICC colour profiles, we're gonna be looking at the linearization tab. But before that, let's have a quick intro first. So, today's video can be found on softwaretraining.co.za. We make short and easy to watch problem-solving videos. Now, in this next section, we're gonna be looking at linearization. So, what that comes down to is pretty much the gradient or the gradient smoothness from one value to another. So now, under the actual linearization tab, you'll see we have a nice little message they give us here as well. Now, pretty much, they're just telling you that, OK, listen, make sure your stuff dries properly before you do your scans and give pauses in between before you start scanning the next scan. So then, what I'm gonna do is I'm gonna say print chart. This is pretty much gonna look exactly the same as the previous one, just with the updated settings. Then if we head back into the software like before, we wanna go measure chart. Then also, you wanna make sure your spectrophotometer is docked on its docking station like before. Then we click the start measure. Once again, we're waiting for it to say it succeeded, then we wanna scan this one like before. Now, here's a good example of a scan done wrong, flashes red, then we just try again, wait for the green light, and then complete it. Here we go And if we head back to the software, you can see on line port says there failed, please scan again, and then scanned for successful. Then, we can obviously also see the adjustments is made on the right, but I'm gonna say OK. And then, we can see on the right there, we've got a chart which shows the adjustments it made. And after that, we wanna print a colour separation result test. What that comes down to is it's gonna give us a nice little test with a few variation of patterns and colours, so we can currently see where we're at. So, obviously, keep in mind what we're looking for in this chart is the max amount of colour and then also grey. re di ent s cause we've not set up everything yet. In some areas, you'll see it's still bleeding, especially when it's a multiple colours mixed where we've kind of set up the single-value colours already. And on the right here, you can see with this weird mark which we actually don't want uh going forth, but what this comes down to is the actual printer's head is hitting the material. And back in the software, we can simply click next, which will take us to our inc limit mixed. Yeah. Otherwise, if we head here to softwaretraining.co.za. za, you guys will notice we've got a variety of different softwares we do cover, and you can also isolate your search on the top right. If you do not, however, find the training videos you're looking for, just simply go here, request a training video, fill in the mini form, and then we'll do our best to try and make that for you. But otherwise, thanks guys for watching and cheers.