How to Make Basic Adjustments to the Canvas Within the AM.CO.ZA InkRIP Software (Part 5)

inkrip canvas adjustments
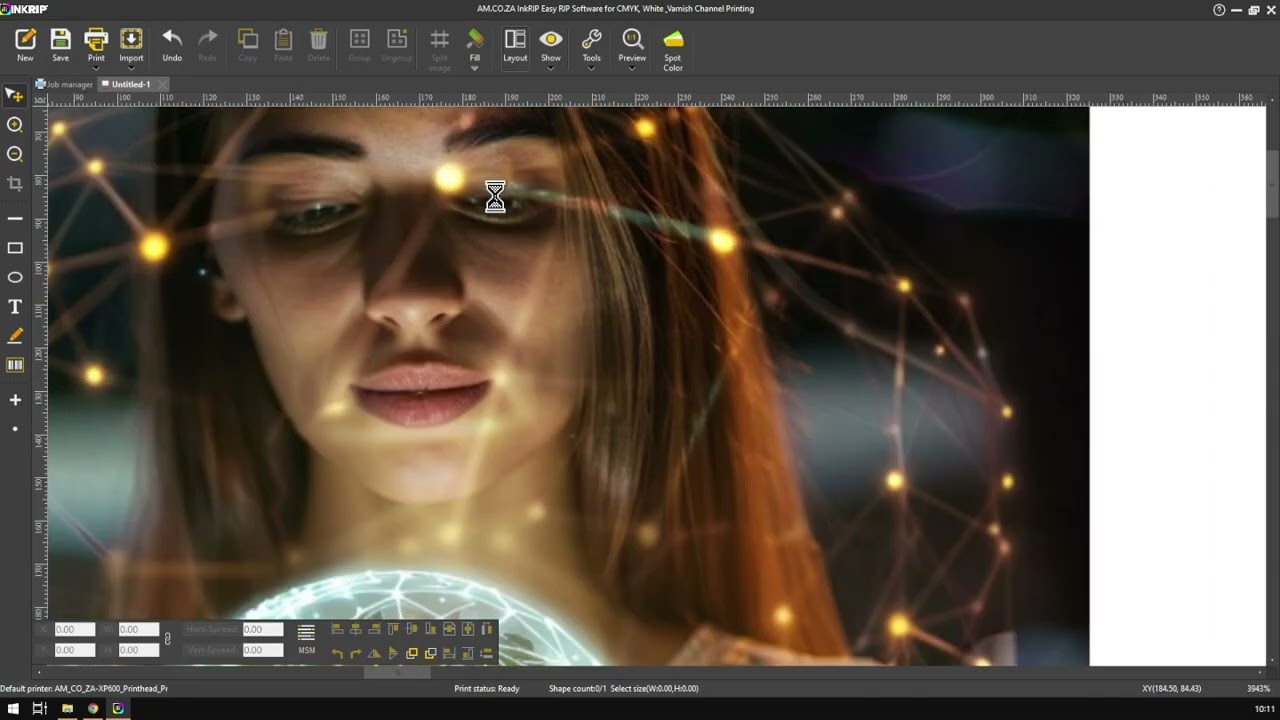
Since the screen of a computer is limited in size, when we create a large canvas, you may not see the entire canvas.
At this time, you need to adjust the display scale of the canvas on the screen.
This video is part of a Mini-Series.
Next video covers Basic Operations.
Previous video covered Add Image.
Video Transcript
Alright you guys, in today's video, we're gonna be looking at how to make adjustments within crypt. But before that, let's have a quick intro first. So, today's video can be found on softwaretraining.co.za. We make short and easy to watch problem solving videos and we also have daily updates. Now, if we had to head back into the programme here. So let's say you've imported an image and you wanna make view adjustments and perhaps measurement adjustments, then uh we can use a few different tools. So, number one, we can go to our zoom tools here on the left. Just zoom in, you can see we've got two of those. We've got a one with a plus button, and one with a minus, obviously, zoom in, zoom out. So if we click on the zoom in one, there where you click, it will zoom in. You just simply left click with your mouse button. And then if you wanna zoom out, you click on the minus, and zoom out. This is convenient, but I would definitely recommend you get used to using hot keys or um. Yeah, form of hot key. And that is what you can do is you simply keep controlling on your keyboard. You can be selected on anything else, and you don't have to be in your zoom tool, shall I say. And then you simply mouse wheel in and you mouse wheel out. Wherever that mouse is, that's where it's gonna try zoom to. So if you wanna zoom to a specific spot on the image, you can do that as well. And then when you leave control and use a mouse wheel, you'll see, you can um Go up and down in your normal pan. So very handy. To quickly adjust the zoom levels. Another handy thing with adjustments is your actual measurements. So let's say, currently you can see. I'm gonna zoom in here again on our measuring the rules here, you can see it's, it's MM. It's a little bit hard to read, but it's for millimetres. So currently, we are working in millimetres, but let's say you're working on a bigger scale and you're going with centimetres or you wanna go inches, something like that. Then what you can do is you simply go to the show button or something called a display button, click that, and you can see here we've got a ruler units. And then under there, we have some options we can pick from. Then simply, you can click centimetres if you wanna change it, and now you can see it went to centimetres. To confirm, you can go in the beginning, you can see it says CM. They're also very handy, so just a quick recap, so for zooming in and out cause oftentimes this thing will start. Your cam is this around about this small, and then you can simply use these buttons to zoom in or use control on your mouse wheel to zoom into your image. Then for units, it's on the show, you click that, you go unit ruler, I mean, ruler unit, and then you select the correct one you're looking for. Well, yeah, very convenient. In the meanwhile though, if we head here to softwaretraining.co.za. You guys will notice we've got a variety of different softwares we do cover, and you can also isoelect your search on the top right. If you do not, however, find the training videos you're looking for, just simply go here on the left, select to request the video, put in the in form, and then we'll do our best to try and make that for you. But otherwise, thanks guys for watching and cheers.