Default Design Shapes Within the AM.CO.ZA InkRIP Software A Starting Point (Part 1)

inkrip default design shapes
When it comes to designs for printing, we always need a starting point to build upon.
Now having the correct building blocks and knowing how to use them separately or together is a big advantage in the design game.
This video is part of a Mini-Series.
The next video covers Fill Type Solid.
Video Transcript
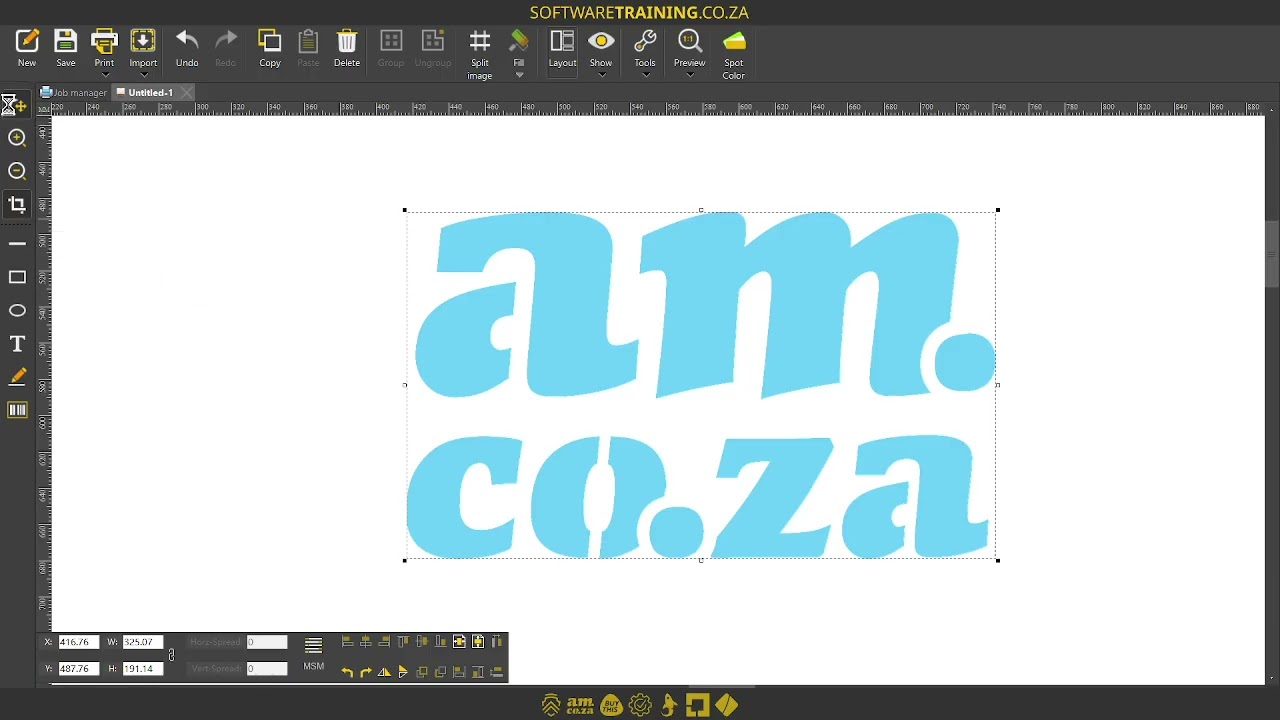
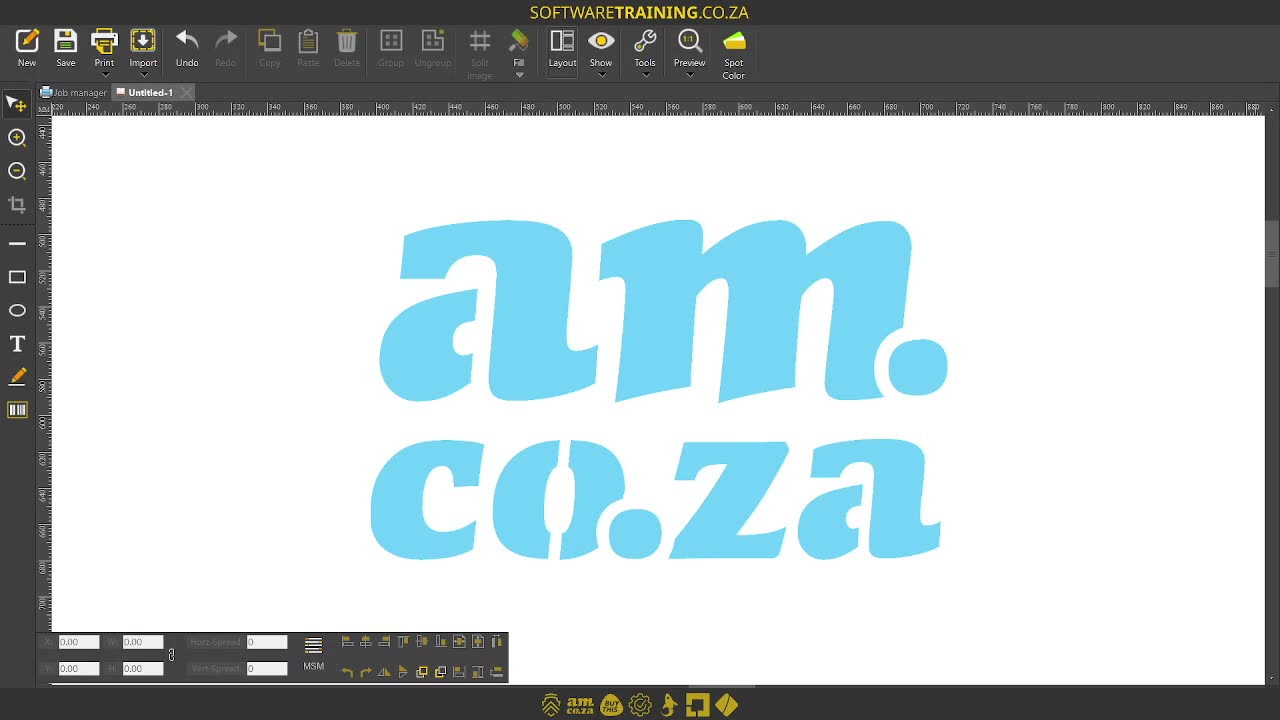
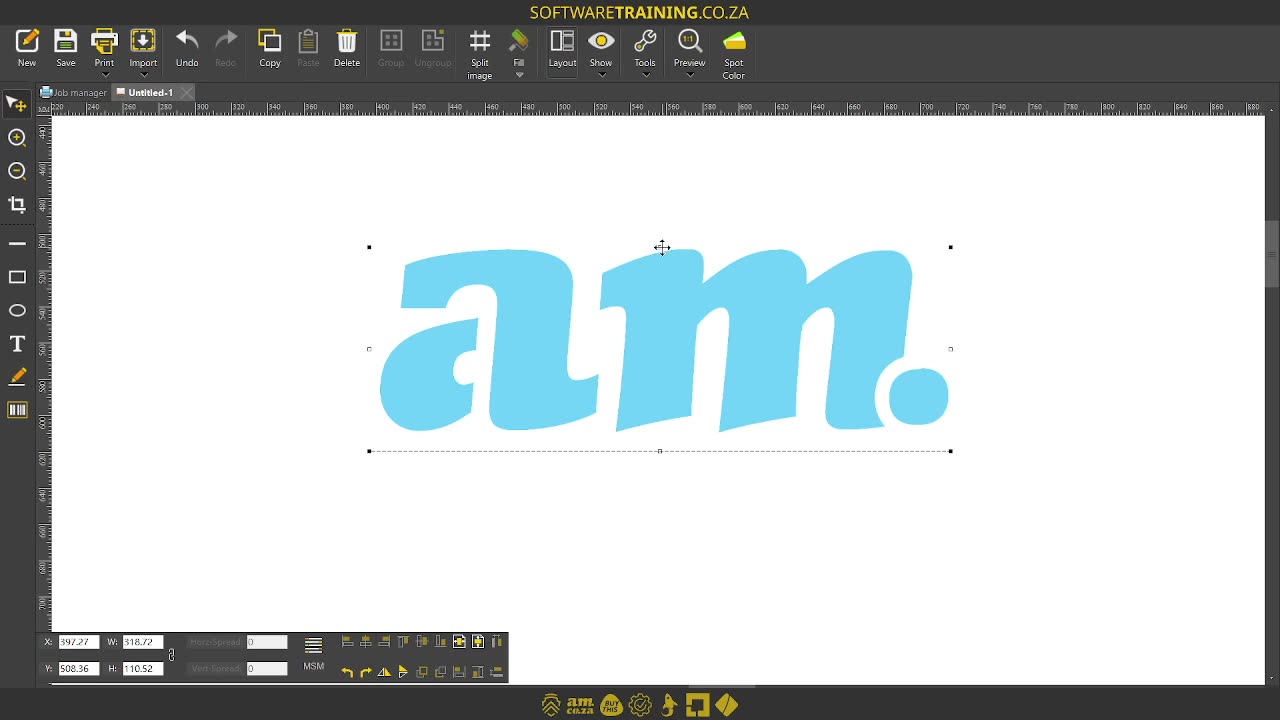
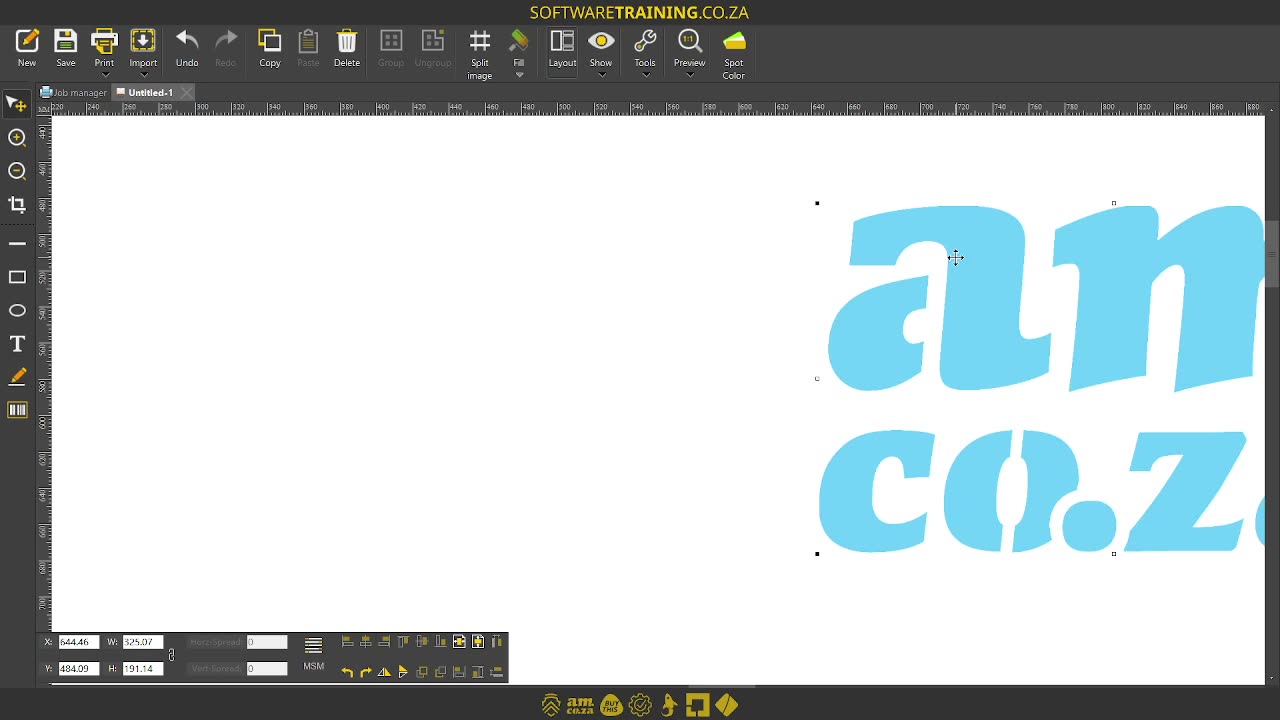
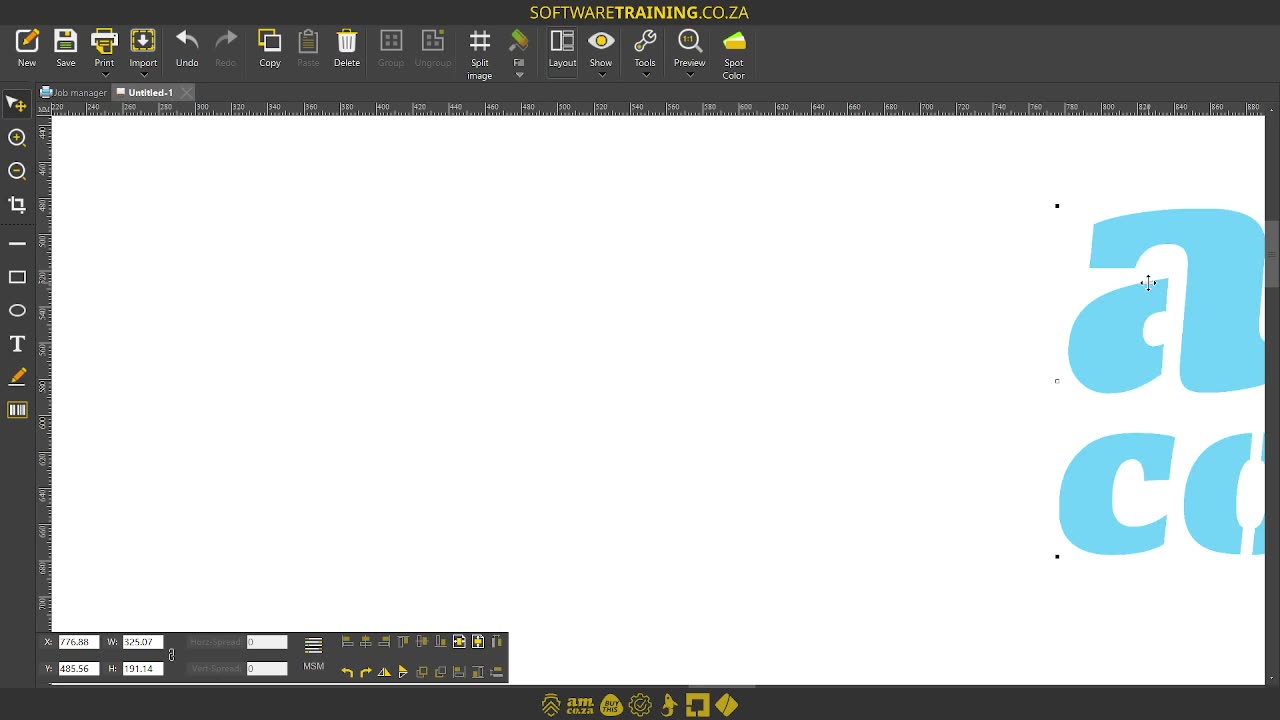
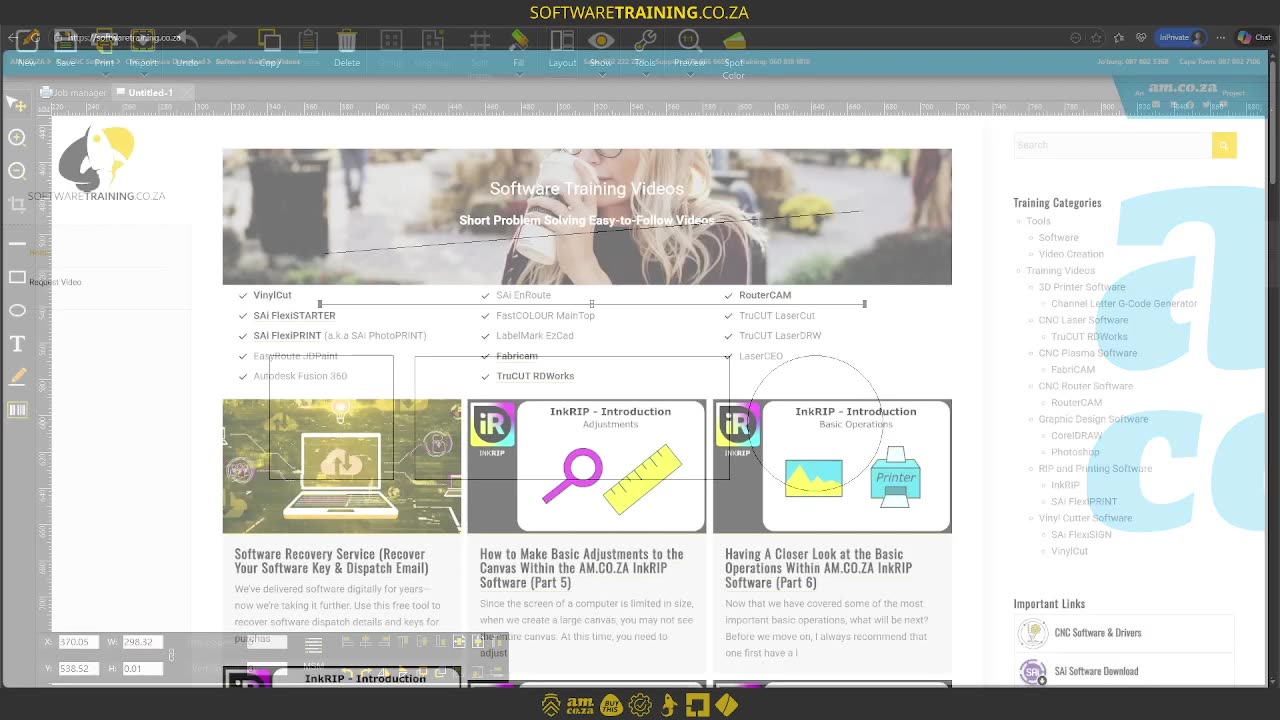
Alrighty, guys. In today's video, we're gonna be looking at the toolbar and some basic shapes. But before that, and let's have a quick intro first. So, today's video can be found on softwaretraining.co.za. We have short and easy to watch videos, and we have daily updates. Otherwise, we head into the actual tutorial here. So, now, in in crypt, like I mentioned, we're gonna be looking at the toolbar here on the left. Now, there's a few different options that we can look at, but we're gonna start off with the basic things. So, the top, we have selection tool. So, you'll be using this to select different images and so forth on your actual canvas. Then, under that, we have some zoom in and zoom out, and I think we covered this on the navigation section. Then, an important one is the clip image. So, this will only be active if you have an image selected. Now what this does is if you select that, it allows you to actually crop the image. So, if I go to any one of these nodes or these uh editing points, I click that and I move it to what I want to crop away. And then, instead of pressing enter, I simply just click outside it somewhere and you'll see it has cropped it for us. Where if we don't have that selected, and we use these things, you will see, OK, let's try the top one. We will actually get more transformed, so we can scale and so forth, but it won't actually crop it. So, once we move to that one, now we can crop it and we can simply, if we wanna bring that part of the image back, move it down and then click outside of it, and we'll save it. So now, I just wanna move this to the side. So you're still there. Keep that in mind. If you struggle and you can't move your image like normally, it's chances are you're still in your crop mode. So just go to the selection tool. Let's move that away. Now, when it comes to basic shapes, we have 3 things we can choose from. So we have a basic draw line. So if you wanna make any form of line on your image, you can use this. Now, something to keep in mind with this is you're gonna have to select it every time you wanna add a new line, so it won't keep it active. And also, if I left click and drag and I keep shifting, oh sorry, control, you will see it constrains it to the horizontal and vertical plane. So, if you wanna make a perfectly straight line, Or parallel line, you can always do that. Then under that, we've got the two other building blocks. So we've got a rectangle. So once again, if you keep control in, you'll see it will constrain the height and width, and um which can be used for if you wanna make a cube or like should I say a square. Or if you just do it normally, you can make a rectangle the way you like. Then, obviously, we have a circle or I think, what do they call it here? Draw ellipse. So here, you can obviously also keep controlling if you wanna keep it a circle. Otherwise, you can make it oval if you leave that. Now, these are obviously your building blocks. So, everything is built upon these simple shapes, if you're doing designs and so forth. Now, we're also gonna go into colours, different types of colours we can set up and so forth, but now, we will leave for another video. In the meanwhile though, if we head here to softwaretraining.co.za. You guys will notice that we've got a variety of different softwares we do cover, and you can also isolate your search on the top right. If you do not, however, find the training videos you're looking for, just simply go here, request a training video, and we'll do our best to try and make that for you. But otherwise, thanks guys for watching and cheers.