Making Life Simpler When Using these Handy Tips Within AM.CO.ZA InkRIP Software (Part 7)

inkrip handy tips
When it comes to Tips, it is always great to find cool ways to make things work better.
Lots of times these types of Tips will be passed down from active users in the industry.
This video is part of a Mini-Series.
Previous video covered Basic Operations.
Video Transcript
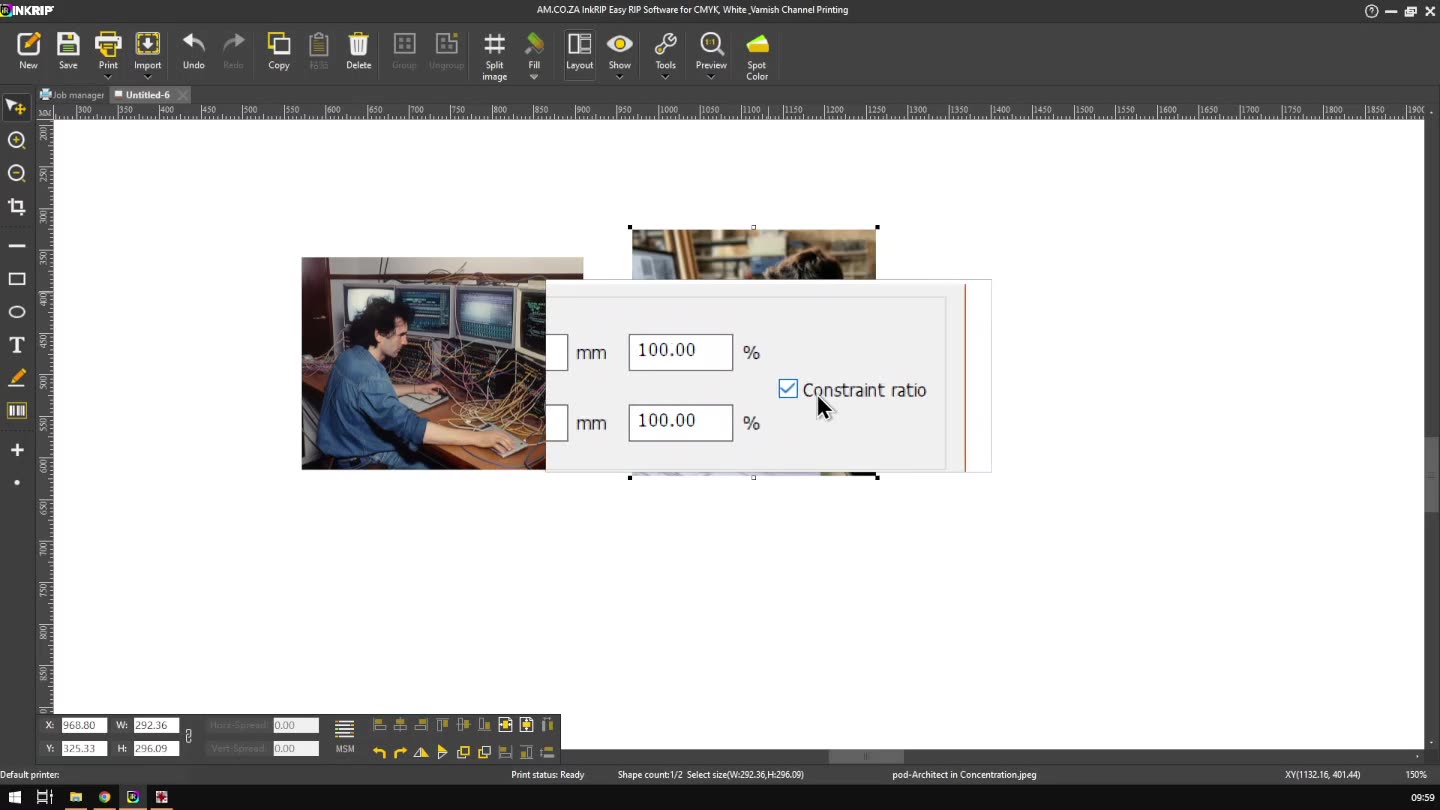
Hi there guys, in today's video, we're gonna be looking at a few tips and tricks that you can use within Incroup. But before that, let's have a quick intro first. So, today's video can be found on softwaretraining.co.za. We make sure and easy to watch problem solving videos and we also have daily updates. I've been into the programme. So, like I mentioned, Let's just get our shortcut keys working here. Like I mentioned, we're gonna be looking at a few um tips and tricks that will help you in the programme. So, first of all, if we've got the line tool selected and we're drawing lines, let's say you wanna have perfectly parallel lines to the horizontal to the horizon or I should say vertical or horizontal. So normally you'll see if I draw a line here, it gets rather tricky to align this up just right. You might think you're aligned, but then um You're actually a bit off. So, a quick way to fix that is you simply keep controlling. So I keep control, I drag. Now you can see, no matter where my mouse goes, that thing's gonna align. Now, this is currently on the horizontal. If I do vertical, I just drag this to the bottom of that starting origin. So, you can see we've got the four sides so we can go and So, align it perfectly. So when I let go of my left click, we've got a perfectly aligned line over there. At least perfectly enough. So that's the first one. So I have to make uh straight parallel lines. We've got also adding guides. So this is nice if you um you have to stick with the incident requirements. We've got our measuring toolbars here or rulers. If I simply left click and hold on either the top or the left one, and then I drag them out, you'll see I bring in a little guide here. I can drag that where I want. Drag a top one. Now we've got guides, so we know, OK, we have to stay maybe within this area or we wanna snap our things to these guides. And we can use that. So, that is nice, but now, as you can see, I currently can't move them around, so maybe I've placed them wrong. Then you want to uh adjust them, you can simply keep controlling. When you hover over them, you'll see you get these two little arrows. Then you can adjust them again. So like I mentioned, control, and then you can uh get this errors, otherwise nothing will appear. Now, let's say you wanna remove them, you're no longer using them or maybe you've placed some uh the, the wrong one or something like that. Then what we can do is also controlling and then you wanna left click and drag them back onto this ruler. If I drop them here, it's just gonna be off the actual cutting area. I mean printing area, so I wanna go there onto the rulers and then even if I go sideways here, you will see that they are no longer there. Which is also very handy. Rulers come in very handy when working um with strict requirements or design requirements. Now, a nice, another thing is we have a basic uh automatic alignment. So, I'm gonna import quickly a few photos here and then just show you guys. So Now, let's say we've got multiple images open. Now, you will see, I'm gonna zoom in a bit. As I drag the one image and it starts aligning with the bottom of this, it's gonna snap, it's gonna make this green line. I do the top, the same thing. So this is very nice to manage your layout and so forth, make sure it's nice and clean. You can use the automatic um Snapping an alignment, which is also very handy. Then, let's say you wanna select multiple images, so let's add some more images. Um, I'm just grab the robot playing chess. Then uh let's add these images. So now, let's say your canvas, you've got a lot of images and you wanna select them all, maybe you wanna move them slightly up, but you don't wanna adjust the spacing. You've got your spacing just right. Now, instead of going clicking on every single one and keeping controlling to select them all, you can simply go control A. And as you can see, it selects everything and now we can make adjustments with them all and keeping their relative location to each other. You can also make a cube select, but in general, like you might have an image on top there and another one at the bottom and then it just becomes a little bit easier to go control A, select everything and then uh go from there. And then the last thing we've got is the output size. So let's say you wanna have a custom output size, you can just um try drag here to the right size and so forth, but there's a better way we can go about it. So, with your image selected, I'm gonna simply right click and then we go here to output sizes. Zoom in yes so you guys can see it a bit better. Then once we've clicked that. You'll see we have our width and height in millimetres depending on what you've set your actual uh uh settings to. We've got percentage. So if you wanna get exactly twice as big, you can just, you know, upscale it 200%. And then nice things we also have this constraint. So currently, with this on, what's gonna happen is if I change top value, let's say to 300, maybe I wanna round it off, 3200, 300. And you'll see it automatically scales the bottom one relevant to the portions. If I had to put this off, and then I can get kind of whack results. 600, we leave the bottom one the same, so, OK, and you can see now it's gonna stretch our image. So you're not gonna want that, but it's good to know what that setting does. So, we wanna keep that on when we're scaling images. Yeah, otherwise, that is it on the tip. So it's probably way more. I would recommend playing around on the programme. You'll figure out a few of them yourself, which is very handy. And then, uh, try to pass that on to the next person that is learning cause that's how we grow. But yeah, otherwise, in the meanwhile, though, if we head here to softwaretraining.co.za. za, you guys have noticed we've got a variety of different softwares we do cover, and you can also isolate your search on the top right. If you do not, however, find the training videos you're looking for, just simply go yeah, request the training video, well in the mini form, and then we'll do our best to try and make that for you. But otherwise, thanks guys for watching and cheers.