Using the MSM Feature for Better Nesting Within the AM.CO.ZA InkRIP Software (Part 3)

inkrip msm nesting
If you working with multiple designs that need to be printed at the same time on the same material, then the MSM feature will be for you.
The MSM feature will come in very handy to save the most material before printing multiple designs.
This video is part of a Mini-Series.
The next video covers Alignment.
The previous video covered Location / Scale.
Video Transcript
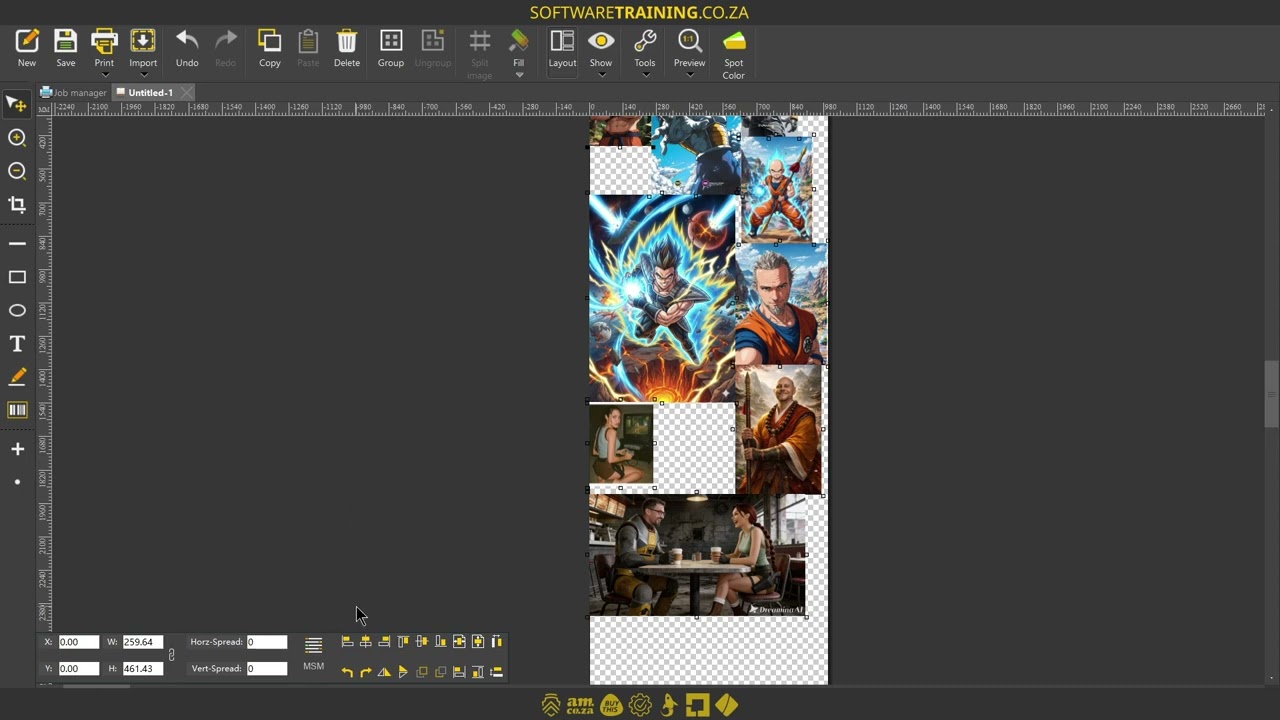
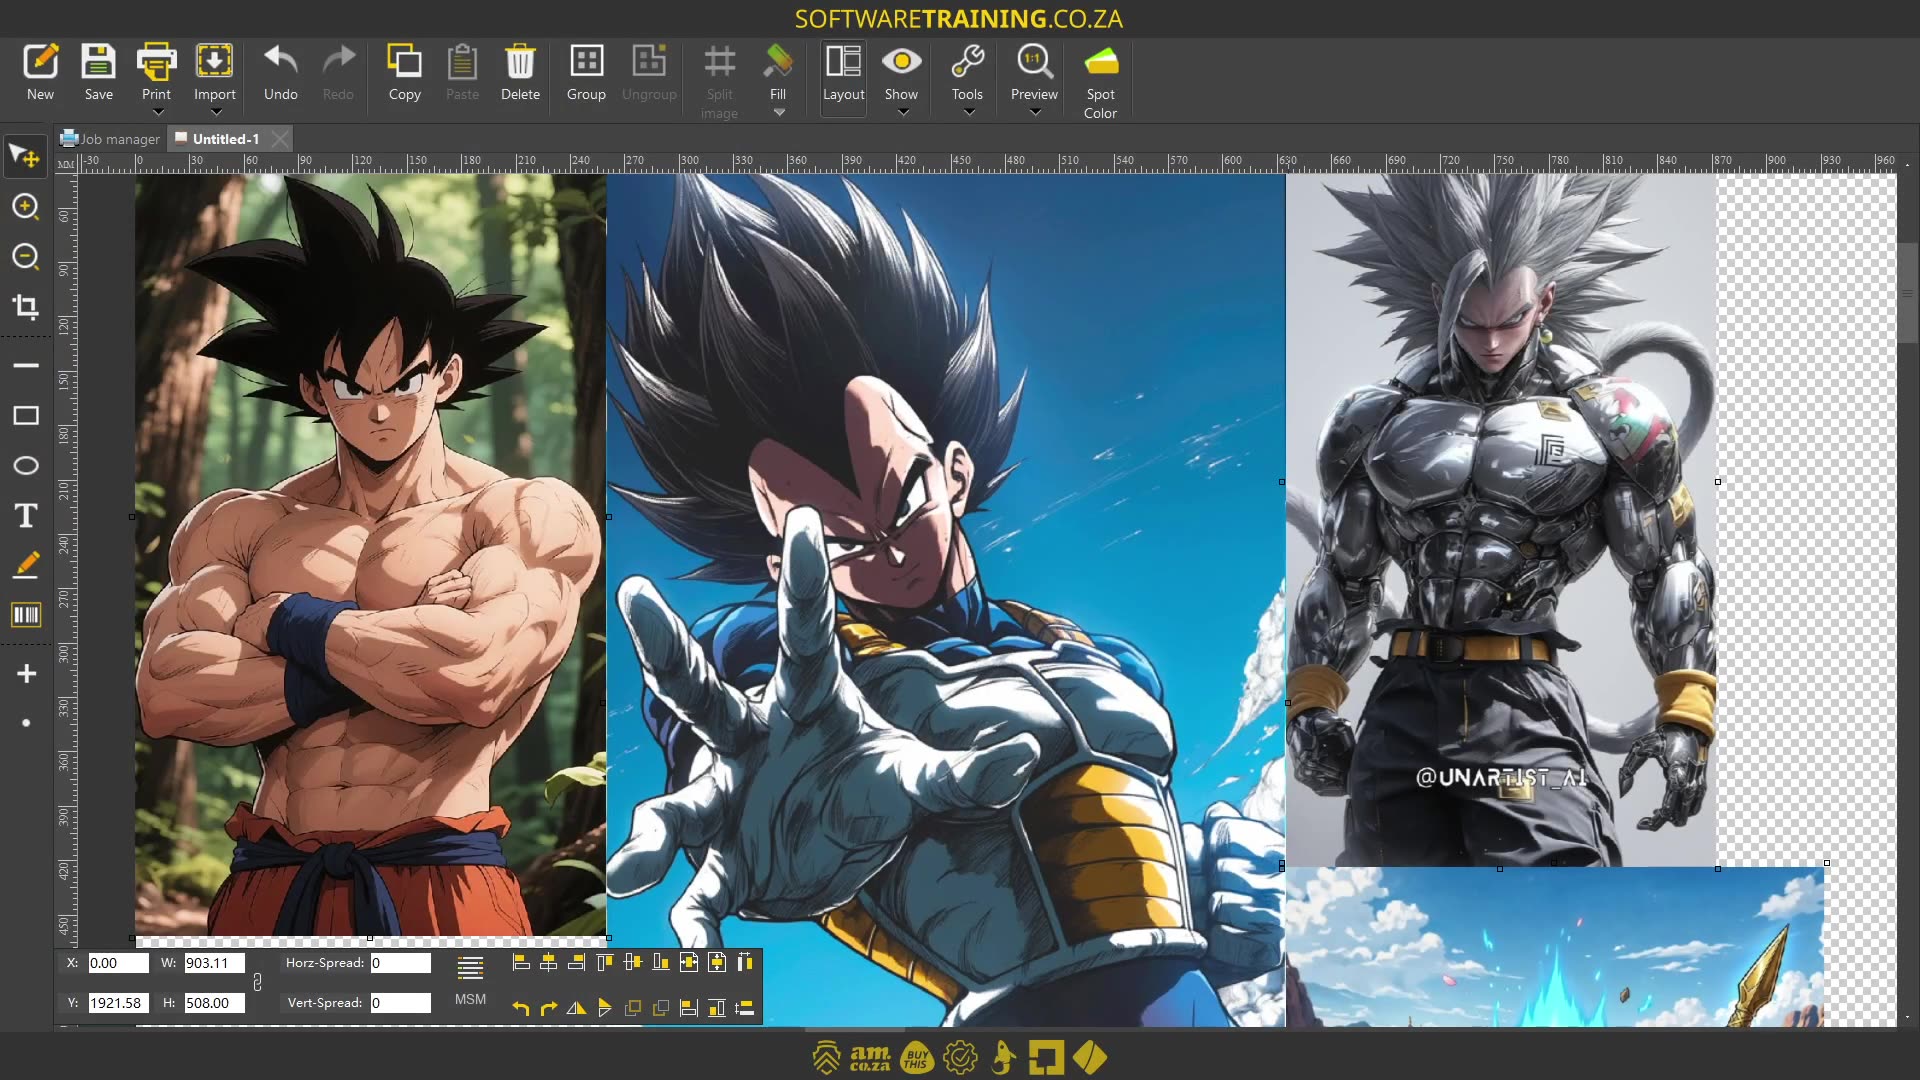
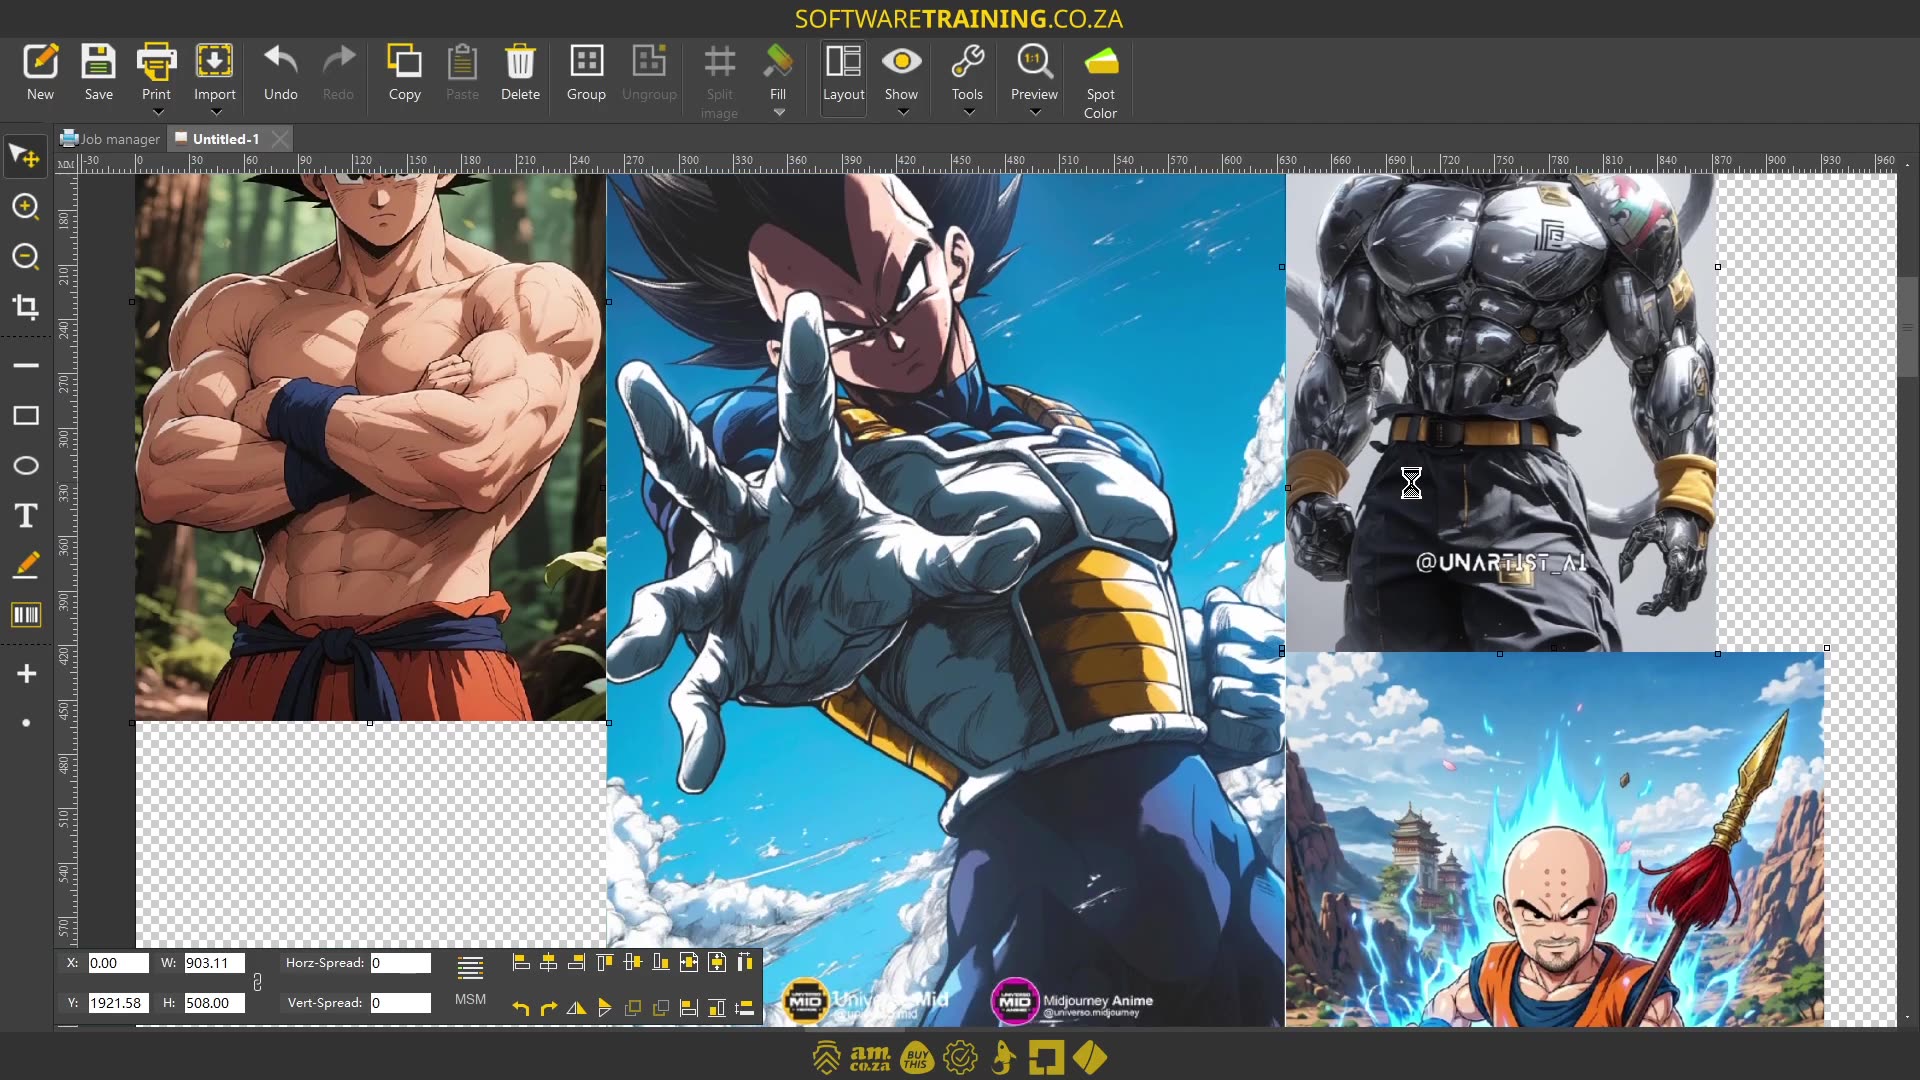
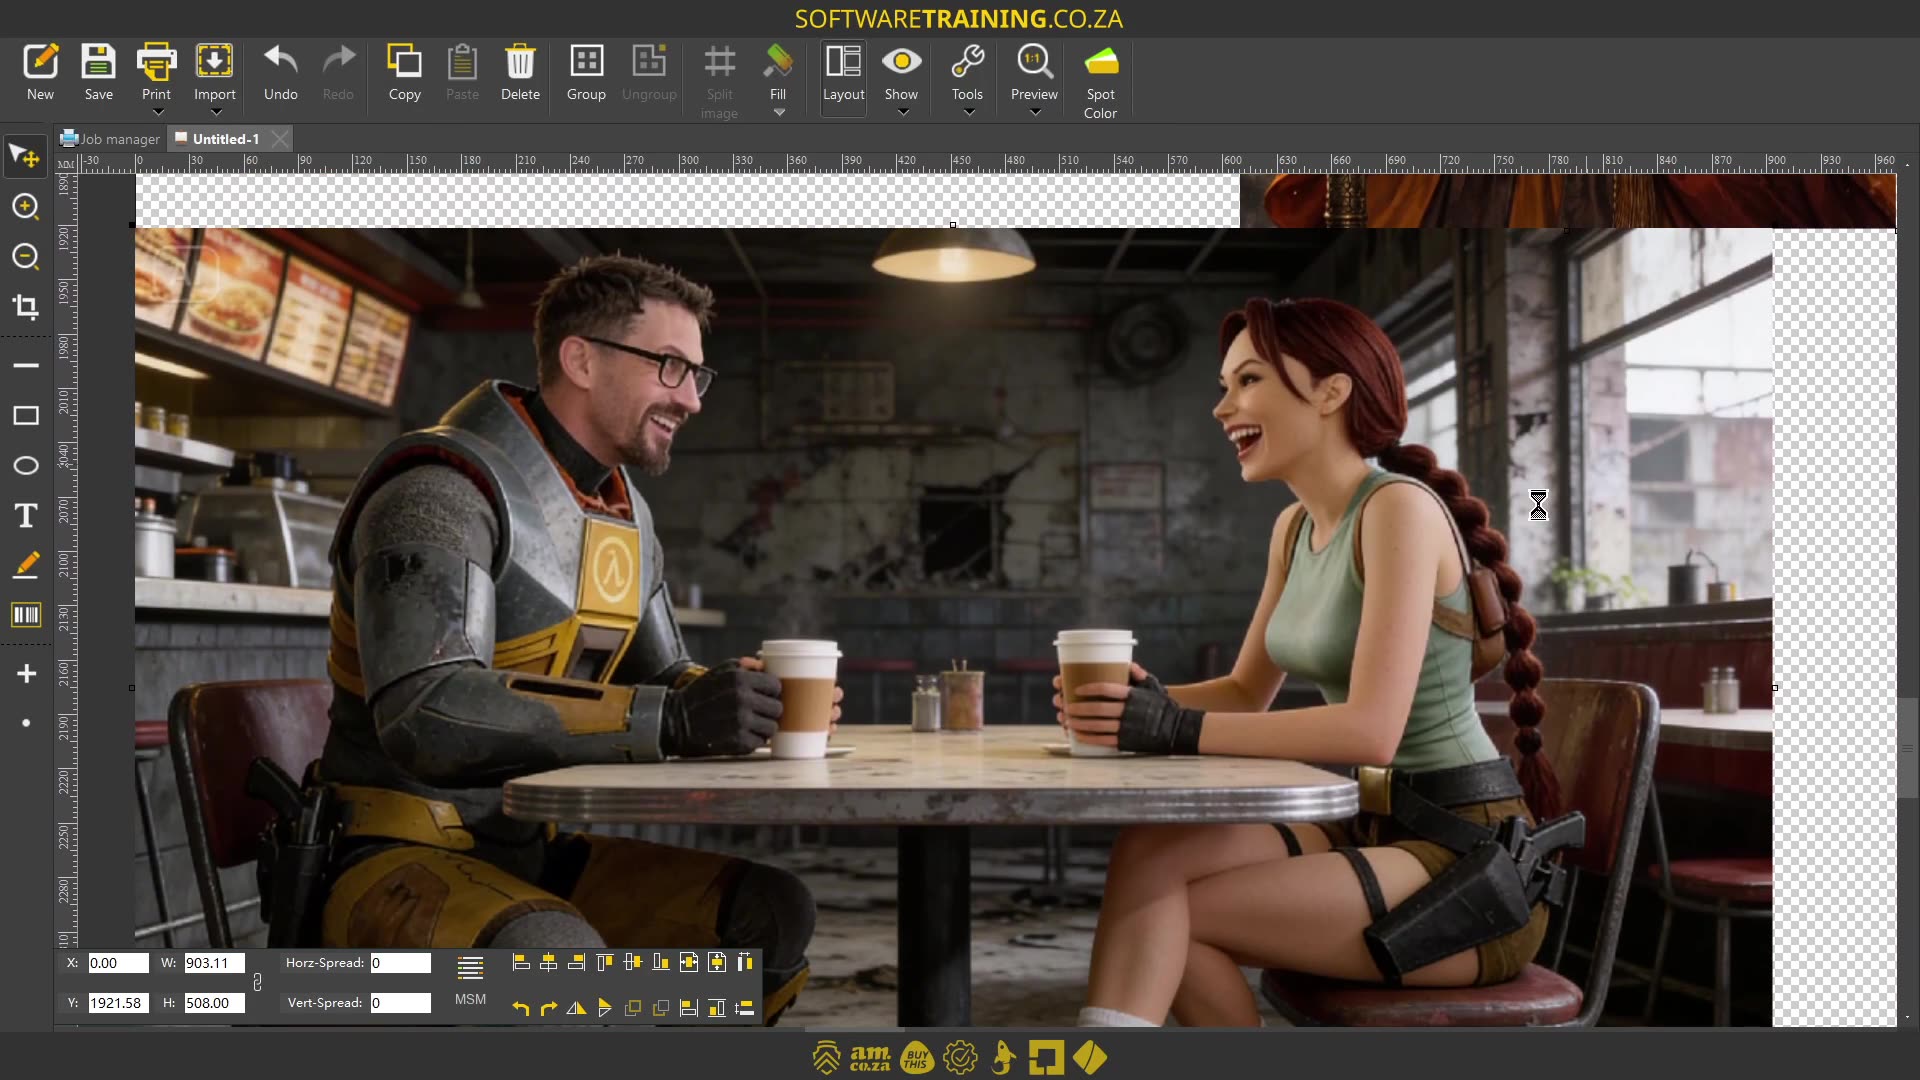
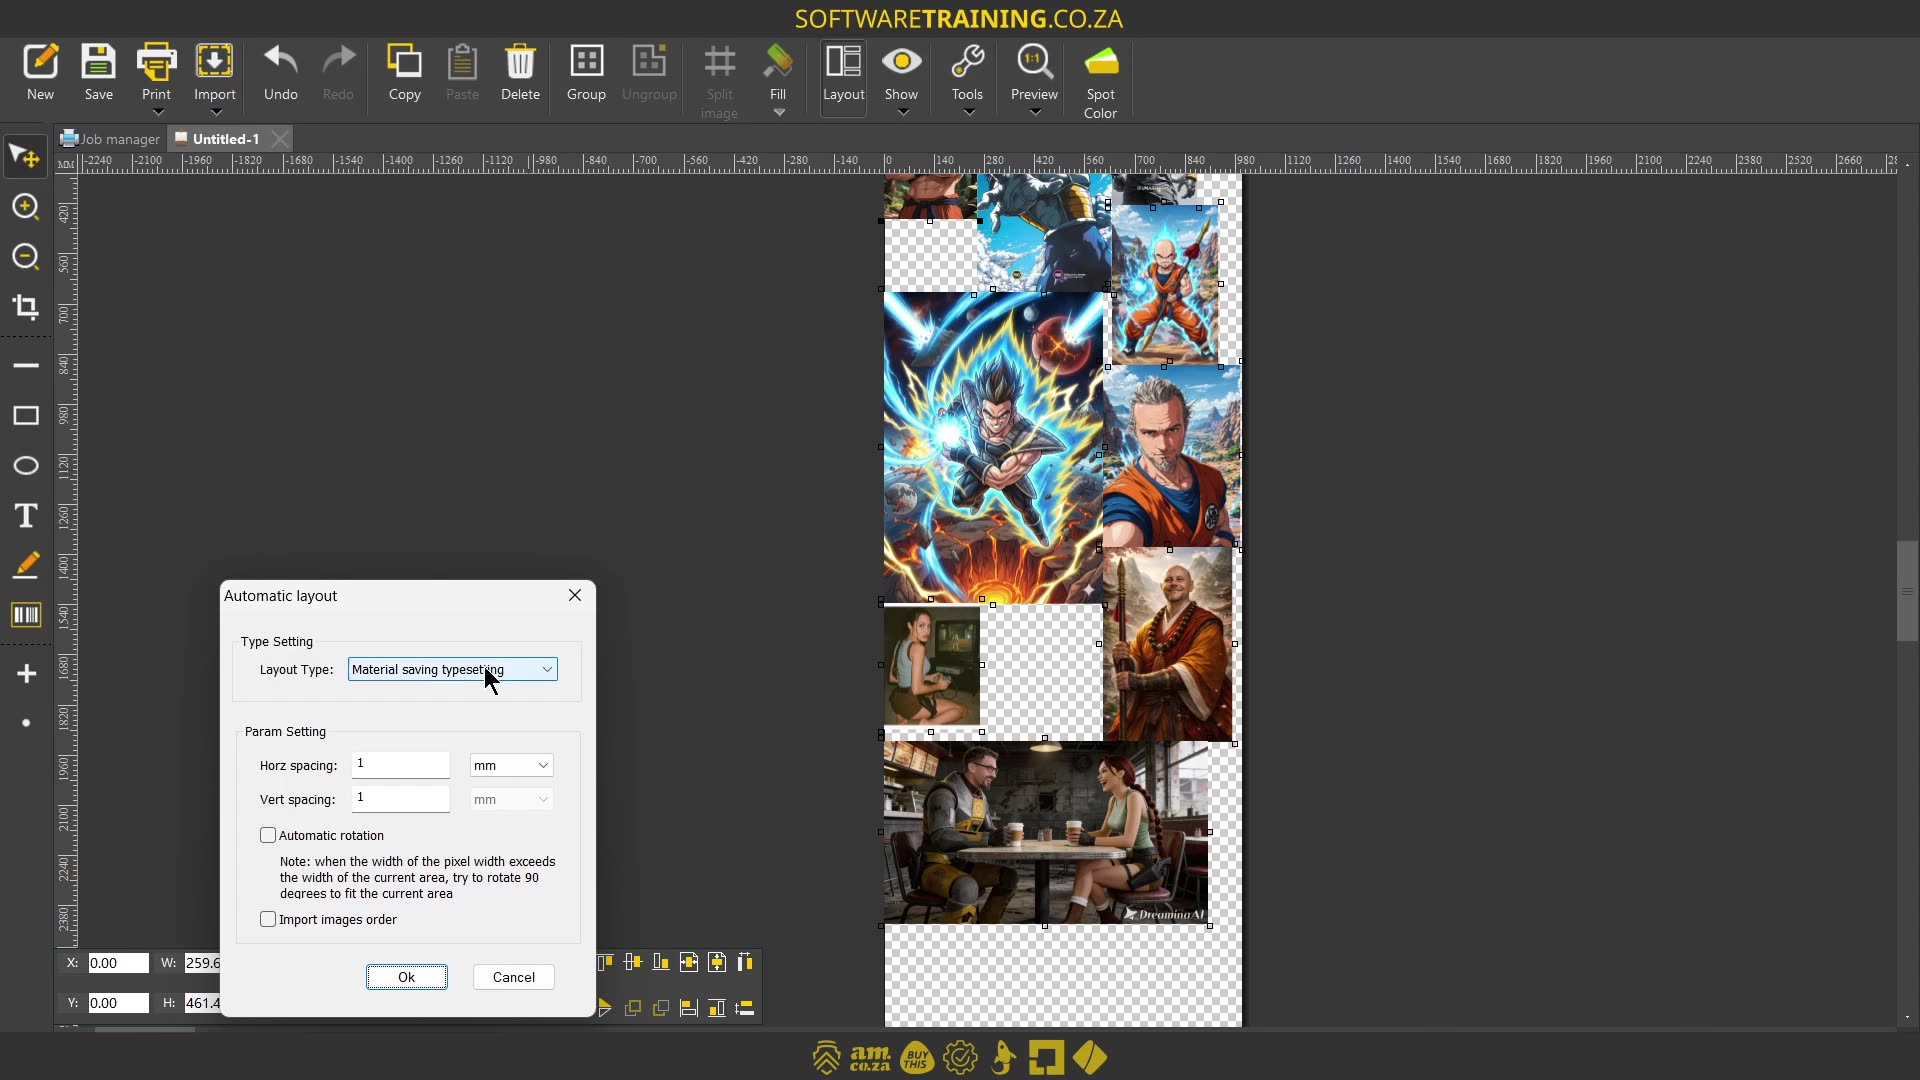
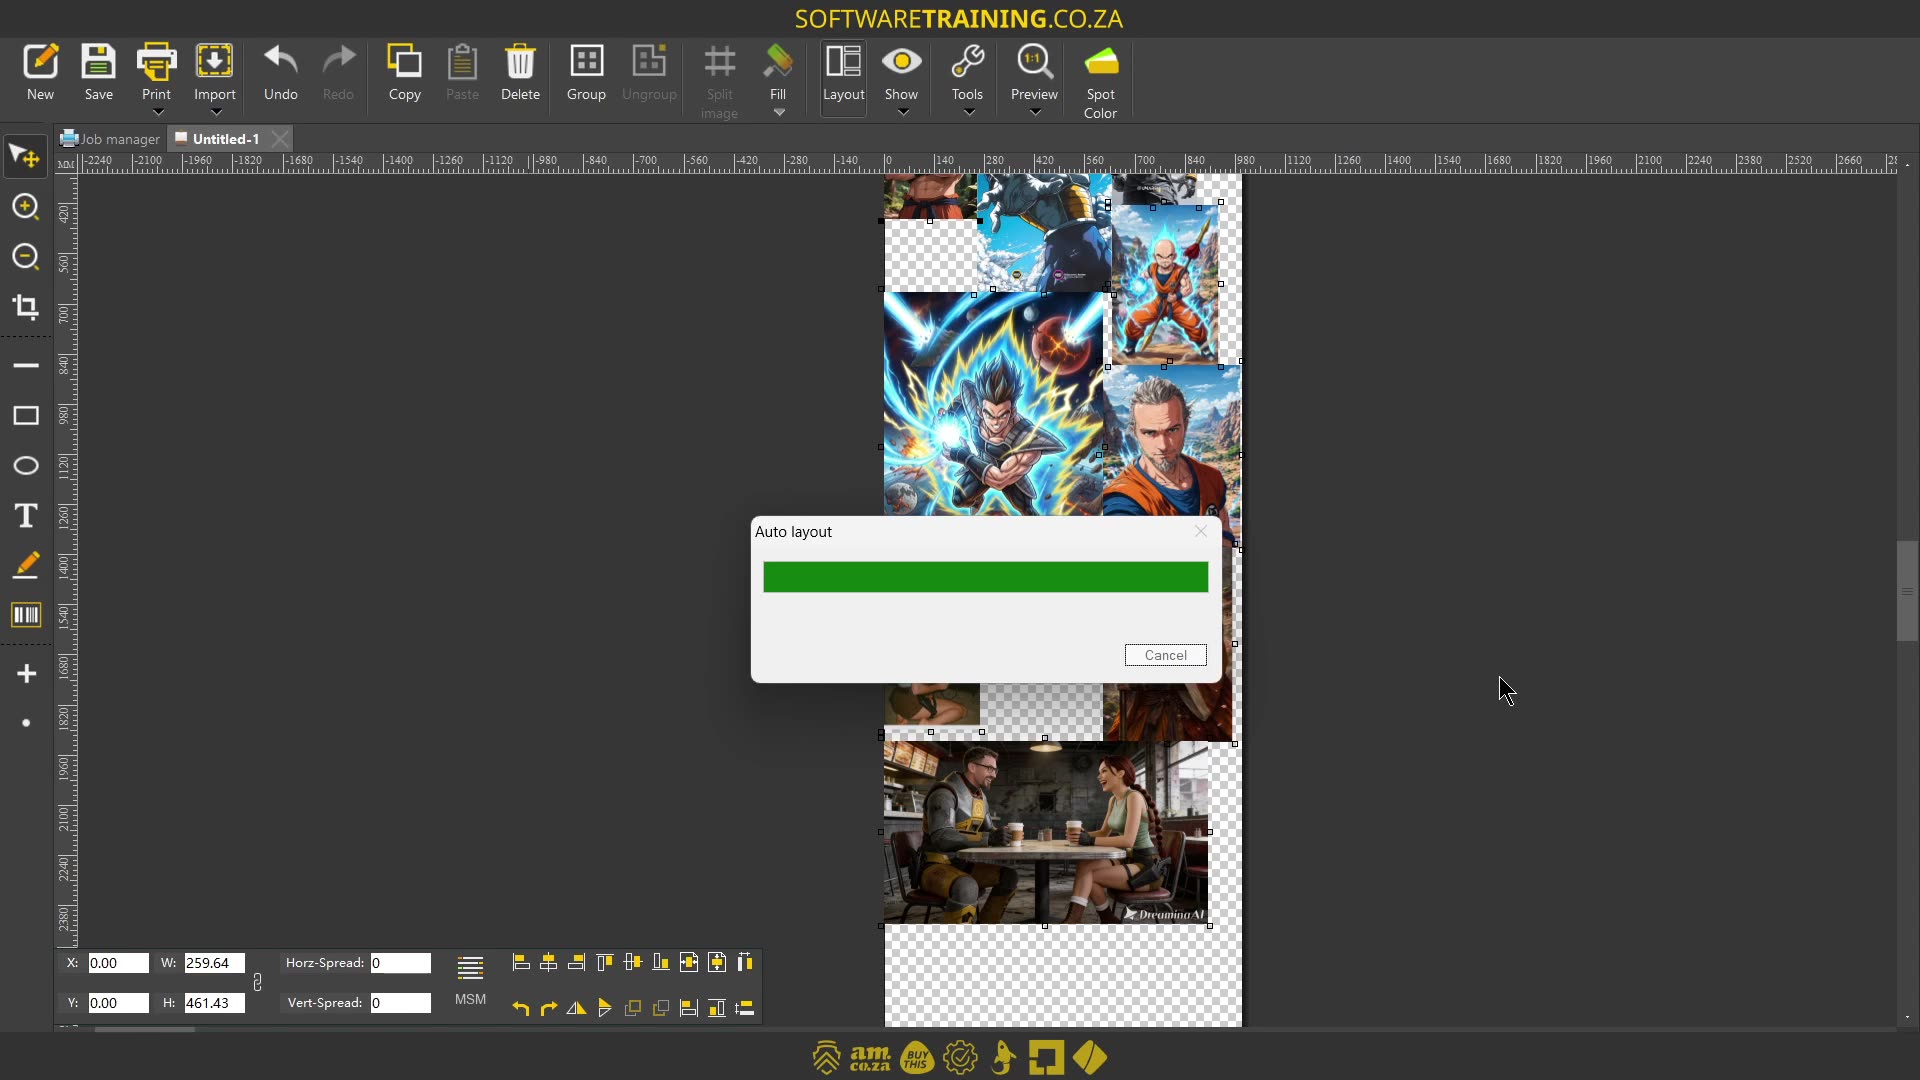
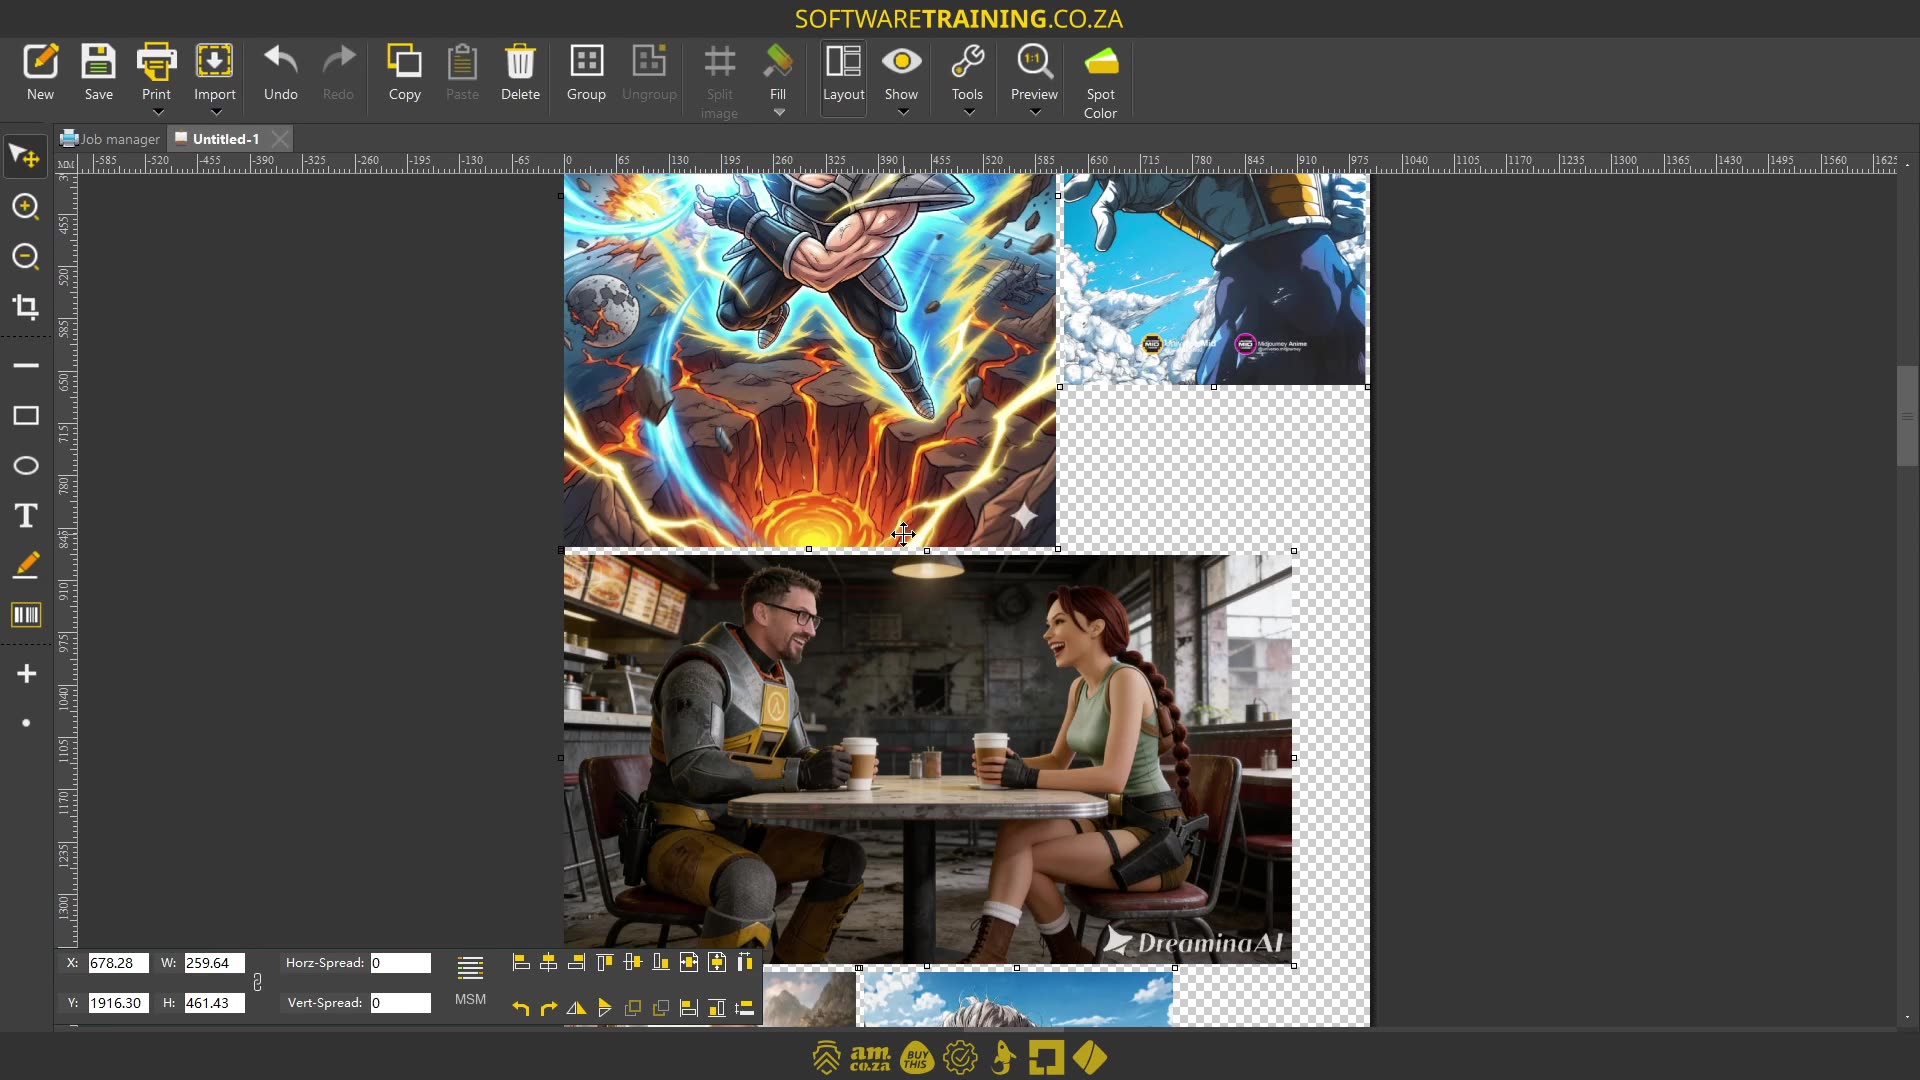
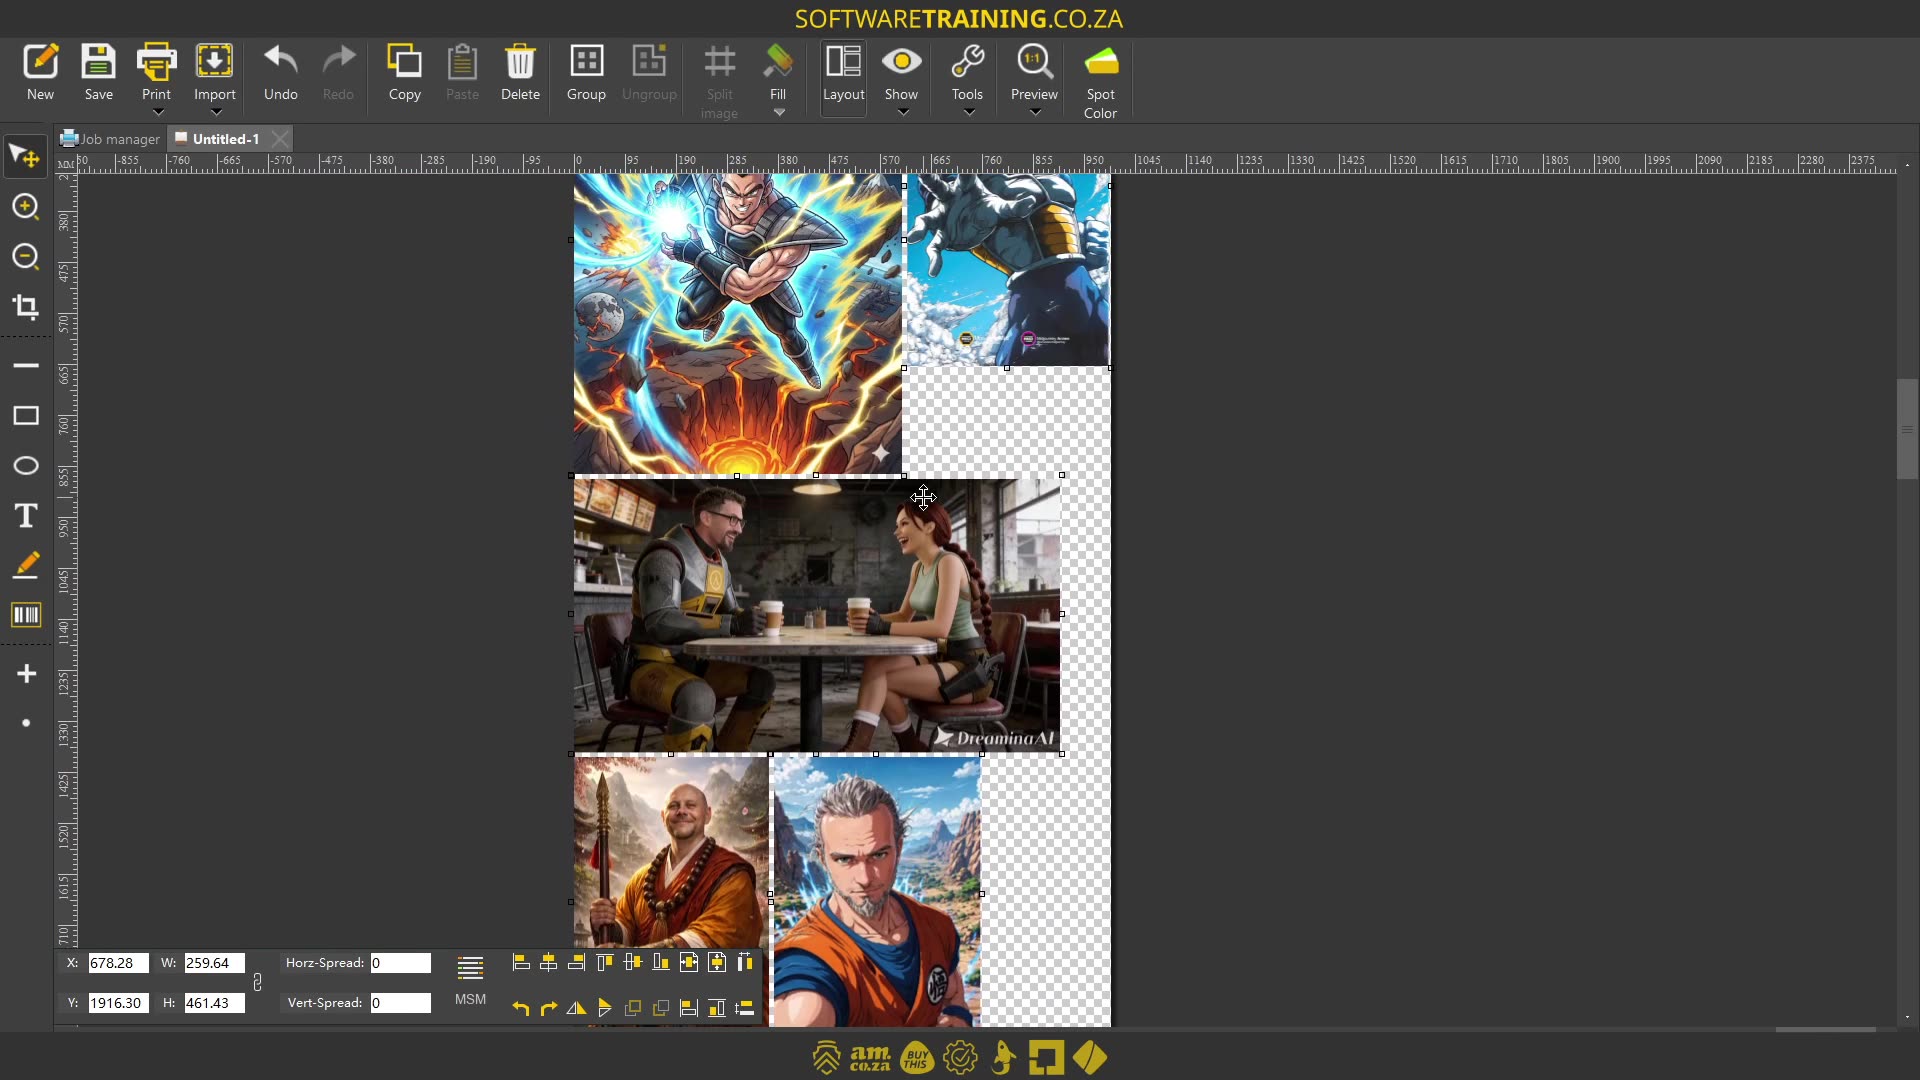
Alrighty, guys. In today's video, we're gonna be looking at the MSM tool that is found within the layout feature, and this will be within crypt. But before that, let's have a quick intro first. So today's video can be found on softwaretraining.co.za. We make short and easy to watch problem-solving videos, and we also have daily updates. Now, if we head into Encrypt here, yeah, this is some cool designs but brings out the boy in us. But in any case, so what it comes down to is the MSM feature under the layout feature or MSMM tool. This will be a form of nesting tool. So, let's say like in our example here, we've got uh many different designs, but we wanna save material by having it smartly laid out and so forth. Then, what we can do is I'm gonna quick uh simply zoom out here. And then, I wanna select all these images. So I'm gonna select all of them. And then, under the actual layout feature, you can see we've got this um auto layout. So, um, OK, it says uh most saving material. So in other words, this is a form of nesting. I'm gonna click that and then you can see here, we've got a few different options. So first of all, we have the layout type. So, here, we only have the one option currently, so that's a material saving type setting. And then under there, we have a few different options. So, for the parameter settings, We've got spacing. So if we want spacing between us, it's normally a good idea cause you're gonna be cutting them out. So, uh, for now, let me just, I'm gonna change this to 2 and 2. And uh or let's rather go like. 10 mil by 10 mL, so we can maybe see it on the example. Then under that, we have this automatic rotation. As you can see under the note, it says, when the width of the pixel width exceeds the width of the um uh content or correct area. And this will basically try to rotate the image 90 degrees. So in other words, let's say it's nesting an image and another image next to it, but it goes with outside, uh, then it will try to rotate it to fit it in. And, and the last option here is import image order. So in other words, the order in which I imported these, it's gonna try and nest them relevant. Otherwise, it will try to fit the best, uh, how can I say layout. Based on the images sizes. So, um, so if the order is important, you can always click this on. So maybe it's like um patterns that have to go together or something in that line. In my case, I'm gonna leave that off and then let's say OK and see what happens. Now, you can see, it has rearranged things for us. It should try better fit that, the current layout. Now, you can obviously manually adjust this, but when it comes to a lot of images with different scales and different sizes, this is definitely a uh handy, handy tool. And then here, you can also see we've got this nice little gaps between so that um gives us some breathing room. But in general, it's probably keep it way less than what I made it cause ideally, your prints should be having some form of uh safety. Uh, edges and so forth. But yeah, otherwise, that is it on the MSM feature. Basically, it's a form of nesting feature if you're working with multiple designs. But yeah, otherwise, in the meanwhile, if we head here to softwaretraining.co.za. za, you guys will notice we've got a variety of different softwares we do cover, and you can also isolate your search on the top right. If you do not, however, find your training videos, just simply go here, request a training video, fill in the mini form, and then we'll do our best to try and make that for you. But otherwise, thanks guys for watching and cheers.


 ayo-ogunseinde--_C4UZRpoQc-unsplash