CorelDraw Software Removing the Image Key from CMYK (Part 4) Step by Step Video Tutorial


coreldraw remove image key
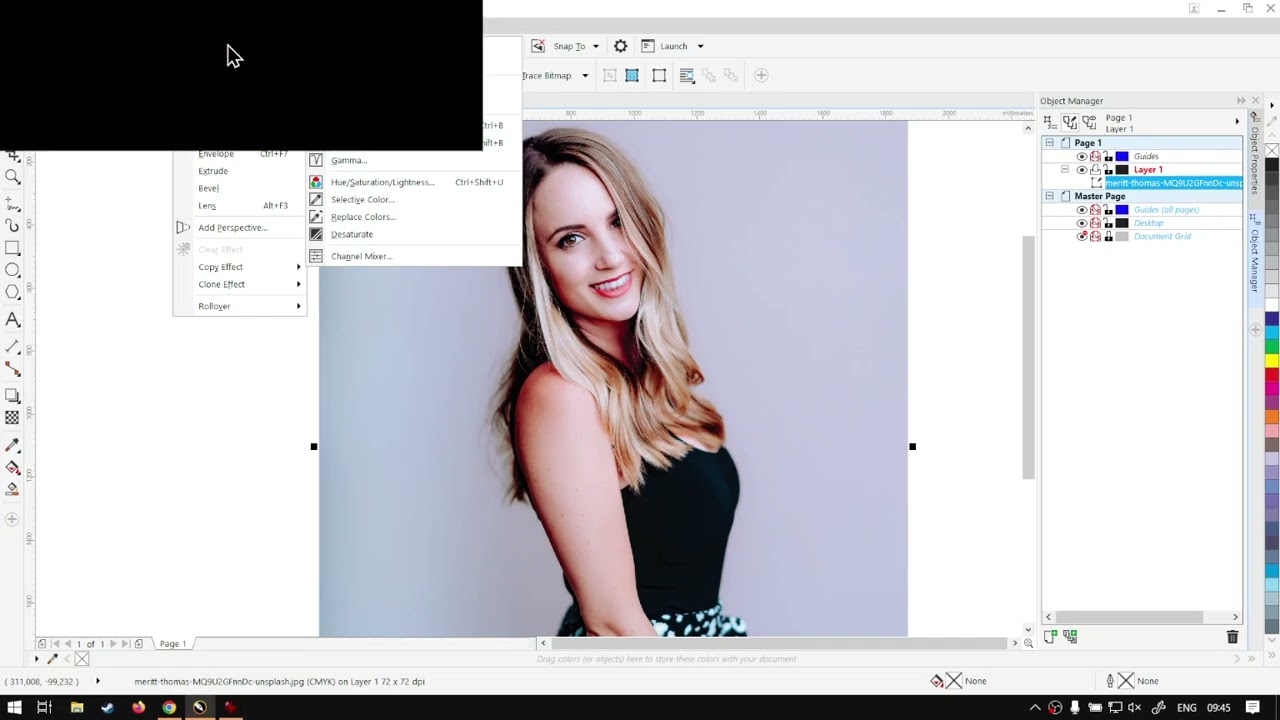
Now that we have everything ready for the actual process we are able to look at replacing that K with a fake K.
But when it comes to replacing the K from CMYK we will first of all have to remove the old one.
This video is part of a Mini-Series.
Next video covers Adding Fake Key to CMY.
Previous video covered RGB to CMYK.
Video Transcript
Alright, guys, In this next video, we're gonna be looking at how to remove K from our C M. Y K. And this will be in coral draw. But before that, let's have a quick intro first. So today's video can be found on softwaretraining.co.za. We make short and easy to watch problem solving videos. We also have the updates, otherwise we head back into the programme here. So now the previous video we looked at actually putting an image in our file and converting it to C. M. Y K and uh, converting to C. M. Y K is quite an important step as we're gonna need the information for removing the K. We can't easily do that without, So now what we're gonna do is with make sure once again, your image is selected. So either you can select the year on the actual object manager or you can just click on your image. But make sure you're on your selection tool, which is this little cursor here on the top left on our toolbar. So, as you can see there, we've got that, uh, pick tool, select our image and Now we've got transform arms, which means it is selected. Now, the next thing you want to do is remove the actual key. Now, this can get tricky. I found in my software where if I've already set up the, um, colour mixer, then, uh, sometimes I run into problems, but we'll look off towards how to fix that. So now what we wanna do is with the image selected, we want to go to a fix. Then we wanna go to adjust. So it's the first one effects. Adjust and then let me zoom in here. So I call the colour mixer. I mean channel mixer. So we go fix, adjust, and under adjust. We're gonna go right to the bottom and we can see every channel mixer. Now, if we click that, it's gonna pop up some options the moment we've not said anything. So I will show you what it looks like if we messed it up, but for now, it's fine. So now what we wanna do is under our colour mode. We want to make sure that this is set to C M Y I. K not R GB or lab the c M. Y. K and then the Output Channel. Yeah, we wanna select our actual black so we can remove any of our other channels. But, um, yeah, what we wanna do is if our black and our ink and our printer is done, we could try to fake it with only having C m y. I mean, uh, yeah, So we got black and then right at the bottom here, we can see on the show on the left. We've got, um Cyan, magenta, yellow and black. And then the black is currently set to 100. So now what we wanna do is we wanna, either by clicking this little slide and dragging it, or I'm just gonna double click here, type in zero, and then it should remove it for us. Now, currently, I'm not seeing an update, So let's click preview and preview again, see if there's anything still nothing. So I'm gonna say OK, Like I said, this can be something a little buggy. Now, what I'm gonna do is just to repeat exactly the same process. I'm gonna go fix, adjust Channel mixer and then let's see. There we go. Now we can actually see how black has been removed. So currently we should have zero black, so I'm gonna say OK, and then now what we can do is I'm just gonna go to the colour picker here on the left. If I select that, then let's hover over the darkest colours. And then currently you can't see it. There we go. If I zoom down a bit, you can see there that, um the K is currently zero. We go here, but the hair it should do the same. I'm just gonna zoom out. I hope you guys can see this, but the right bottom one is K is zero. So we know. OK, great. The actual black is gone. So now if you have a philtre already set up and it messes around with that preview, what you can do is you just duplicate your image. Then you go effects adjust. You do the channel mixer, you reset your actual, uh, philtre. So you'll see at the bottom. Here we have a reset option. You'll say reset, Say OK. And then what you do is you delete the layer the duplicate one, and then you do the same process. We just that sometimes that feature Seems a bit buggy. I'm not too sure why, but yeah, otherwise, that is it on removing the black, Um, in the meanwhile before we carry on. If we head here to softwaretraining.co.za. You guys will notice we've got a variety of different Softwares we do cover. And you can also isolate your search on the top or right. If you do not. However, find the training videos you're looking for. Just simply go here, request the training video, fill in the mini form, and then we'll do our best to try and make better for you. But otherwise thanks, guys, for watching until next one. Cheers.


This article is part of our “Large Format Printer Printhead colour channel manipulation workflow” – see the article for more info.


 ionut-comanici-RDcEWH5hSDE-unsplash-index


