How do We Go About Adding Different Images Within the AM.CO.ZA InkRIP Software (Part 4)

inkrip adding images
It is all great that we now know how to start a new project, save it and open it later,
But what does that help us if we do not know yet how to add images to these projects.
This video is part of a Mini-Series.
Next video covers Adjustments.
Previous video covered Print.
Video Transcript
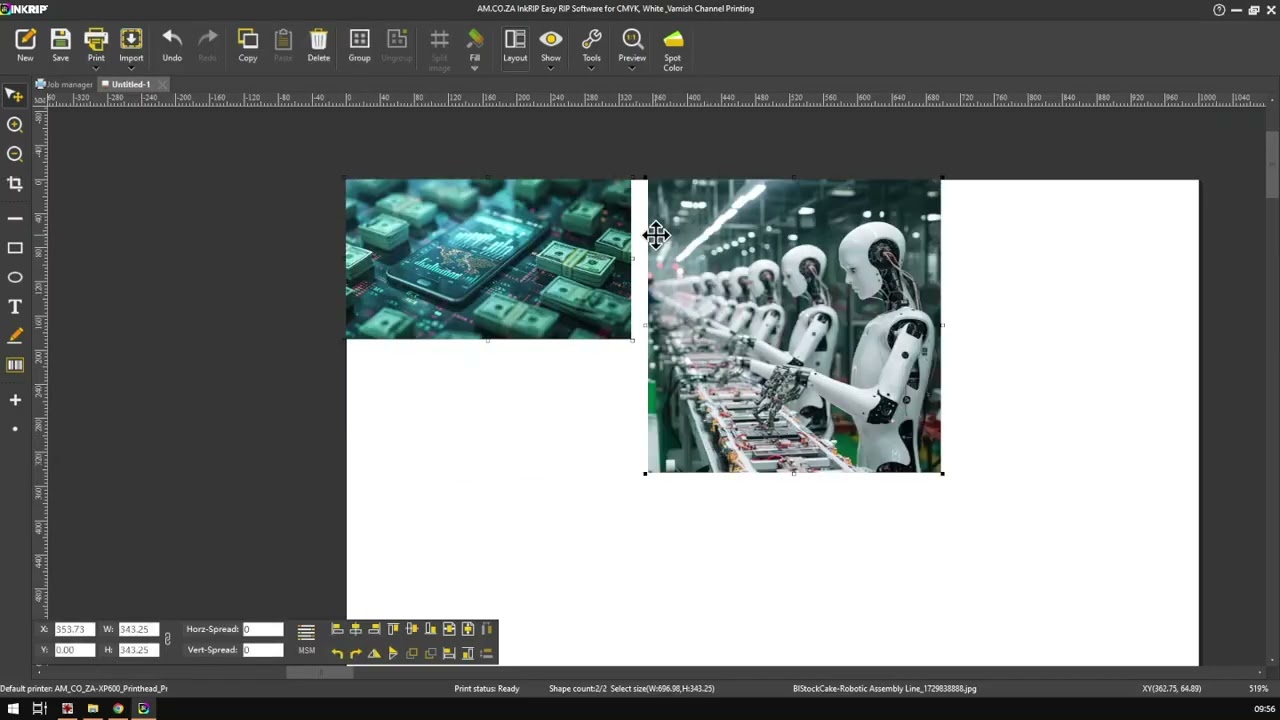
Alright guys, in today's video, we're gonna be looking at how to add images to encrypt using the import feature. But before that, let's have a quick intro first. So, today's video can be found on softwaretraining.co.za. We make short and easy to watch problem solving videos and we also have daily updates. Now if we head into the programme, yeah. So, in the previous video, I'm sure you guys saw we had an imaging. So now, this is obviously a very crucial point of in group is adding images. So in order to do that, Um, we wanna go to the actual import button, which on our menu bar here on top, you'll see we have import, so I'm gonna zoom in here. And we can see some features. So, if I click that, it's gonna open up a dialogue where we wanna select images from. So, I'm just gonna select any image from my Um, library, click open and you'll see it pops up this import settings feature. Now, right on top, we've got scale. So, we'll go through a few things. So, original scale is all obviously imported the way the image was. So, let's say you have set your sizing and all of that in another programme, maybe like Photoshop, and it is correct, then we can do is you simply leave it on that, say, OK, and as you can see, I'll import the image at the scale it was. But perhaps, uh, let's say your client or someone who wants an image at a precise scale. Then what you can do is you do the same process, but now we can go custom with or custom height. So, let's say you're printing it and it needs to have an exact uh width. Then what we're gonna do, we type it in here. I'm gonna make it 400 millimetres. Then what happens is it will keep the aspect ratio, so it will do the height according to what your aspect ratio was. So, if Uh, minus 400 for the width and the height will adjust accordingly. Then we can just say, OK, and you see now it's added on a ruler on top here, we can see it as nicely now on the 400 mark. So we know that worked. And yeah, that's how you can get custom sizes in, which is very convenient. Now, another few options. So let's say, I'm gonna select multiple images. I'm just gonna grab these two, so open. Go back to the original size that keeps their sizes the same. Next up here, we've got the layout settings or setting. You can see we've got a horizontal and vertical spread. Now, you'll only see this in effect if you've got multiple images selected because this is how far the image is next to it. So, let's say, leave it at 0, say, OK, and you can see it puts these two images right next to each other. Just remove them. Try that again. So I'm gonna select those same two images. And then now what we can do, let's say we set about uh 20 mould gap between them. So, OK, and now you can see we've got some nice white space between them, which could make cutting a little bit cleaner afterwards if we need to. So that is how you add white spaces, which is also convenient. Then our last option here, I'm gonna set all this back to the default, and there we've got no tip. So, let's say you don't need to set any custom values, no spacing, and you wanna speed up the process, then you can say no tip. Then what's gonna happen is I'm just gonna remove this next time we go import. You will see it doesn't pop us that dialogue box of what settings is set. So it's very quick, it just gets it in. But let's say you want it back, then what we wanna do, we wanna go to the actual I icon here on our menu, uh uh yeah menu toolbar. Click that and then under these options, we're gonna go import tip. So, click that, put that back on. Now, if we go import. And we select the image, you will see we have our settings again. Now, you can also obviously um set it off over there. So you can go on the same menu and then set it off. You don't have to do it within the other menu. But yeah, quite convenient. That is how you get images into your actual encrypt software. We're gonna use our import button and then set the settings accordingly. Otherwise, though, in the meanwhile, if we head here to softwaretraining.co.za. za, you guys will notice we've got a variety of different softwares we do cover, and you can also isolate your search here on the top right. If you do not, however, find the training videos you're looking for, just simply go, yeah, request a training video, fill in the form, and then we'll do our best to try and make that for you. But otherwise, thanks guys for watching and cheers.