Ungrouping Grouped Channel Letters using the PrintUP 3D Printing Software (Part 4)


ungrouping grouped channel letters
Now that we have look at the most important transform tools, lets look at another transform tool that will be of great help.
With the Ungroup feature we are able to take most of your designs to another level when making them more custom.
This video is part of a Mini-Series.
Next video covers Models List.
Previous video covered Scale Tool.
Video Transcript
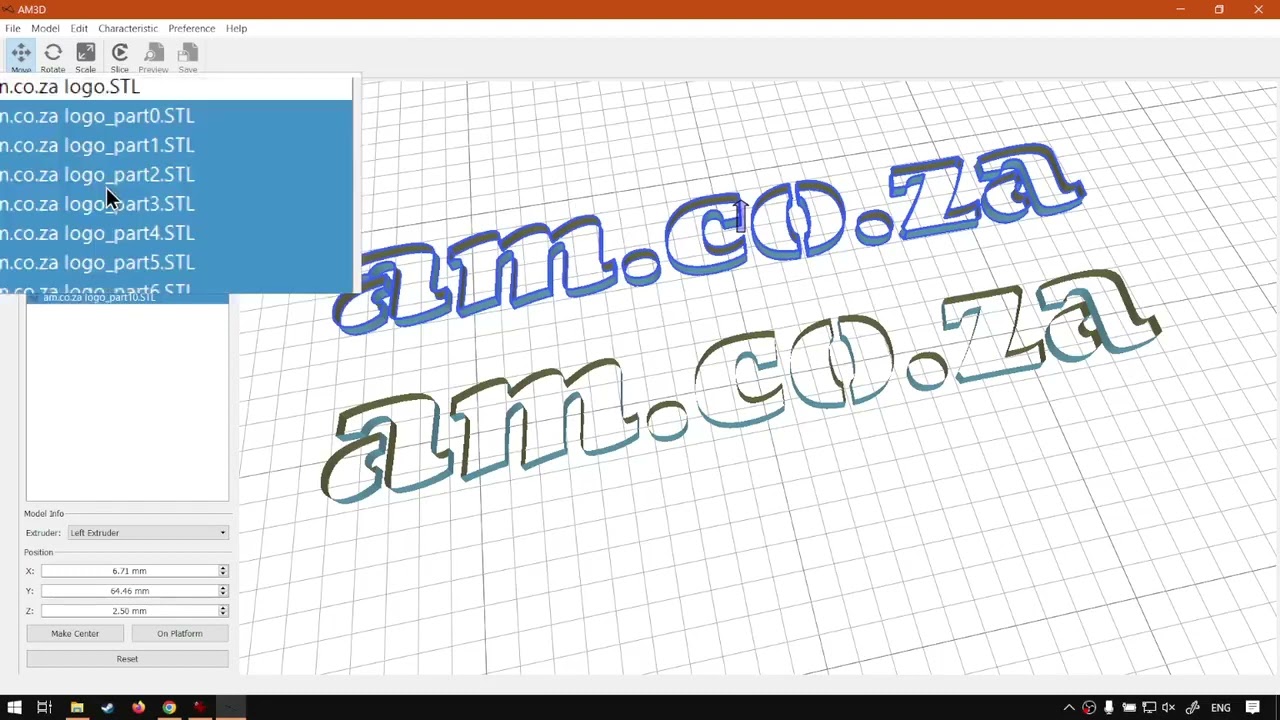
Hi guys. In today's video, we're gonna be looking at our UN group feature when, um, transforming 3D models and this will be within print software. But before that, let's have a quick intro first. So today's video can be found on softwaretraining.co.za. We make short and easy to watch problem solving videos, and we also have the updates otherwise back in the programme. So now that we've covered the basic transformations, let's look at UN grouping objects. Now keep in mind this will only be relevant for objects that are grouped, which means if you go to a model, create word, then it won't work because it's just one shape. But, for instance, in this case, or at least I don't think it will work maybe with certain letters like this could work. But, uh, in general, we've imported this AM dot C dot Z a logo. So what I'm gonna do is I'm just gonna make a duplicate so we can see the effect and move it up a bit. So we're gonna place it about there. So we have two of them now on our model list. We can see we've got two models here, and, uh, that's a good way to know also that they are grouped. So now what I'm gonna do is select the top one, and, uh, UN group them now un grouping can be handy. Like, let's say you want to do some customization to individual characters or, um, stylize your design a bit more then this is great. So to do that, we're gonna go to our main menu on top. Then I wanna go to edit, and then we go Auto on group, make sure your object that you want to own group is selected. Otherwise it won't work. So do that. And now we can see on our model list here. That selected is all the new models. So I took the one model and it broke it up into a lot of different parts. 10 parts to be exact. So now if I select, you can see we can select individual parts of this model. Now where with this one, it only keeps one. So if we want to make, like, maybe stylistic changes, let's say we grab these two go to scale, make sure my uniform scale is on, and then scale this, then what I can do is some switch off uniform scale. Bring the letters down. You can obviously be exact measurements, so keep it the same as the previous design. But I'm just showing, for example, then what I can do is I go to the move tool and then this one. Select these two, tuck them in more. Do the same with the outside shape. Tuck it in that side and then very quickly like that. You can get quite a stylized effect just by using the UN group feature. Now it's a handy little tool, and you might not always need to use it. But when you do, it's great to know that it is there. Otherwise, that is it. On un grouping if we head here and meanwhile to softwaretraining.co.za. You guys will notice we've got a variety of different Softwares we do cover, and you can also isolate your search on the top or right. If you do not, however, find the training videos you're looking for, just simply go here, request a training video, fill in the mini form, and then we'll do our best to try and make that for you. But otherwise thanks guys for watching and cheers