Understanding the Model List Feature Within PrintUP 3D Printing Software (Part 5)


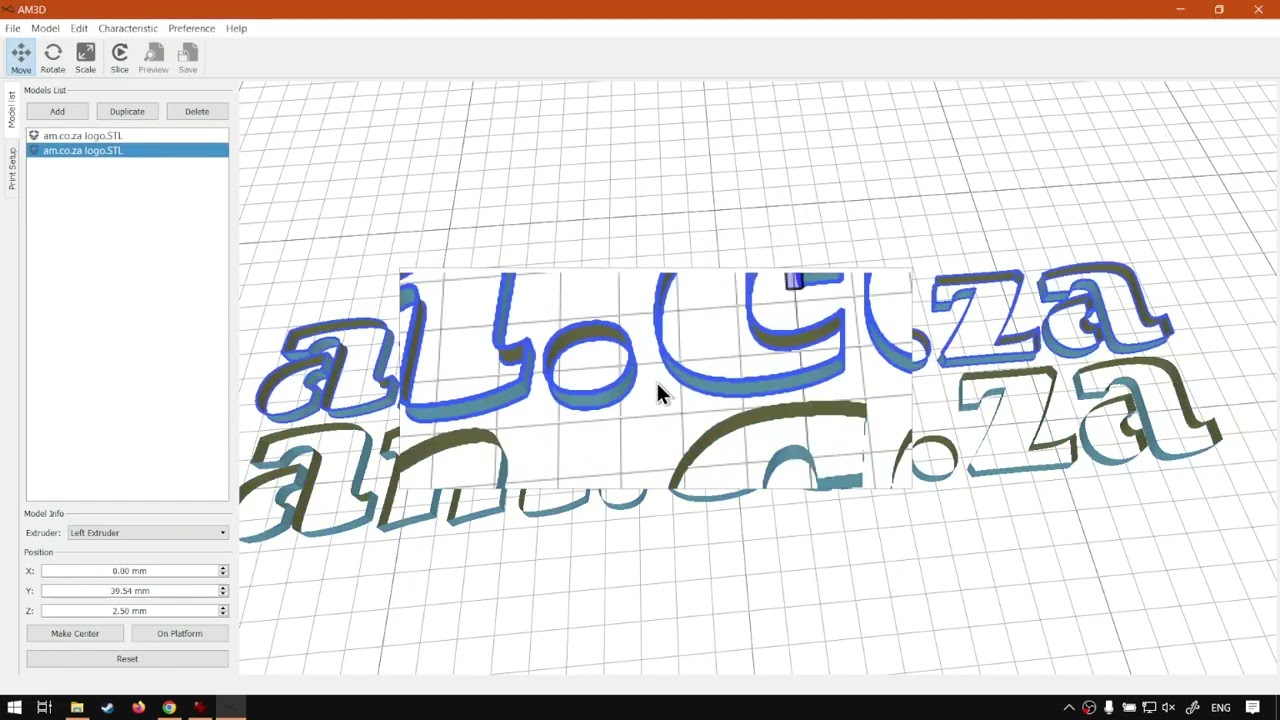
channel letter model list
When we are working with multiple models, STL and OBJ file formats, then the Model List will come in quite handy.
The Model List has a few great options for managing you Designs other than just listing them,
This video is part of a Mini-Series.
Next video covers Practical.
Previous video covered Ungroup.
Video Transcript
Alrighty, guys. In today's video, we're gonna be looking at our model list feature within print up software. But before that, let's have a quick introvert. So today's video can be found on softwaretraining.co.za. We make short and easy to watch problem solving videos, and we also have daily updates. Otherwise, if we head back into the programme here, So now when it comes to the model list, this is quite a useful information panel that you can be using often. We've briefly covered it in the previous tutorials, but kind of just ran through it. So I'm just gonna run through some in depth so you can understand how it works. So now, first of all, it is located here on the left and, uh, fix my zoom there. Then if you do not see it, then chance the print setup is open. So make sure then you just click on the model list. Now these things you can expand. If I drag you to the edge of the modellers. You'll see I get these little icon arrows that shows two little arrows. You can click that and then drag it bigger or smaller, so that is convenient. Let's say your models have very long names. You can always do that. Drag it open. Now, on the actual list, you can see it. Currently, we have one model we've imported our AM .co.za logo, and then we have a few different options on top of that. So the first option was obviously the way we got the model. So you can click, add, locate your model or Sorry. Um, yeah, That's not how we got the aim dot CAA M .co.za one. This is how we get the OBJ and STL files, so you'll go to add locate it and import it. But you'll see the graphics we imported. It's automatically converted to STL as well. So if we look here at the extension, you can see there it says STL. So that is our first option from our model list. The second one is we can obviously duplicate things. So if we have a layer selected or even here, it might be multiple ones and you select it like this or you can select it on the actual drop. I mean, on the model list and we click that duplicate. You can choose how many duplicates you want. So as you can see that it's got a number of copies one and then I'm gonna say OK, and then that pops in on top or wherever it fits it. It's not always consistent, but it pops it in a nice manner where it's not exactly on it. Then the last option we have here is delete. Now, any model you want to delete in your file, you're gonna have to do with this. And that is, um, like it doesn't work like other programmes where you can select it and delete on your keyboard. You're gonna have to go select it in your dropdown menu or on the actual display, and then go to the the delete button and click that. Then it will ask you to confirm that you want to delete your model. I'm just gonna say OK, and then you will notice it removes it now. Otherwise, that is it on our model list. Like I said, if you do not see it, make sure you click on it that might be on the print set up. Then you can do all your model relevant, um, selections and that from there as well. But yeah, otherwise, in the meanwhile, if we head here to softwaretraining.co.za. You guys will notice we've got a variety of different Softwares we do cover. And you can also isolate your search on the top or right. If you do not. However, find the training videos you're looking for. Just simply go here, request the training video, fill in the mini form, and then we'll do our best to try and make that for you. But otherwise thanks, guys, for watching and cheers.


 taylor-hernandez-STiVSlutjt8-unsplash.jpg


