Basic Operations of the Job Manager Within the AM.CO.ZA InkRIP Software (Part 1)

inkrip job manager basic
When it comes to InkRIP’ Job Manager, it is the final step before printing your designs.
That being said, understanding where to get the Job Manager and the use of its controls are essential.
This video is part of a Mini-Series.
The next video covers Detailed Information.
Video Transcript
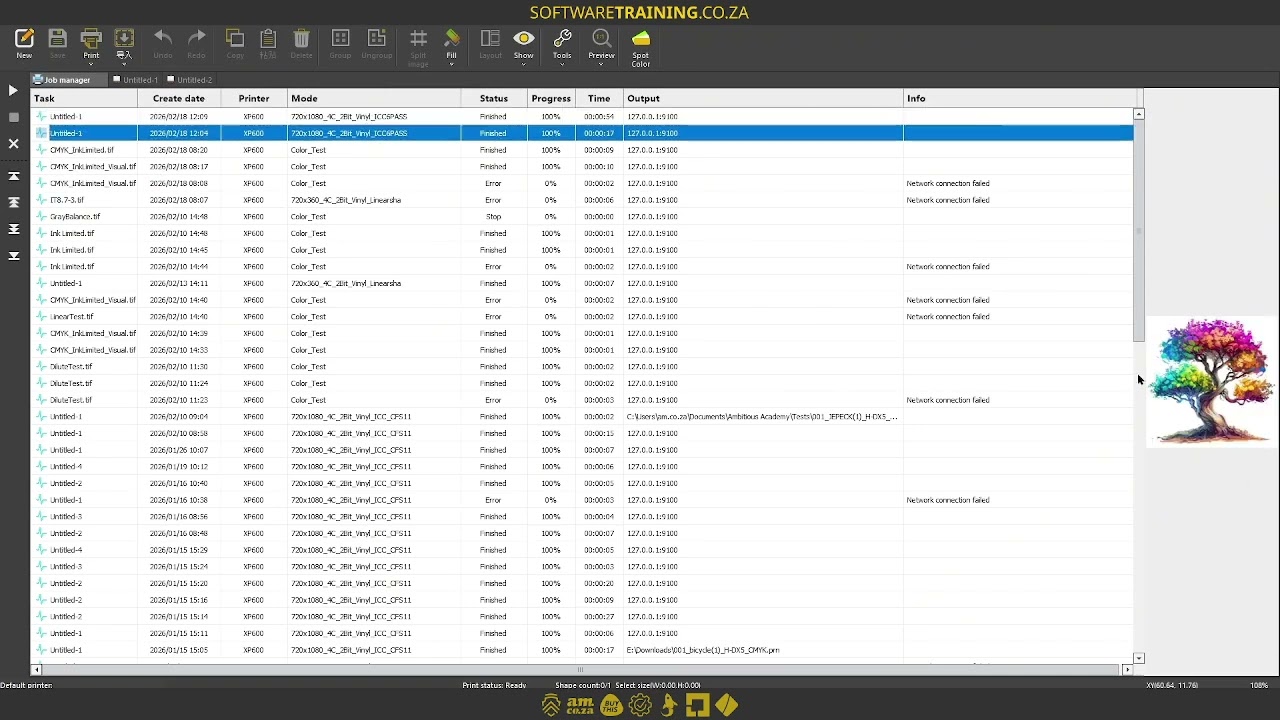
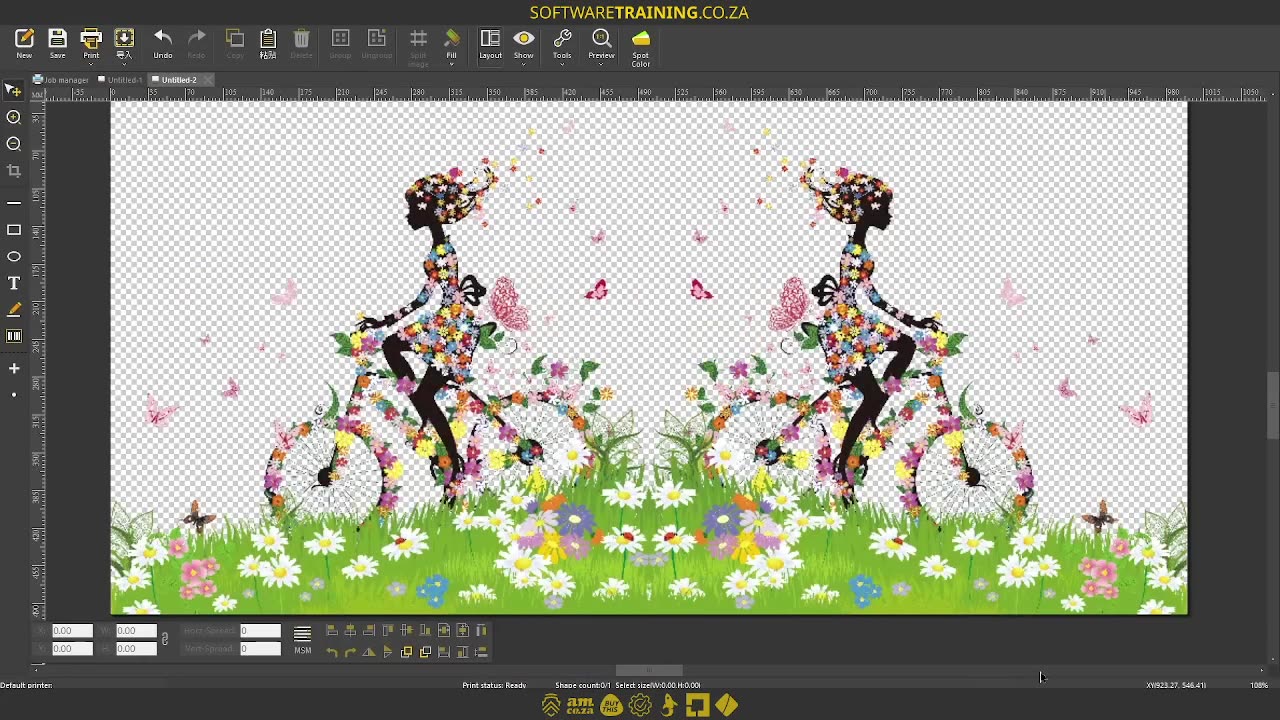
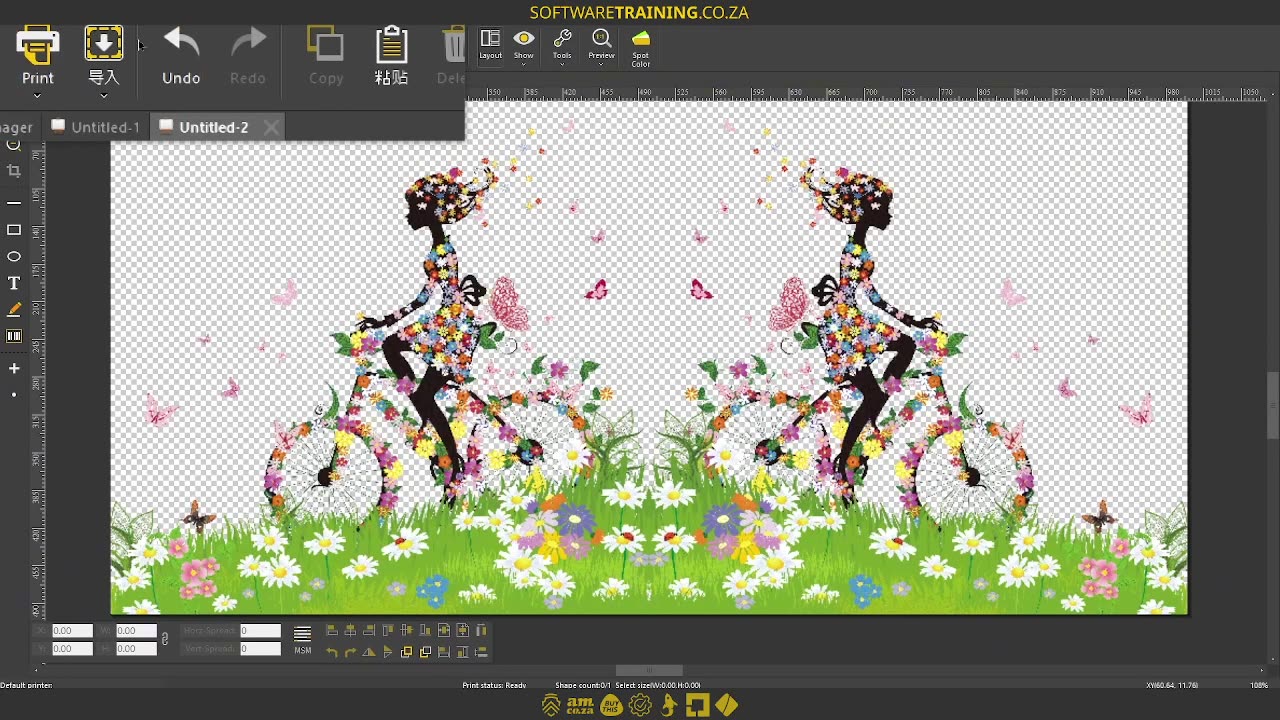
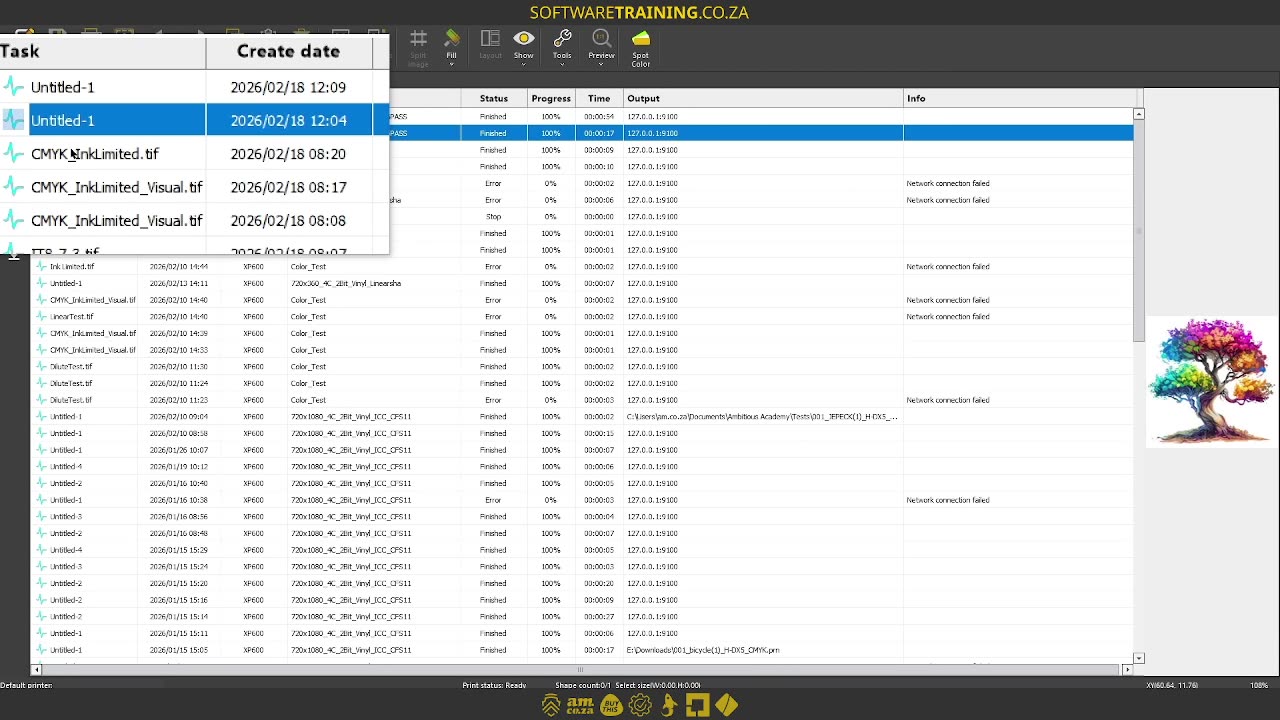
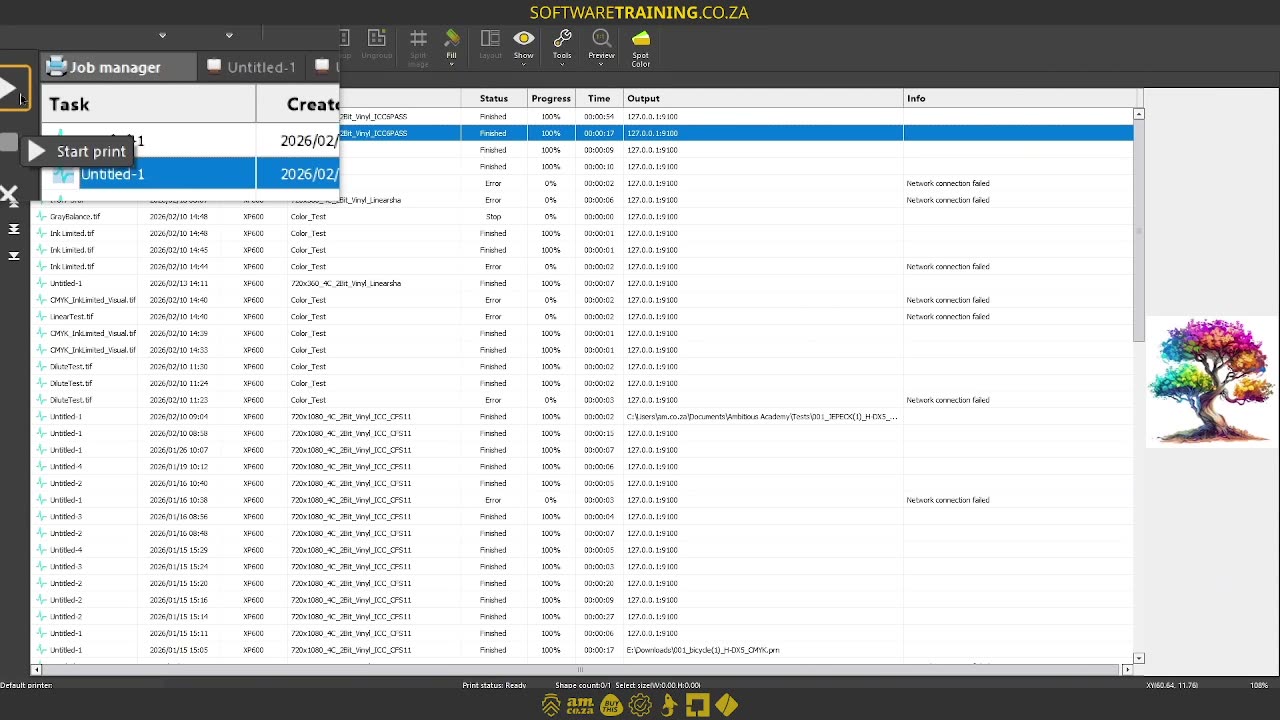
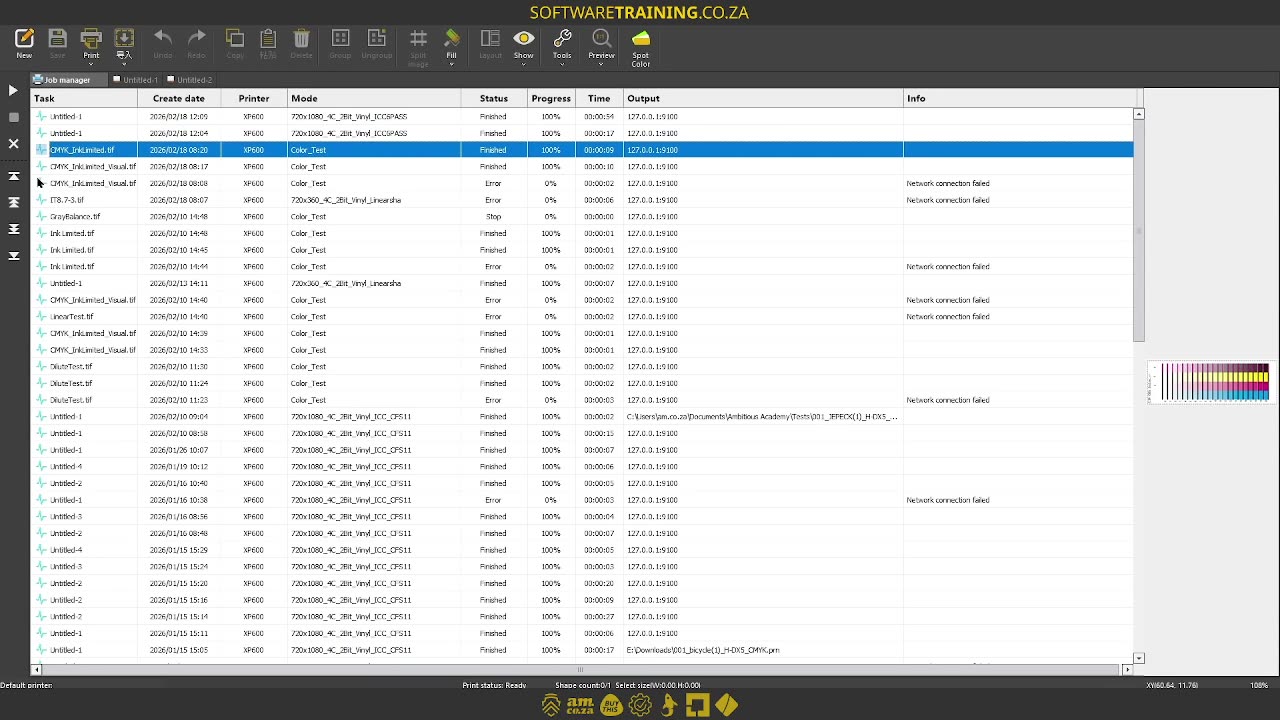
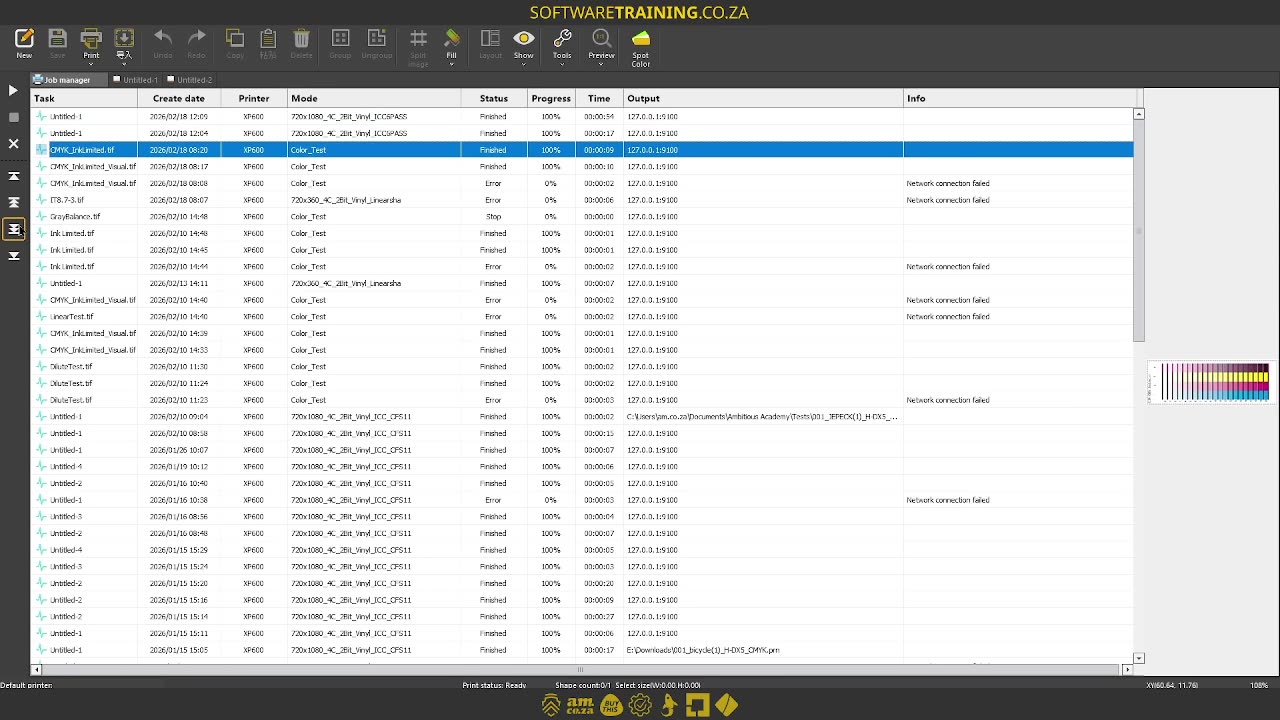
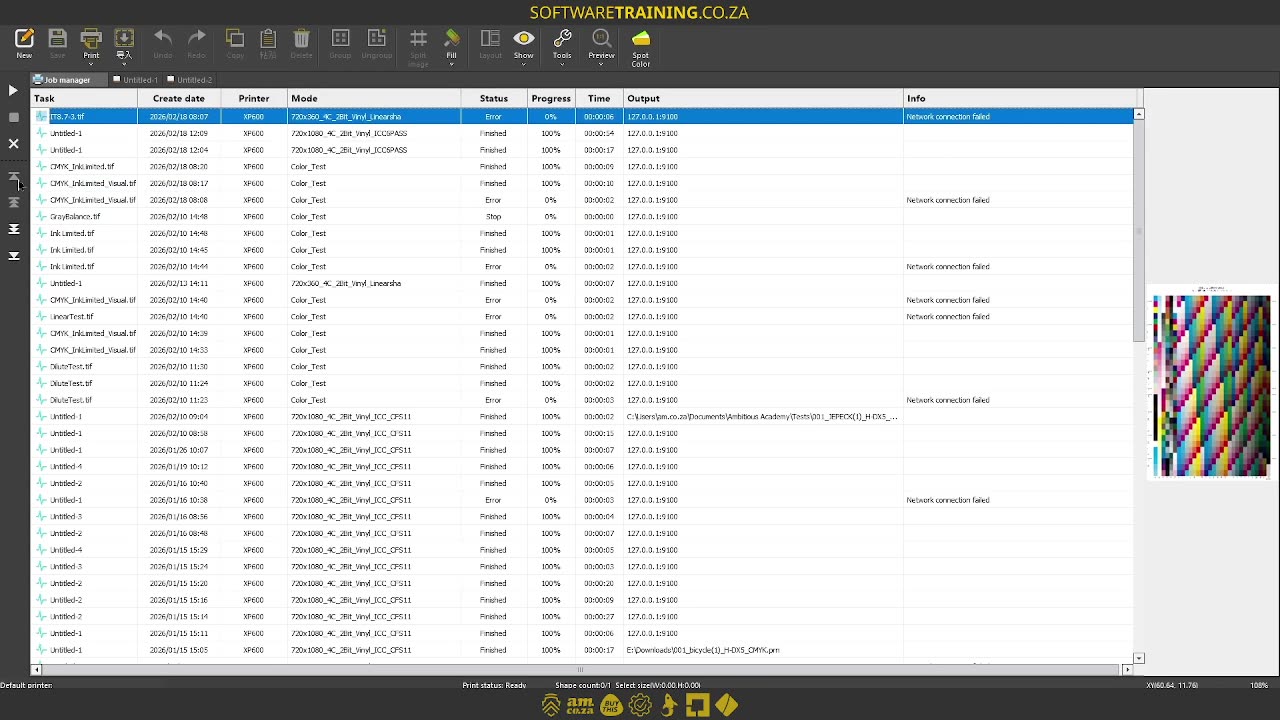
Howdy, guys. In today's video, we're gonna be looking at the job manager's basic operations. But before that, let's have a quick intro first. So, today's video can be found on softwaretraining.co.za. We make short and easy to watch problem-solving videos, and we also have daily updates. Now, if we head into actual encrypt here. Now, there's something to keep in mind when it comes to the actual job manager, and this is, it's gonna be basically taking all your files and designs that you've made, and it's gonna turn it into a print-ready um file, so something the printer can understand. So, that is the main purpose of Job Manager. It's to convert your design into something readable by the printer. So now, in order to locate the actual job manager, you'll see we have these tabs on top. This will be for your different projects. And then if we go right to the first one, it's called the Job manager. So, you simply click that and then it will open it for you. Now, under there, you can see there's quite a few things um that we're gonna be covering, but we'll start off with, like I mentioned, the basic operations. So, first of all, it's important the one that is selected, that will be, or that will decide what kind of options and that is available. So, let's just select one. And then, on the far right here, you can see we can have a little preview, so then we can see which file are we busy um editing or we want to rip or print, and yeah, like I mentioned before, this is a very important step in order to convert a file for the printer to understand. And that process, we call it ripping or image or raster image process. But then, yeah, in any case, so let's say with this file selected, on the actual left here, you can see we've got a few different operations. So, the first one, this will be to actually start the print. So, after you've ripped it, and let's see if we have control software open, you can always start the actual operation from here. And then, under that, we have stop, so in case something goes wrong, you can stop it. Then we had the lead job. So, you can kind of get rid of it from, if you wanna have a more clean setup. As as you can see, mine is quite messy at the moment. Then, under that, we have some basic, how can I say, location navigators. So, we had the first one which is move to top, then we have move up. Under that, we have moved down, and then move to bottom. Now, the main difference with these, so, if I had to, let's say, select a file, and I had to click the move up, you can see it only moves it up by one. So, if I had to click it again, it will go up one more, or if I had to click move down, it will move it back down. Then, if we go to the top one there or the one on top of that, it says move to top. Now, what this is gonna do is this is gonna pretty much send this in front of the line or the waiting line. It's gonna put it first in the actual line. Now, you can obviously throw it right to the bottom as well, which is another option. Now, yeah, so that is your basic operations. For navigating these files up and down, and seeing the preview and so forth. And then next up, we'll go into some more technical information on what some of these things mean. But before that, if we head here to softwaretraining.co.za. za, you guys will notice we've got a variety of different softwares we do cover, and you can also isolate your search on the top right. If you do not, however, find the training videos you're looking for, just simply go here, request the training video, fill in the mini form, and then we'll do our best to try and make that for you. But otherwise, thanks guys for watching and cheers.