FabriCAM Software CAD Auxiliary Practical Exercise (Part 8) Step by Step Video Tutorial


fabricam cad auxiliary practical exercise
When it comes to having a better understanding of tools and their options, having practical’s is a great way to do just that.
The general idea of these practical exercises is to slowly increase the difficulty while using the tools that you have learned.
This video is part of a Mini-Series.
Next video covers Auxiliary – Practical 2.
Previous video covered Auxiliary – Line Bisector.
Video Transcript
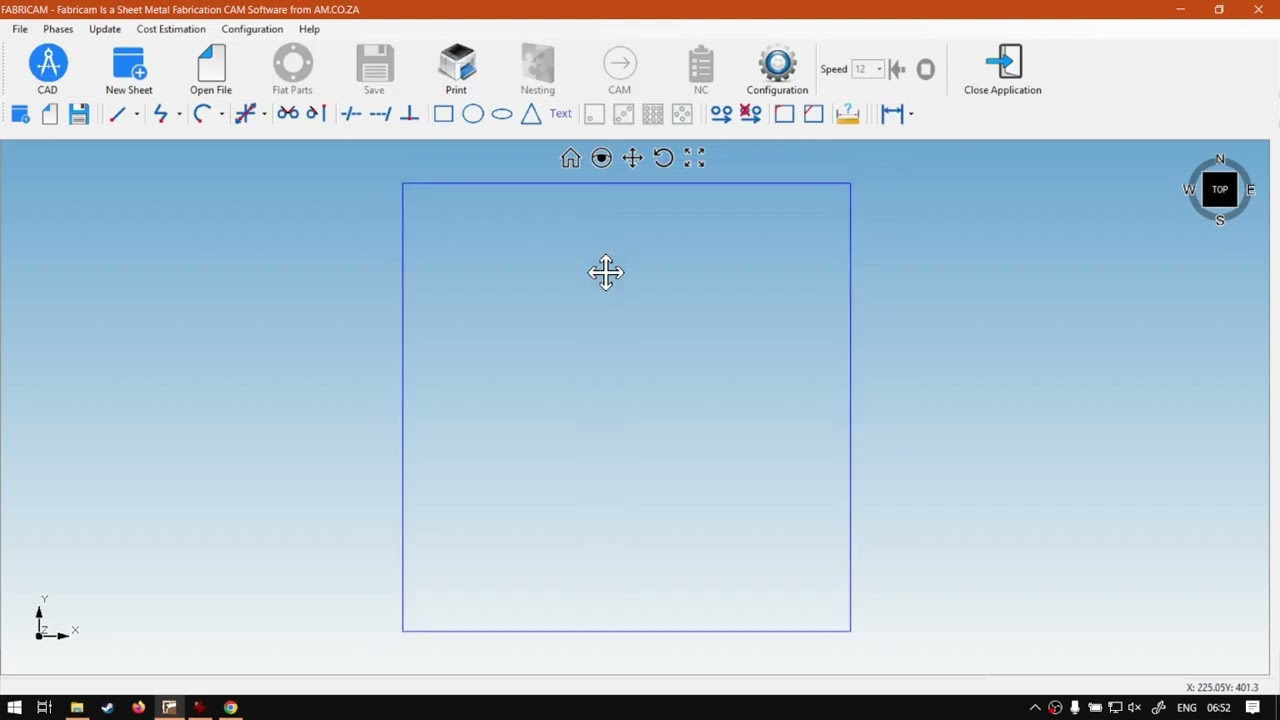
Yeah. All right, guys, in today's video, we're gonna be looking at our first practical or the auxiliary or guidelines for the cat. But before that, let's have a quick intro first. So today's video can be found on softwaretraining.co.za z. We make sure to watch problem solving videos, and we also have daily updates now, otherwise, if we head into the programme here, So now in today's practical before I show it, I'm just gonna explain to you guys what to do and, uh, kind of the requirements if there is, uh, any. And then, uh, you guys gonna see if you can get it right? And if you don't, you can just on pause the video and carry on and see the process I took. So now I'm gonna keep this first practical. Pretty simple. The requirement is gonna be having a form of shape, maybe a rectangle at the size of, let's say, 50 by 50. Or should I say, 505 100 millimetres and then with a 50 gap right around it that is made out of guides or auxiliary lines. So once again, the requirement is a rectangle should I say, square of 500 by 500 millimetres and 50 million gap on all sides made out of guides. So, yeah, before you get into it, just clicked Posey a and then I'll get back to you after you've been paused. Uh mm. Okay. So I'm not sure if you guys have tried that got right or not, but I'm gonna quickly show you the process I took. Now, there's multiple ways we can go about it some maybe more simple than others. And so, if you know what is the like in this requirement, what is distance of the guides around your shape that you want to put? Then it simplifies it. Otherwise, if you're not sure, there's another method we can take. But what I'm gonna do is go with the requirements we had. So we know what is our dimensions and the safe zone. So I'm gonna first quickly add my rectangle on my cube. So I'm gonna make this 500 by 500. I'm gonna leave. Everything else is saying and say Okay. And then centre our view. I mean, sorry, good positioning single position and say, Okay, then centre of you so we can locate this, uh, um rectangle or square. Now we're gonna do You can obviously go at horizontal ones like we did previously on vertical and just space them, according to this, but it takes up quite a bit of time. So what I would do is I would personally go here to the line with distance. I'll select this, and then I will make it 50 more, uh, distance and say, Okay, then important to click on the outside of these lines. Otherwise, we're gonna add the guys on the inside, so I'm gonna click outside, outside, outside and outside, and then make sure you write clicks, you get out of it, see them actually place another one, and then you go. So that was pretty simple. We've got a quick, uh, shape with a guided outline, so we know. Okay. We want to stay within this. We've got a 50 mil safe zone on both sides. Yeah, otherwise that it was on the practical. Um, yeah, I hope it helped you guys, and I would be kind of learned something from previous videos. He didn't have to watch me do it, but yeah, Otherwise, if you did. It's not a big sweat, like if you went the first method of horizontal vertical lines, it is also a very secure way to do it. Just in my opinion, can at times take up a lot of time. But if you're putting your guides first, then you definitely want to go that route. Because if you don't know what's the diameter is gonna be on the inside just yet. But yeah, otherwise, in the meanwhile, if we head here to softwaretraining.co.za z, you guys will notice you've got a variety of different Softwares we do cover, and you can also isolate your search on the top of right. If you do not, however, find the training videos you're looking for, just simply go. Yeah, request the training video filling the form. And then we'll do our basically and make that for you. But otherwise, thank you guys for watching and cheers