The Fill and Stroke Editor Panel within the SAi FlexiPRINT RTUV 22 Software (Part 7)

flexiprint fill stroke editor panel
Now after you have created a shape or object you might want to go into more depth with its design.
With the Fill and Stroke Editor you are able to edit these designs look and feel after creation.
This video is part of a Mini-Series.
Next video covers Design Editor.
Previous video covered Design Central.
Video Transcript
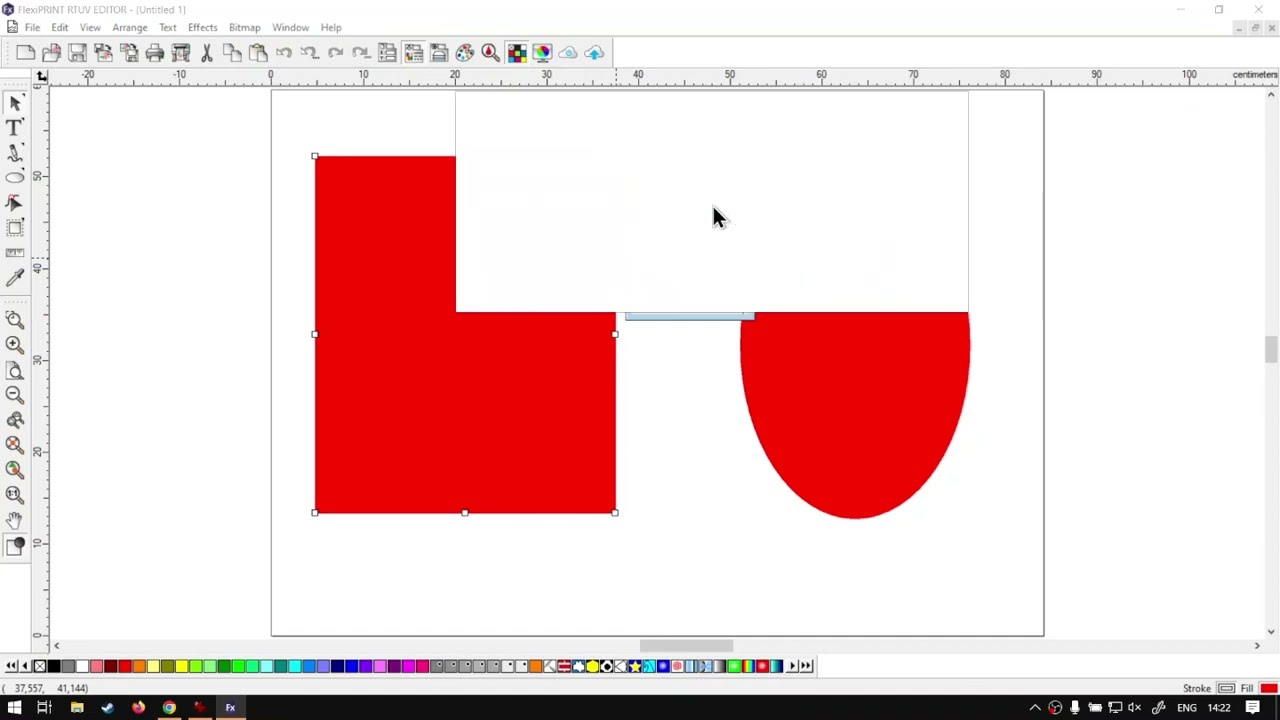
Alright, guys, In today's video, we're gonna be looking at Flexi Print's full and stroke editor and this will be located under the main toolbar. But before that, let's have a quick intro first. So today's video can be found on softwaretraining.co.za. co dot Z A. We make short and easy to watch problem solving videos, and we also have daily updates. Otherwise, we into the programme here. So now, like I mentioned, this is part of a mini series on the main tool bar on top here. And today we're gonna be looking at the full and stroke editor now, by default, we can see our full and stroke here on the bottom. Right. So then, um, this is so when you're creating one, you can quickly see what it's set to. But if you wanna go into more advanced settings and, uh, actually customise it afterwards, this is a great place to do that. So I'm gonna grab a random shape, make one here and maybe make one next to it. So we've got nice two shapes to work with. So if I select the first one and then, uh, I wanna make sure our full and stroke editor is open. Let's just close our design editor. Move this to the bottom so that to locate it on our main toolbar we wanna go next to our design, edit a panel or icon. Just this one. You'll see. We have this little one there now, the actual shortcut key you can also find here if you go under view and then we're gonna go down to full and stroke and you can see the shortcut. There is just I So if you wanna open it quickly, you can just press. I you can see it's gone. Press it again and it opens it. Now, from this one, we have a few different settings and panels. So we've got three tabs here. We've got the full, we've got the stroke and then we've got the transparency and this is like layer modes and so forth. We'll briefly cover these ones and maybe go into more depth in a future video because, uh, there's quite a few options to choose from. So now, with our actual shape selected, if I open the drop down, you'll see we've got four different options. So we have the no full, solid, full pattern full gradient full. I'm just gonna run through these first two because these ones require, um, a little bit more input to have a nice custom outcome. So if I click on the no fill, as you can see here, it will make it transparent. But if you click off it, it can be confusing, because now it's not there. So I would recommend make sure you have a stroke set. If you're actually gonna set your phone to, uh, none. The default is the most common Will be just a solid F. And then under here, we can actually choose the colour we want. Same way we can choose it from this bottom swatch panel. You can come up here and go under the premade ones and select something you like. Then we've got the wire frame. If you don't wanna be working with FS but still have it there and then we have advanced now under advanced quite a few things we can be setting up. We can do our colour library and all of that. And as you might recognise, this is our co specs. So if we've done a, um, check the video on the colour specs, then this all makes sense. But otherwise this is a nice place where we can add things to our library and so forth. But yeah, otherwise that is it on the full. For now, if we add it to the actual stroke. So I'm gonna select a new shape. I'm gonna set this on the actual full to none, and then we go to the stroke. So we have a few options here. We're not gonna run through everything, just the main one. So the first one here is our full I mean, our stroke type. We can edit it and add in custom, um, amounts. If you wanna go into that, we won't do that now then, from the drop down menu, you can select from the premade ones. We want more like a jagged one or so forth. So we'll start with solid, then. Here we have the actual stroke width. So if we adjust this, you can see here on the right how it gets thicker and thinner. So let me adjust that down a bit. And then if we go to another style, you can see how it out dates it here on our actual design. Uh, like I said, all these things can be done custom, and we also have our actual colour here. So if you want to get a different colour, then you can actually do that. You can go to whatever colour. Maybe if you added a custom colour to your colour, Swatch, you can do that as well. I'm gonna give this as black, and then we've got a few other settings. But we will cover this in another video as it's gonna drag this video out a bit too much if you're used to working with actual, uh, strokes and this will all make sense. But, uh, for now we'll leave That as is. And then we also have this nice little button here called Clear. So if you didn't like the transformations, you wanna set it back default, you can simply click that. And as you can see, it will remove our stroke and clear it for us. Let's just add something again. Just so it does not look so plain. There you go. And then on our last tab blending mode like I mentioned, this will be more advanced where we can send blending types and that which we'll go into, but for general rule, we can just I'm gonna make a quickly copy of this, overlap it, maybe change the colour, open the full again. And the main thing that you might use here often is the actual opacity. So as you can see here, as I just will adjust this down, the actual opacity of whatever shape we have selected will decrease. As you can see that now you can kinda see through the top shape right to the bottom shape. So if you wanna find the opacity, that's where it will be under the bill and stroke editor. But yeah, otherwise, that is it on the Phil and Stroke editor in the meanwhile, if we head here to softwaretraining.co.za. co dot Z a. You guys will notice we've got a variety of different Softwares we do cover. And you can also isolate your search on the top, right? If you do not ever find the training videos you're looking for, just simply go. Yeah, request the training video, fill in the uniform, and then we'll do our best to try and make that for you. But otherwise thanks, guys, for watching and cheers