Printing Basic Footer Settings within the SAi FlexiPRINT RTUV 22 Software (Part 3)

flexiprint basic footer settings
After we have looked at some of the basic settings under the general tab, we will dive into some very handy transformations from the Footer Settings.
This video is part of a Mini-Series on the basics of printing within FlexiPRINT.
Next video covers Production Manager.
Previous video covered Print Settings.
Video Transcript
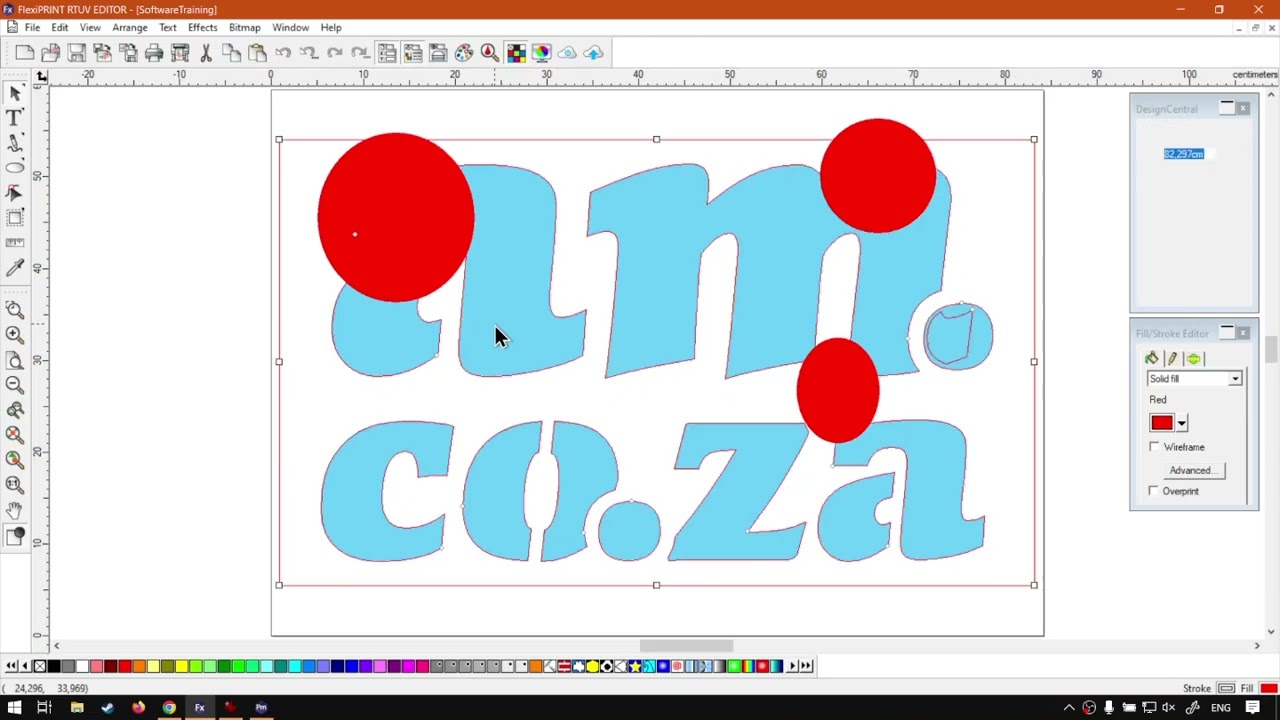
Alrighty, guys. In this video, we're gonna be looking at some more settings for our printer. And this will be the FA Settings or the, uh, extra settings found in the FA. But before that, let's have a quick intro first. So today's video can be found on softwaretraining.co.za. co dot Z A. We make short and easy to watch problem solving videos, and we also have daily updates. Otherwise we head back into the programme now. In the previous video, we looked at the basic settings of setting um up our actual print. Now we're gonna be looking at the settings here at the bottom of FA settings in the zoom in year. They've got some nice options that we can choose from. But let us quickly first just set our copies down so we can see what's happening on the right. Move us to the middle day and then maybe, uh, just scale us up a little bit so we can see what's happening. OK, now, under the first one, we've got a form of alignment or centering. We can click here and then we have a few different options. We'll send it to the, uh centre like that the corners and so forth. So depending on what you wanna go for, if you wanna have it exactly in the corner, you can use that. And next to that, we've got rotating. So by default, it is on this little guy. So now I'm gonna sit it there. Then it's gonna rotate at 90 degrees to the right. This one will be 90 degrees to the left, and then we have a full rotation of 180. So this can also be, uh, convenient to adjust your actual print, depending on obviously your material, what's left or what you've used. Let me go back to the default, then. Under that, we have an option called mirror. Now this will mirror your design so it does a nice invert of it. Now it's obviously many applications for this, but, uh, it is handy that it is here. The option next Today we've got selection only, and at the moment you can see it's greyed out. So what this will do? Let's say I have some other design elements on this design. Make a few random things. Here's my select tool. Select the actual aim.co dot Z a logo and then we go back to print now under the print. Let's just fit this. You can see it's gonna print the whole design. Now, if I had to select this option selection only then, as you can imagine, it's only gonna show us what is selected. So now it's only gonna print this. So it's also a handy little tool. And then next to that, we've got reset and that will reset our design or all our settings here on top. But OK, it keeps this one on. So it looks like it's maybe not a relevant. It's relevant to most of it, except for selection. But yeah. So otherwise, that is it. And our food settings, some handy things. Like I said, we've got centering rotation mirroring and then selection only. But before we go to the actual print, um, if we head here to softwaretraining.co.za. co dot Z a, you guys will notice we've got a variety of different Softwares we do cover, and you can also isolate your search on the top, right? If you do not find the training videos you're looking for, just simply go here, request the training video, fill in a new form and then we'll do our best to try and make that for you. But otherwise thanks, guys, for watching and cheers.


 connor-wilkins-2crxTr4jCkc-unsplash-index.jpg


