CorelDraw Software Setting Up the Project and Image (Part 2) Step by Step Video Tutorial


coreldraw setup project image
Now when it comes to setting up the project, there are a few panels that will be handy if docked.
As to the image, the method of importing and setting it up is pretty easy if you have done it before.
This video is part of a Mini-Series.
Next video covers Double Image Color.
Previous video covered About Double Colors.
Video Transcript
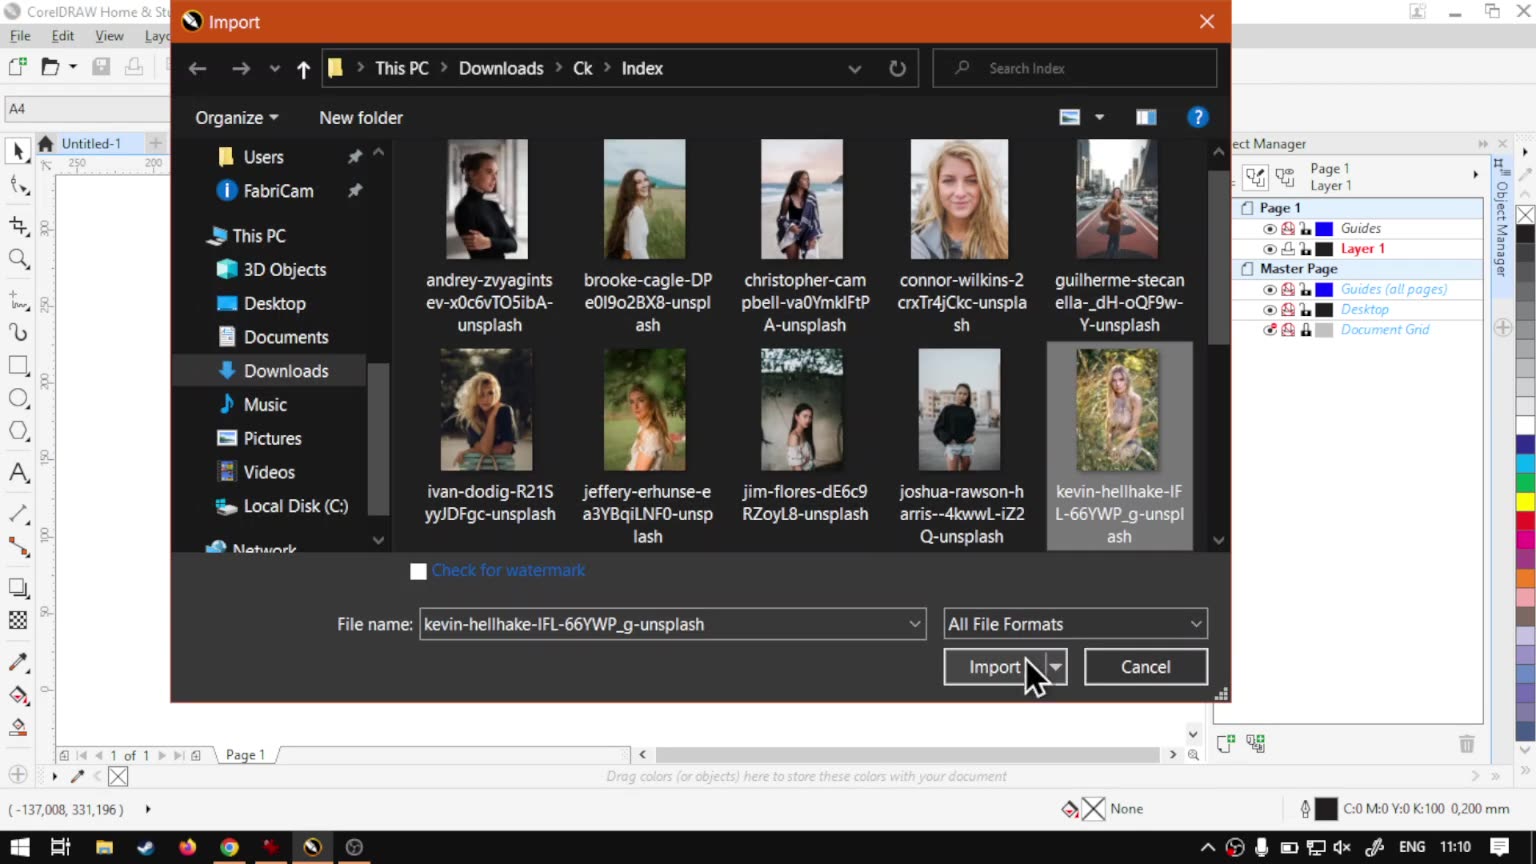
Alright, guys, In today's video, we're gonna be looking at importing an image and setting up our project for doubling up our colours. But before that, let's have a quick intro first. So today's video can be found on softwaretraining.co.za. We make short and easy to watch problem solving videos, and we also have the updates. Otherwise we head into the tutorial year. So now, like I mentioned, we're gonna be looking at doubling up colours. But first we need to start somewhere, so that's gonna be by making a new image. So you can either click on this little plus or go file new. Now, the setting to sit here won't be that important because we're not gonna be using it for exporting our image. So I'm just gonna leave everything at default, say OK and then we have our base. I'm gonna go now to files. So now we wanna get our image inside our programme. So, um, let's just go file and I'm gonna go down till I find import. Click that, then I want to navigate to the image I like, or the image I'm gonna be using, say, import, and then it's gonna give you this different cross. We basically ask you, where do you want to import image to? Just gonna click there and then open it up. Now, the next thing we want to do is we want to actually edit this image. I'm going to select it and then go to bit map on my top main menu and then from the drop down menu, I'm gonna go down till I find the one that says Edit Bitmap. I'm gonna click that, and it's gonna open us a whole another window for coral draw, which is just for editing bit maps. Once it's open, I'm gonna full screen it and then we have our bid map. Now, in this actual worksheet, there's a few things I want to set up. So if we don't have the object manager and the channels here on the right, then what I would like to do is just set that up. So I'm gonna close there, for example. So we're gonna go here to Window Dockers and then we go object manager. We can click that, and then I'm going to click on this little plus to add another one, and then we're going to go channels. So now we have our channels and our actual image, and we are ready to start changing things. But before we do that, it's still one more step I want to do. And that's quickly just set the colour mode for this. So it is not currently r GB so green, red, green and blue. But C M Y k so I'm gonna go to the actual image with it selected. And then I wanna go and select the one called Convert. Sorry, Let's fix the zoom again. Convert to C M Y k colour 32 bit. I'm gonna select that. And now on the right here you can see it's changed it from R GB to C M Y N k. I'm gonna click on the top one again just so it shows all of them. But yeah, before we may add on with this in the meanwhile, though, if we go to softwaretraining.co.za. You guys will notice we've got a variety of different Softwares we do cover, and you can also isolate your search on the top, right? If you do not however, find the training videos you're looking for. Just simply go, Yeah, request the training video, fill in the new form, and then we'll do our best to try and make that for you. But otherwise thanks, guys, for watching and cheers.


This article is part of our “Large Format Printer Printhead colour channel manipulation workflow” – see the article for more info.


