Zoom Tool within the Secondary Toolbar in the SAi FlexiPRINT RTUV 22 Software (Part 9)


flexiprint zoom tool toolbar
Now when it comes to the Zoom Tools within the FlexiPRINT software, there are quite a few different options.
These different options will vary depending on the outcome that you are looking for while navigation the viewport.
This video is part of a Mini-Series.
Next video covers Pan View & Fill Mode.
Previous video covered Measure & Eyedropper Tool.
Video Transcript
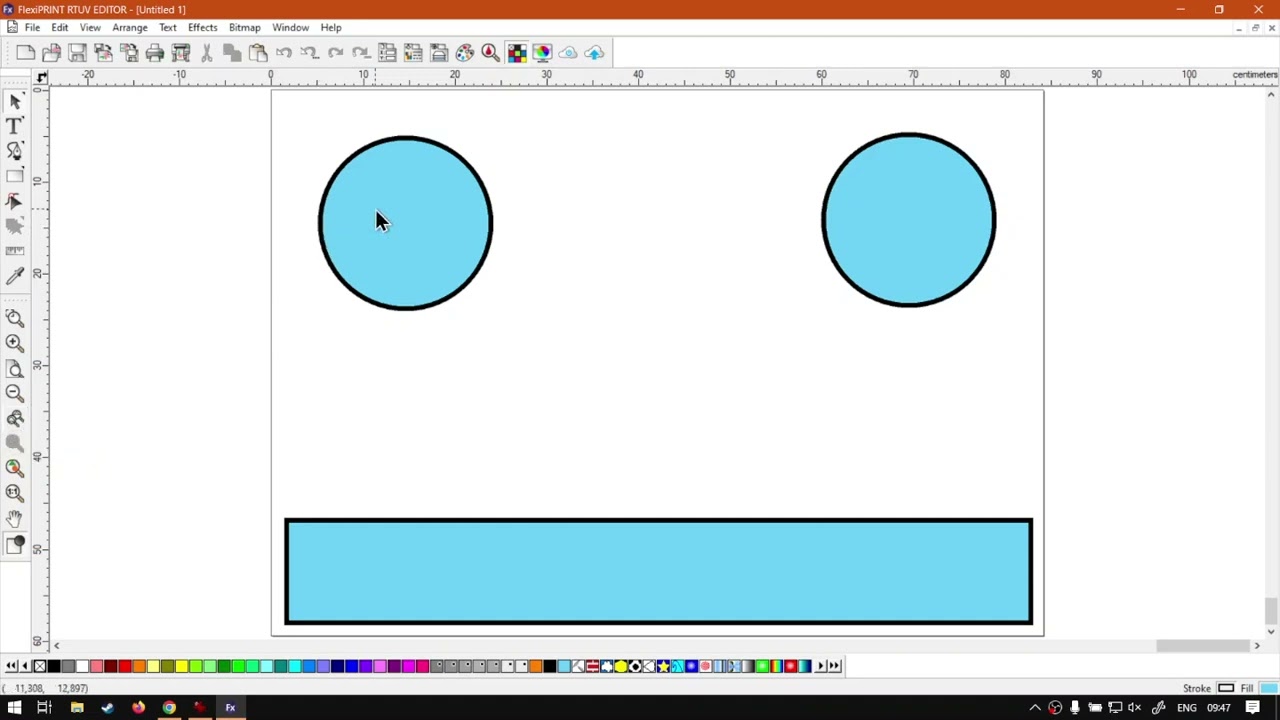
Alright guys, In today's video, we're gonna be looking at flexi print zoom tools. But before that, let's have a quick intro first. So today's video can be found on softwaretraining.co.za. co dot Z A. We make sure and easy to watch problem solving videos and we also have daily updates. Otherwise, we're back into the programme here now, like I mentioned, we're gonna be looking at the zoom tools for, uh, flexi print. But keep in mind, we have quite a list of them. Most programmes only have like one or two. It's a list of them, but that being said most of them is very, very handy. So um yeah, so bear with us here now, the first one is probably your most important. That is just your classic zoom. It has a few different options. So under the colour picker which we just covered in the previous video, you can see we've got this little zoom icon. Now, if I hover on that, you can see the shortcut for that is Z. If I simply press Z, it should take us to our zoom tool. Now, with the zoom tool, this default one has a few different things we can look at so you can see by default. We've got a little plus, so if I had to click, it will zoom in for us. But you will also notice it switched it off. So it's no longer active. So to activate it, we can press Z again and then we can zoom in and then it will deactivate. Deactivate it again. So if I'm gonna zoom out, though, I press Z, then now if I keep controlling, you'll see it takes our icon attains it from a plus to a minus. Now I can simply zoom out like so Now this tool also has another great option. So let's say I wanna zoom a specific area, Then I can simply left click, hold in and drag and you'll see it makes a selection box. So if I select over these two and I let go of the left click, it will zoom our view, keeping in mind. These panels are actually in the view, but it will zoom our view, uh, around that actual the zak. Now, if you wanna fix the idea of, um not having to re click or use your short key for zooming every time. We can easily do that. I normally do it because I prefer it that way. So what we can do is if I go to the same icon we used for zooming and I double click it. Then it opens up those preferences for the actual zoom tool, and you can see here it says resume previous tool after zooming once so that is currently checked. So I'll uncheck that and then say OK, now if I'm on my zoom tool, I can zoom in as I wish control to zoom out, drag and select to zoom, and it will stay within that. So now, however, if I want to switch another tool, I have to actually click on it. But that's the way I like to set up my zoom tool. It's very handy, and, uh, it's quite intuitive for me to use it like that. Now, next up on our list here, we've got a normal plus zoom and minus zoom. Now, if I hover on that, you can see the shortcut. It says control plus num pad plus, which is the plus on your num pad. But I found it works for me at least on windows, just on the control plus normal plus next to backspace. I know it sounds a bit confusing, but, um yeah, that plus sign on your keyboard or the minus sign. So if I go control plus, I will zoom in control on minus. If I do it on my nun pad, you'll see I get the same, uh, result now, something to keep in mind with these ones is it will zoom depending on where your mouse is. If I want to zoom to that corner, I have to keep my mouse there and, uh, likewise to that circle. So this one is definitely very handy. If you're used to using choker keys a lot in your, um, design process, then I would recommend getting comfortable with these. And next up here, we've got the zoom page so that between those two icons we just looked at and what this one will do is it will, uh, centre it to our page or zoom it to our page of the actual design. So if you've been working really close and you're a bit overwhelmed, you can just click that one, we'll zoom it back to the default page size. Then under that, we have a nice one called Zoom Zoom to previous. Now what this will do is, let's say I'm gonna quickly zoom in to this eye. Let's say I've been working on a design, and sometimes when you're really close, it gets confusing. So you wanna just see the overall design? So instead of going zoom to page Or rather, I will first do that, I'll zoom to Page and then what I can do is just use this little icon with the two little magnifying glasses that zoom to previous. And then I can click that and jump between the two so I can jump here, work, jump back to the other one jump there. It's quite handy. Then we've got another one here that we currently grade out, which is Zoom to select it Now. A lot of times, if I'm working, let's say I want to make changes to the design. I might actually grab this thing, make a duplicate of it and put it on the side as a backup. So if I make any permanent, uh, any changes, I can always quickly revert without having to use undo or so forth. It's quite safe way of working. So now what I can do is I can, uh, use the you know, one way I can actually go zoom to select it. So if I have something selected here, I can zoom to that which is handy. But that one will be more handy for the next feature, which I'll be showing now. The zoom to select can also be handy. If you wanna just zoom to a certain element on your design, you can click that. And then it will only highlight these same way you can do it with this. Let's say you are bar zoomed out. You select a shape and you click zoom to select that you will highlight that very handy. But, um, yeah, so now on to the next one, which is the zoom to all objects, and this one is very handy. If you have made a backup or you've got, uh, designs off your design, you can simply click that, and it will zoom to the entire design. So let's say you've created a logo, then you can very easily just do that and compare the two designs to see which one you prefer and go forth with that. And then the last one we have here is the actual size or zoom actual size, the 1 to 1. So if I click this, it will zoom in to the actual size of design. Yes, so this can also be handy to get a kind of preview of the size of it. Now, Like I mentioned, there's a number of zooming tools, definitely get competent with the ones you like using and need to use often. But most of these I always find very handy. So, um, if you're not sure the shortcut is, you can hover over them or just use them on this toolbar. It's also 100% but yeah, otherwise, in the meanwhile, if we head here to softwaretraining.co.za. co dot Z a, you guys will notice. We've got a variety of different Softwares we do cover, and you can also isolate your search here on the top or right. If you do not, however, find the training videos you're looking for, just simply go here, request the training video, fill in the uniform, and then we'll do our best to try and make that for you. But otherwise, thanks guys for watching and cheers


 caique-nascimento-BOHyxqepP9Y-unsplash-index
 valerie-elash-XUT7V_md7sc-unsplash-index