FabriCAM Software P5 Advanced Eskimo Looking Shape (Part 4) Step by Step Video Tutorial


fabricam advanced eskimo looking shape
A lot of our Intermediate Flat Parts will be reappearing on our Advanced list, but with a bit more complexity.
The P5 Advanced Flat Part has an interesting look to it in my opinion, a bit like an Eskimo.
This video is part of a Mini-Series.
Next video covers P17 Advanced Circle and Rectangle.
Previous video covered P4 Pully looking Shape.
Video Transcript
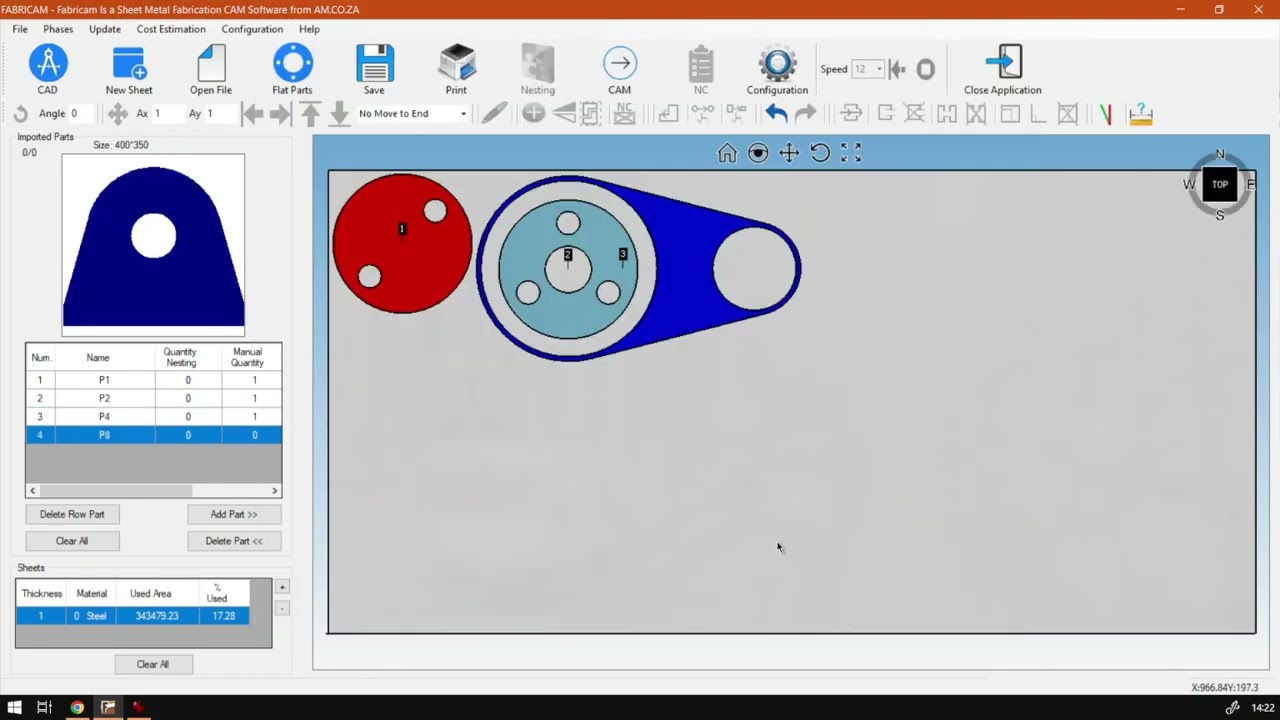
Hey guys. In today's video, we're gonna be looking at part number eight of our advanced flat parts. But before that, let's have a quick intro first. So today's video can be found on softwaretraining.co.za. We make sure that easy to watch problem solving videos and also have daily updates otherwise, back on the programme here. So now Part eight is also the fourth advanced part we're gonna be looking at. We're gonna be heading to our flat parts and as you might notice, we have covered this before in our intermediate one. At least we've covered a basic version of it and now we're gonna be looking at part eight which ultimately it's adding a a circle inside of it. Now, for me personally, it almost looks a bit like a little sq mojo. So yeah, that's kind of how I remember the shape. So now, as you can see here, we've got five different values we can set or options. So we've got a which is the worth we've got vi, which is almost the height. But you have to include the rounding and that it is from the centre of the circle. We've got B, which is this little step at the bottom. And then we've got our rounding on top and then the whole which is the So now I'm gonna zoom out here and just fill in a few things. So let's make the with maybe about 400 other things with them in the advanced ships. So I'm being a little bit bigger on the shapes. I hope I'm not going to big and then step. I'm gonna make about 50. Then the V Let's make about 200. So this will be the height of the circle and the rounding on top. I'm gonna make 100 and 50 now, obviously, make sure that your d it's not bigger than your rounding. So then you're gonna get quite a hard looking shape or potentially even give you an error. Haven't tested it myself. So, uh, do not really know yet. So this one I'm gonna make about 100 and it's just preview to see what it looks like. Here we go. We've got our shape. It's not at all like a preview. I forgot to add Emmanuel quantity. So let's quickly add that shape again. we go. Eight. Let's go. 400 with the, uh let's make this 100. Then I'm gonna make the rounding. Let's make it a bit smaller this time. 100. And they make this one about 90. Try and see what this looks like. A little bit better now. This time, remember to go, man. You quantity one add the shape. And there you go. We've got a nice little blue shape we can add to our canvas. And that is part number eight. So you can imagine if you had to make some form of pulley system or for Gates Wheel might want to have this as a mounting bracket and then your wheel running inside. But yeah, that is it on p eight. If we go here to softwaretraining.co.za z. You guys will notice we've got a variety of different Softwares we do cover and you can also isolate. You're searching on top of right. If you do not, however, find the training videos looking forward, just something So yeah, requested training, video filling the meaning form. And then we'll do our best to try and make that for you. But otherwise thanks, guys, for watching and just


 pexels-domenico-paolella-6058231-Index