Rotating Three Dimensional Models Within the PrintUP 3D Printing Software (Part 2)


channel letter rotating dimensional
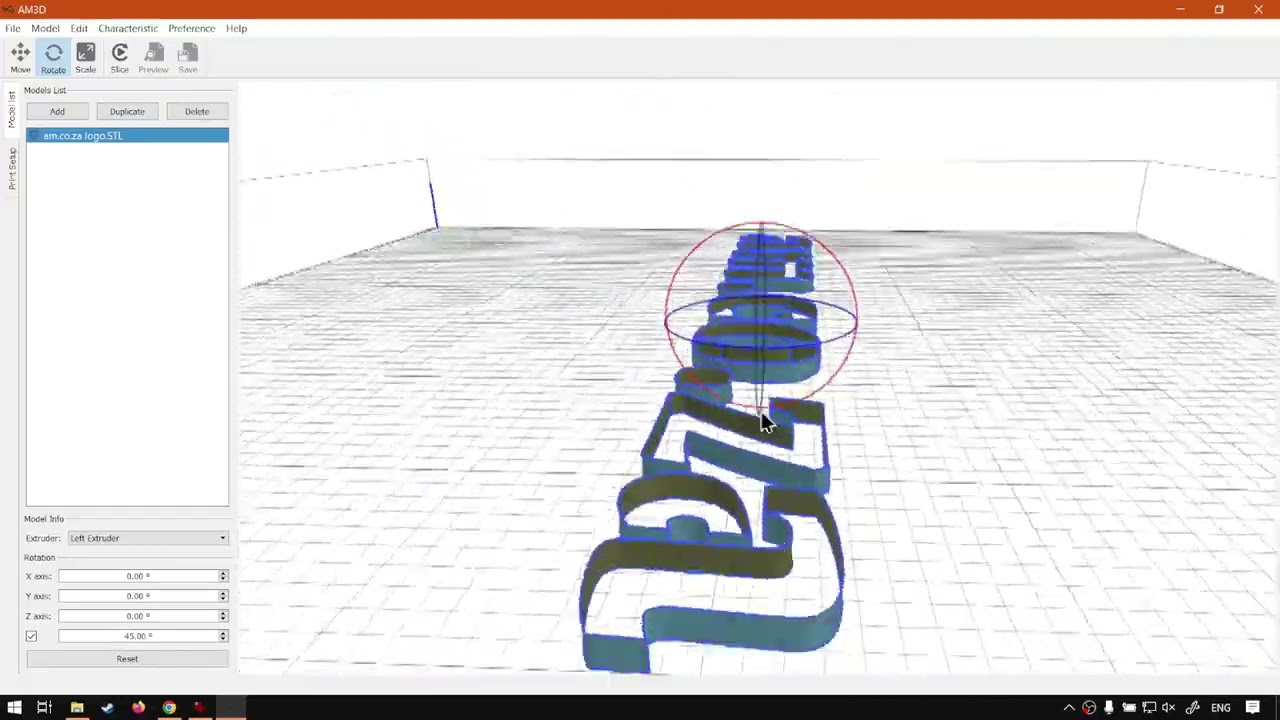
Now that we understand how to move the Channel Letters, lets look at its rotation option.
When it comes to the Rotation of these Three Dimensional shapes, it works in some way similar to the move tool but not.
This video is part of a Mini-Series.
Next video covers Scale Tool.
Previous video covered Move Tool.
Video Transcript
Alright, guys, in today's video, we're gonna be looking at transforming our object or shape by rotating it, and this will be within print up software. But before that, let's have a quick intro first. So today's video can be found on softwaretraining.co.za. We make short and easy to watch problem solving videos, and we also have data updates. Well, if we're back into the programme yet now, in the previous video, we looked at moving our shapes. Now we're gonna be looking at transforming. I mean, should I say rotating it like I mentioned in the intro. So now, in order for this to work once again, you need to have something selected. So I'm gonna select our object. And you can see we are still in our move tool from our previous video. So I'm just gonna switch it over to rotate Now, once again, there's two main ways we can go about this either using the widgets on screen or the actual values. Now, with the move, if you can remember, we could just click anywhere and move it around with the left mouse button. This will not work with the rotate as we have to define which one of these rings we want to rotate it around so you can always make your viewpoint, uh, to the relevant angles. Then it makes it way more easy to understand. So if we want to do it on this ring, we just go more to the top, and then we can adjust it accordingly. Or if we want to do it on the green ring, we can do that, and then it will snap it to the actual floor. So that is how you'll go about rotating, um, your shape with the actual viewport. It's very convenient. There is a little you can also slow down the rotation, but we'll get to that in a second. Then we've got obviously here on our actual information panel. We've got the basic and XY and Z or Z, and then you can adjust these by putting an exact amount of degrees, which is convenient. Then under that, we've got the little check box with the 45 I've currently said mine. I think the default is 90 this will be the amount of degrees it will snap to. So I go from the top view, and I rotate this. You will see the 45 degrees 90 degrees so it does it in 45 degree increments. You can adjust this to anything you want so you can do it 100 and 80 or whatever you want, and then it will automatically snap it to those amounts. Now, if you don't want that and you want more of a free hand, you can automatically uncheck that. And then if we nar rotate it, you can see we can go to any degree amount available. So now if it's a bit quick for you like this, then when it's like with moving. If you keep shifting while you use your left mouse button, then you can slowly you can see that this is with shift. If I leave shift, that's without shift. Same movement, just way more sensor. So it's very handy to keep in mind with the shift. And as you can see, also, we have a nice reference point of our last place we were at. So you can even use that as a visual guide to, uh, help. You don't like it. Just reset it, you know, reset all the rotation to to original place. But yeah, otherwise that is it on rotate. It's something you're gonna be using often or possibly, and a very convenient tool in the Meanwhile, though, if we head here to softwaretraining.co.za. You guys will notice we've got a variety of different Softwares we do cover, and you can also isolate your search on the top and right. If you do not, however, find the videos you're looking for, just simply go here, request the training video, fill in a new form, and then we'll do our best to try and make that for you. But otherwise thanks, guys, for watching and cheers.


 pexels-yuri-manei-3549434-index


